
A Pop of Colour With Clearwater
I love using colour in my eye makeup, and I also love contrasting light and dark shades. I recently bought MAC’s Paint Pot in Clearwater. This is a really gorgeous bright aqua blue colour. The Paint Pots are wonderful creamy shadows that dry out to this fantastic intense and pigmented colour with a matte texture. What’s great about them is that they are extremely long wearing, they won’t budge, they will last you a lifetime, and they are only €20 each. I’m obsessed with them but I am most obsessed with the shade Clearwater. I had a lot of fun creating this look so I hope you like it! xx
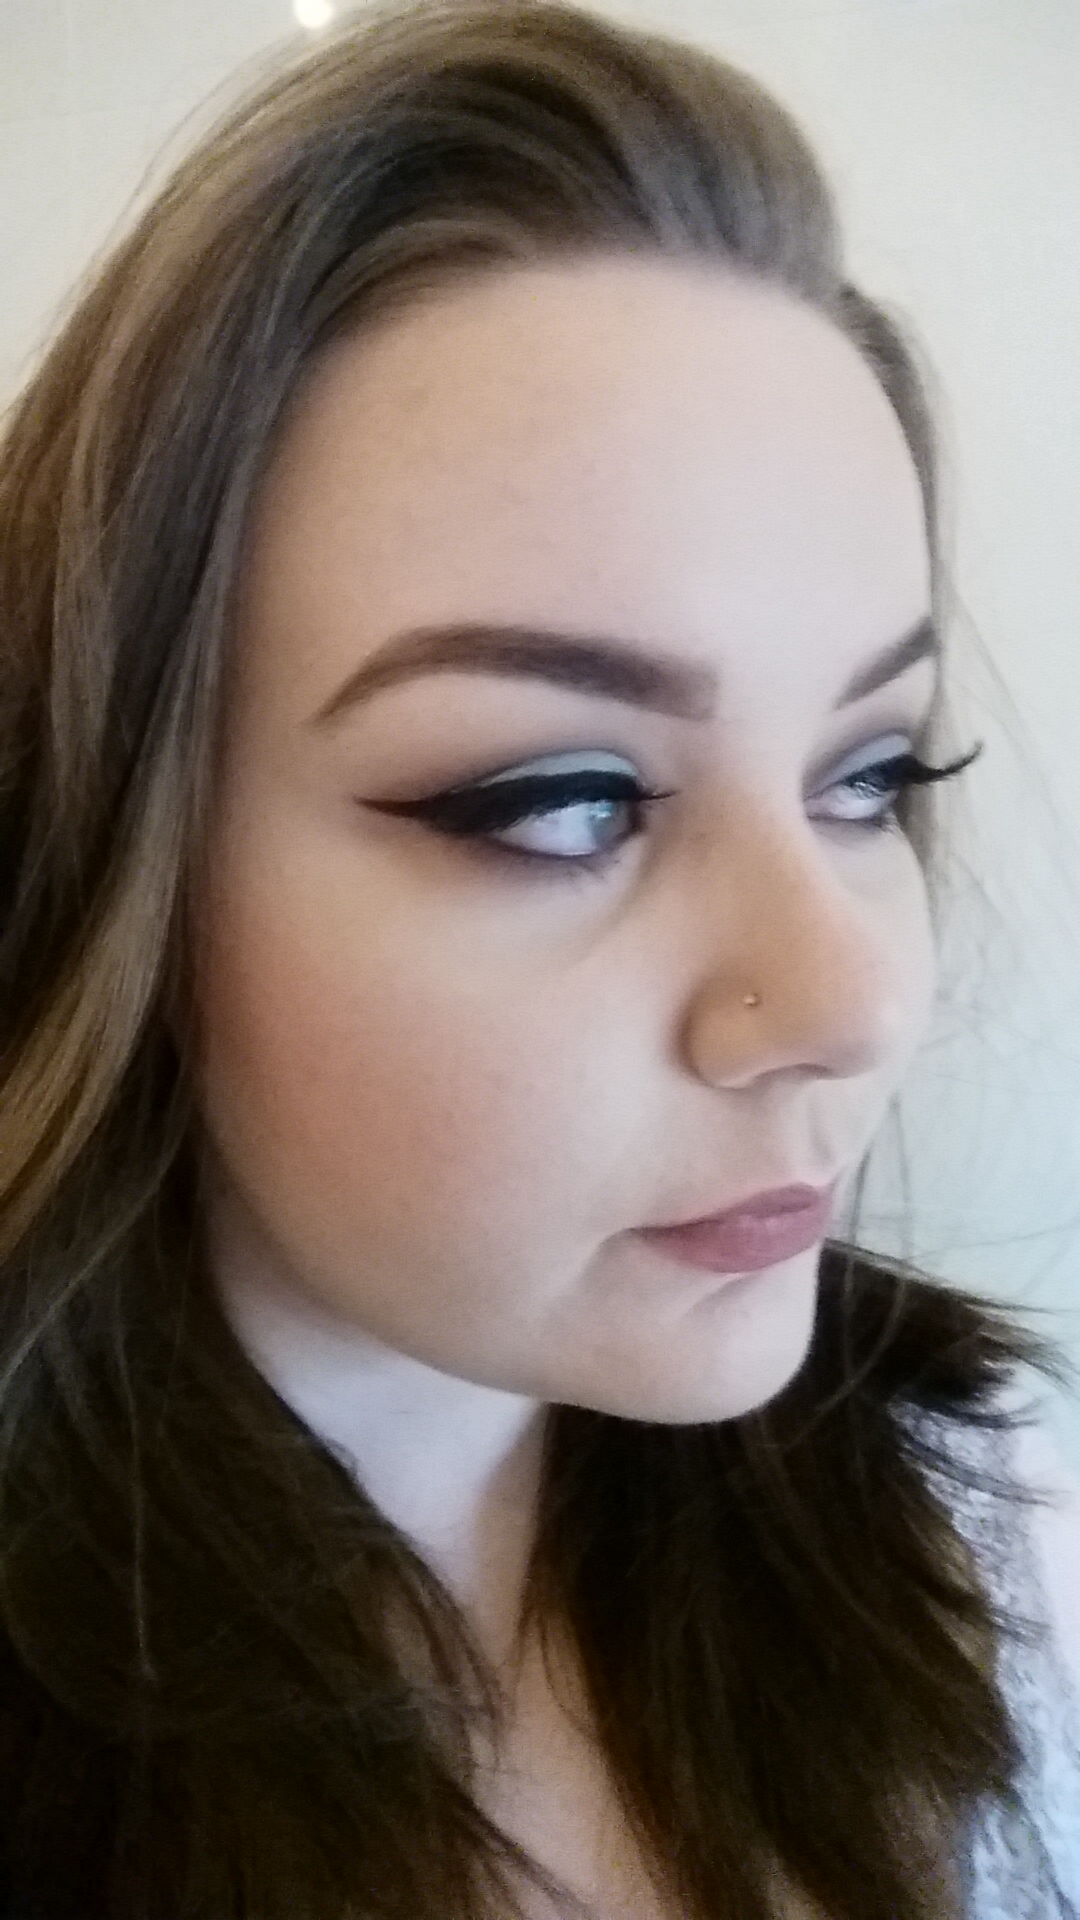
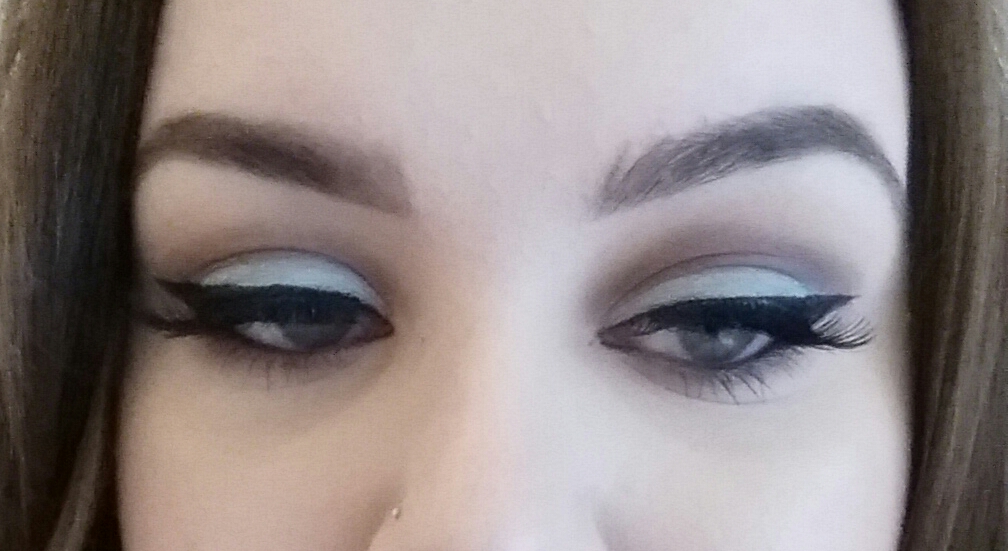
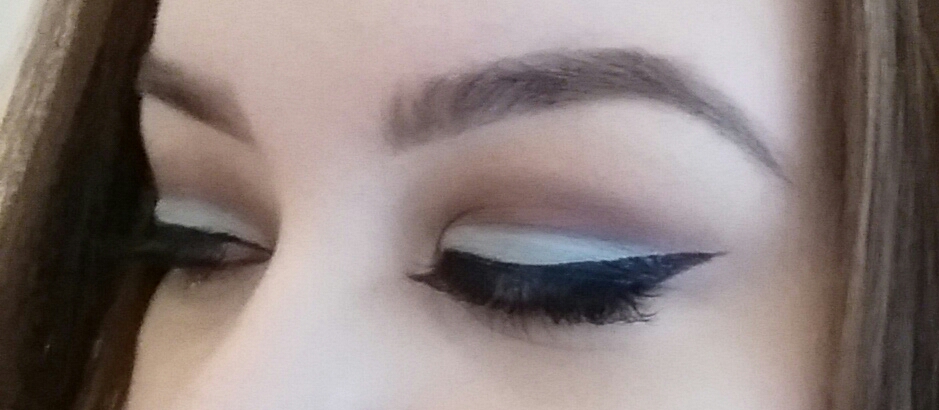
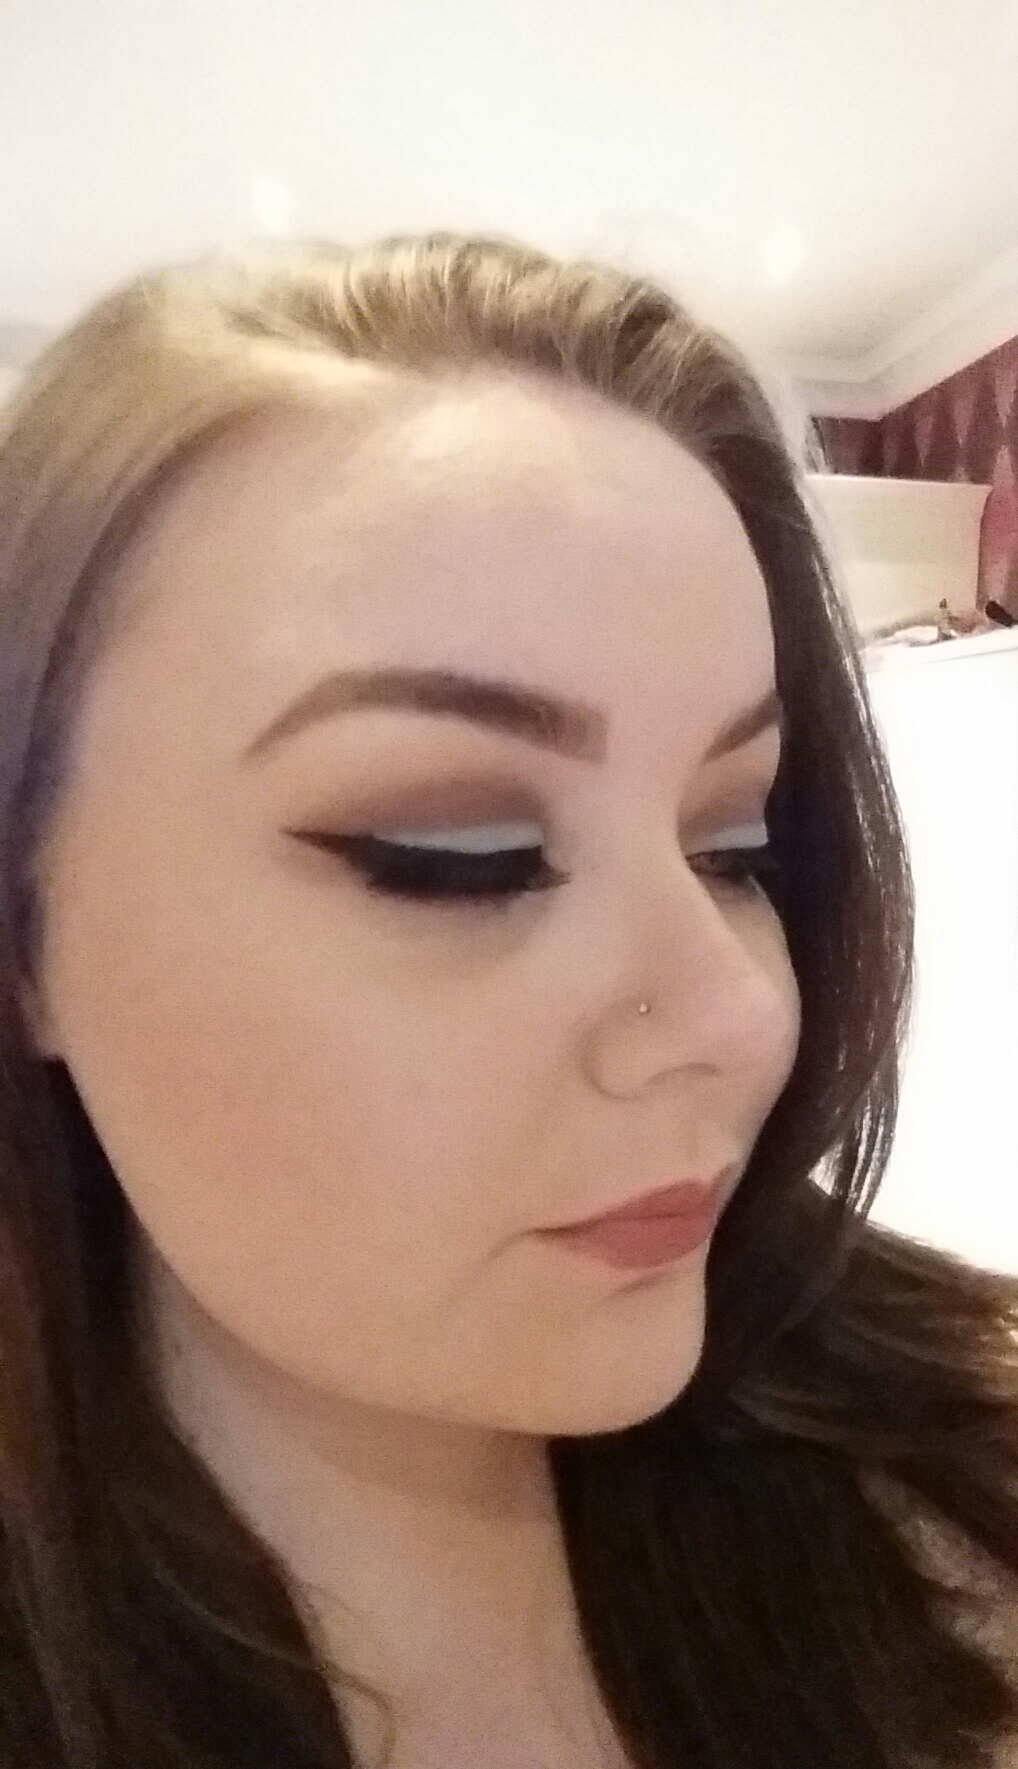
As always start off with a prepped and primed base. I have mentioned them a hundred times before but once again, the two primers I use are Charlotte Tilbury Wonder Glow for my face and Urban Decay Primer potion for my eyes. I also apply my concealer to my eyes using a beauty blender. This eye look is all about building up the colour as you go. The first shadow I applied is Peach Smoothie by Makeup Geek, this is a lovely soft peach shade which is a perfect transition colour. I applied this very high in the upper crease blending it towards my brows. I then applied MAC’s Soft Brown to my upper crease area, not taking it as high as Peach Smoothie. Remember to keep blending. Then I took Makeup Geek’s Barcelona Beach and applied it to my crease area, from outer corner to inner, dragging it out at the outer corner. I pushed this up above the crease line and I brought it down across my lid well below the crease too. This stage took the longest because it takes patience to build up this shadow to get the right intensity. It also needs a lot of blending so that it looks seamless. I wanted it quite dark so I just kept blending it and adding more product to the brush. Next, using a small eye liner brush I outlined the area I was going to apply Clearwater. I wanted it across my lid but I wanted to keep it quite low so that it was not near the crease. I drew a line across the middle of my lid, following the curve of my eye from inner corner to outer. I dragged out the line on the outer corner because I wanted to create an elongated outer flick. I then used a flat shadow brush and filled in the lid with Clearwater. I really packed it on to make the most of the pigment. This is one of the few times when I will say don’t blend this colour! The lines need to be sharp and precise to create a good contrast with the dark shades above it. I then applied black gel liner creating a very bold flick at the outer corner. It is important to clean up under the eye area. This will help sharpen the outer flicks. The liner should be extended further than Clearwater so that the bright blue shade is kept low and tight on the lid. This is a bit hard to explain but have a look at the photo below and it will make more sense!

Moving on, I applied my concealer under my eyes, being careful not to smudge out the eyeliner flicks. I then applied my foundation, highlighter, and contour. Have a look at my highlighting and contouring post for more specific details. I then set my makeup and my under eye area. This is a necessary step for me because otherwise my foundation and concealer would be a disaster within an hour. If you have dry skin you might want to avoid setting powders. Finishing off my face I applied my blusher.
Going back to my eyes I sculpted my brows and applied a coat of black mascara and my false lashes. I didn’t want to do to much to my lower lash line, I blended Barcelona Beach and Soft brown along the lash line from inner corner to outer and I applied a deep brown kohl liner to my water line and finished off by applying mascara to my lower lashes.
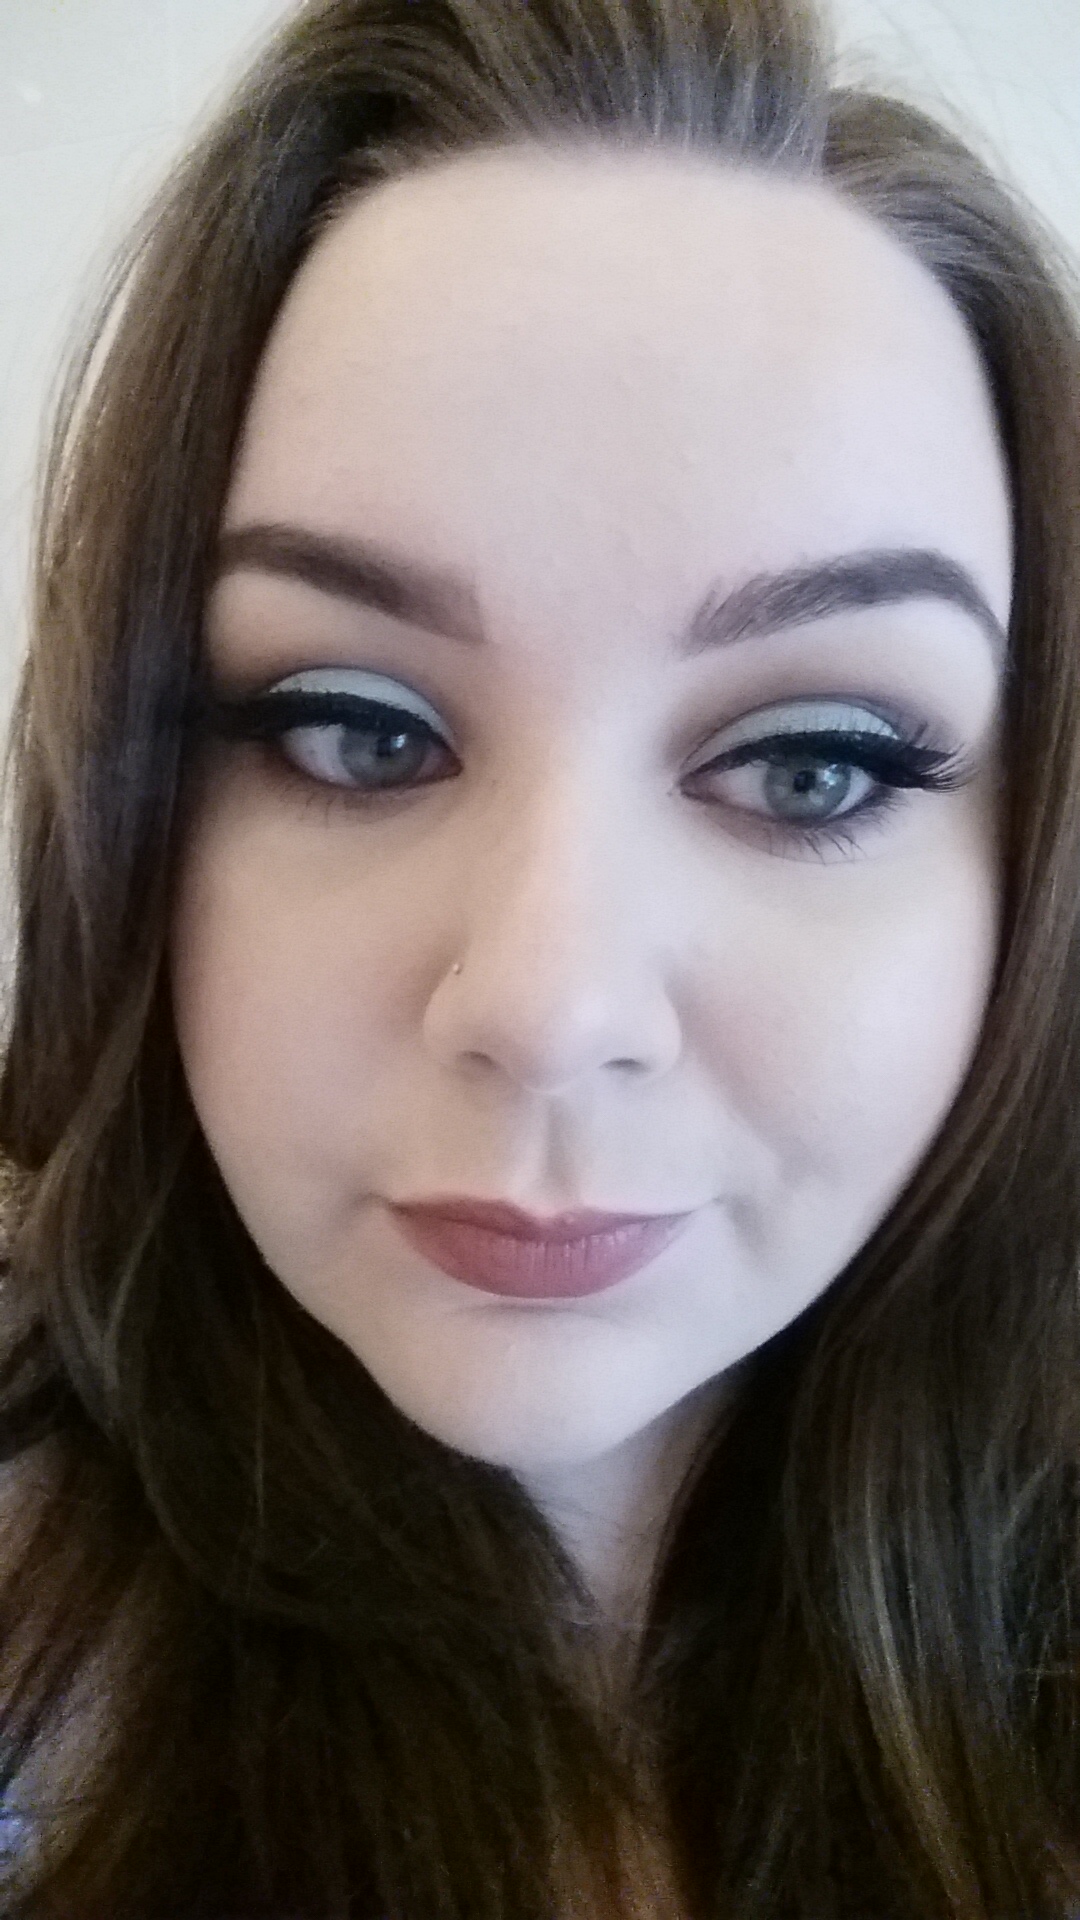
I topped it all off by applying MAC’s Brave lipstick.
This is a bold, eye catching look. It can take some time to do but is worth all the effort!

Product List:
Foundation: MAC – Studio Sculpt NW10
Concealer: MAC – Pro Longwear NC15
Highlighter: MAC – Prep and Prime Radiant Rose
Contour: Chanel – Soleil de Tan
Setting Powder: MAC – Mineralize Light and Light Plus
Blusher: MAC – Dainty
Brows: MAC – Brow crayon Lingering
Eyes: Shadow: MAC – Soft Brown. Makeup Geek – Peach Smoothie and Barcelona Beach. MAC – Paint pot Clearwater.
Liner: Rimmel – black gel
Mascara: Smashbox – Full Exposure Black
False Lashes: Ardell
Lipstick: MAC – Brave
Hello

