A Little Fun With Naked 3
Over the next few days I am going to create my favourite looks using the Urban Decay Naked 3 palette and post them. I love this palette and I want to show you just how many different looks you can create. I have picked my top four, two everyday looks and two blown out smokey looks. I’m pretty sure you could create 44 looks with this palette but the following 4 are my absolute favourites; my go to looks! Hope you enjoy it! xx
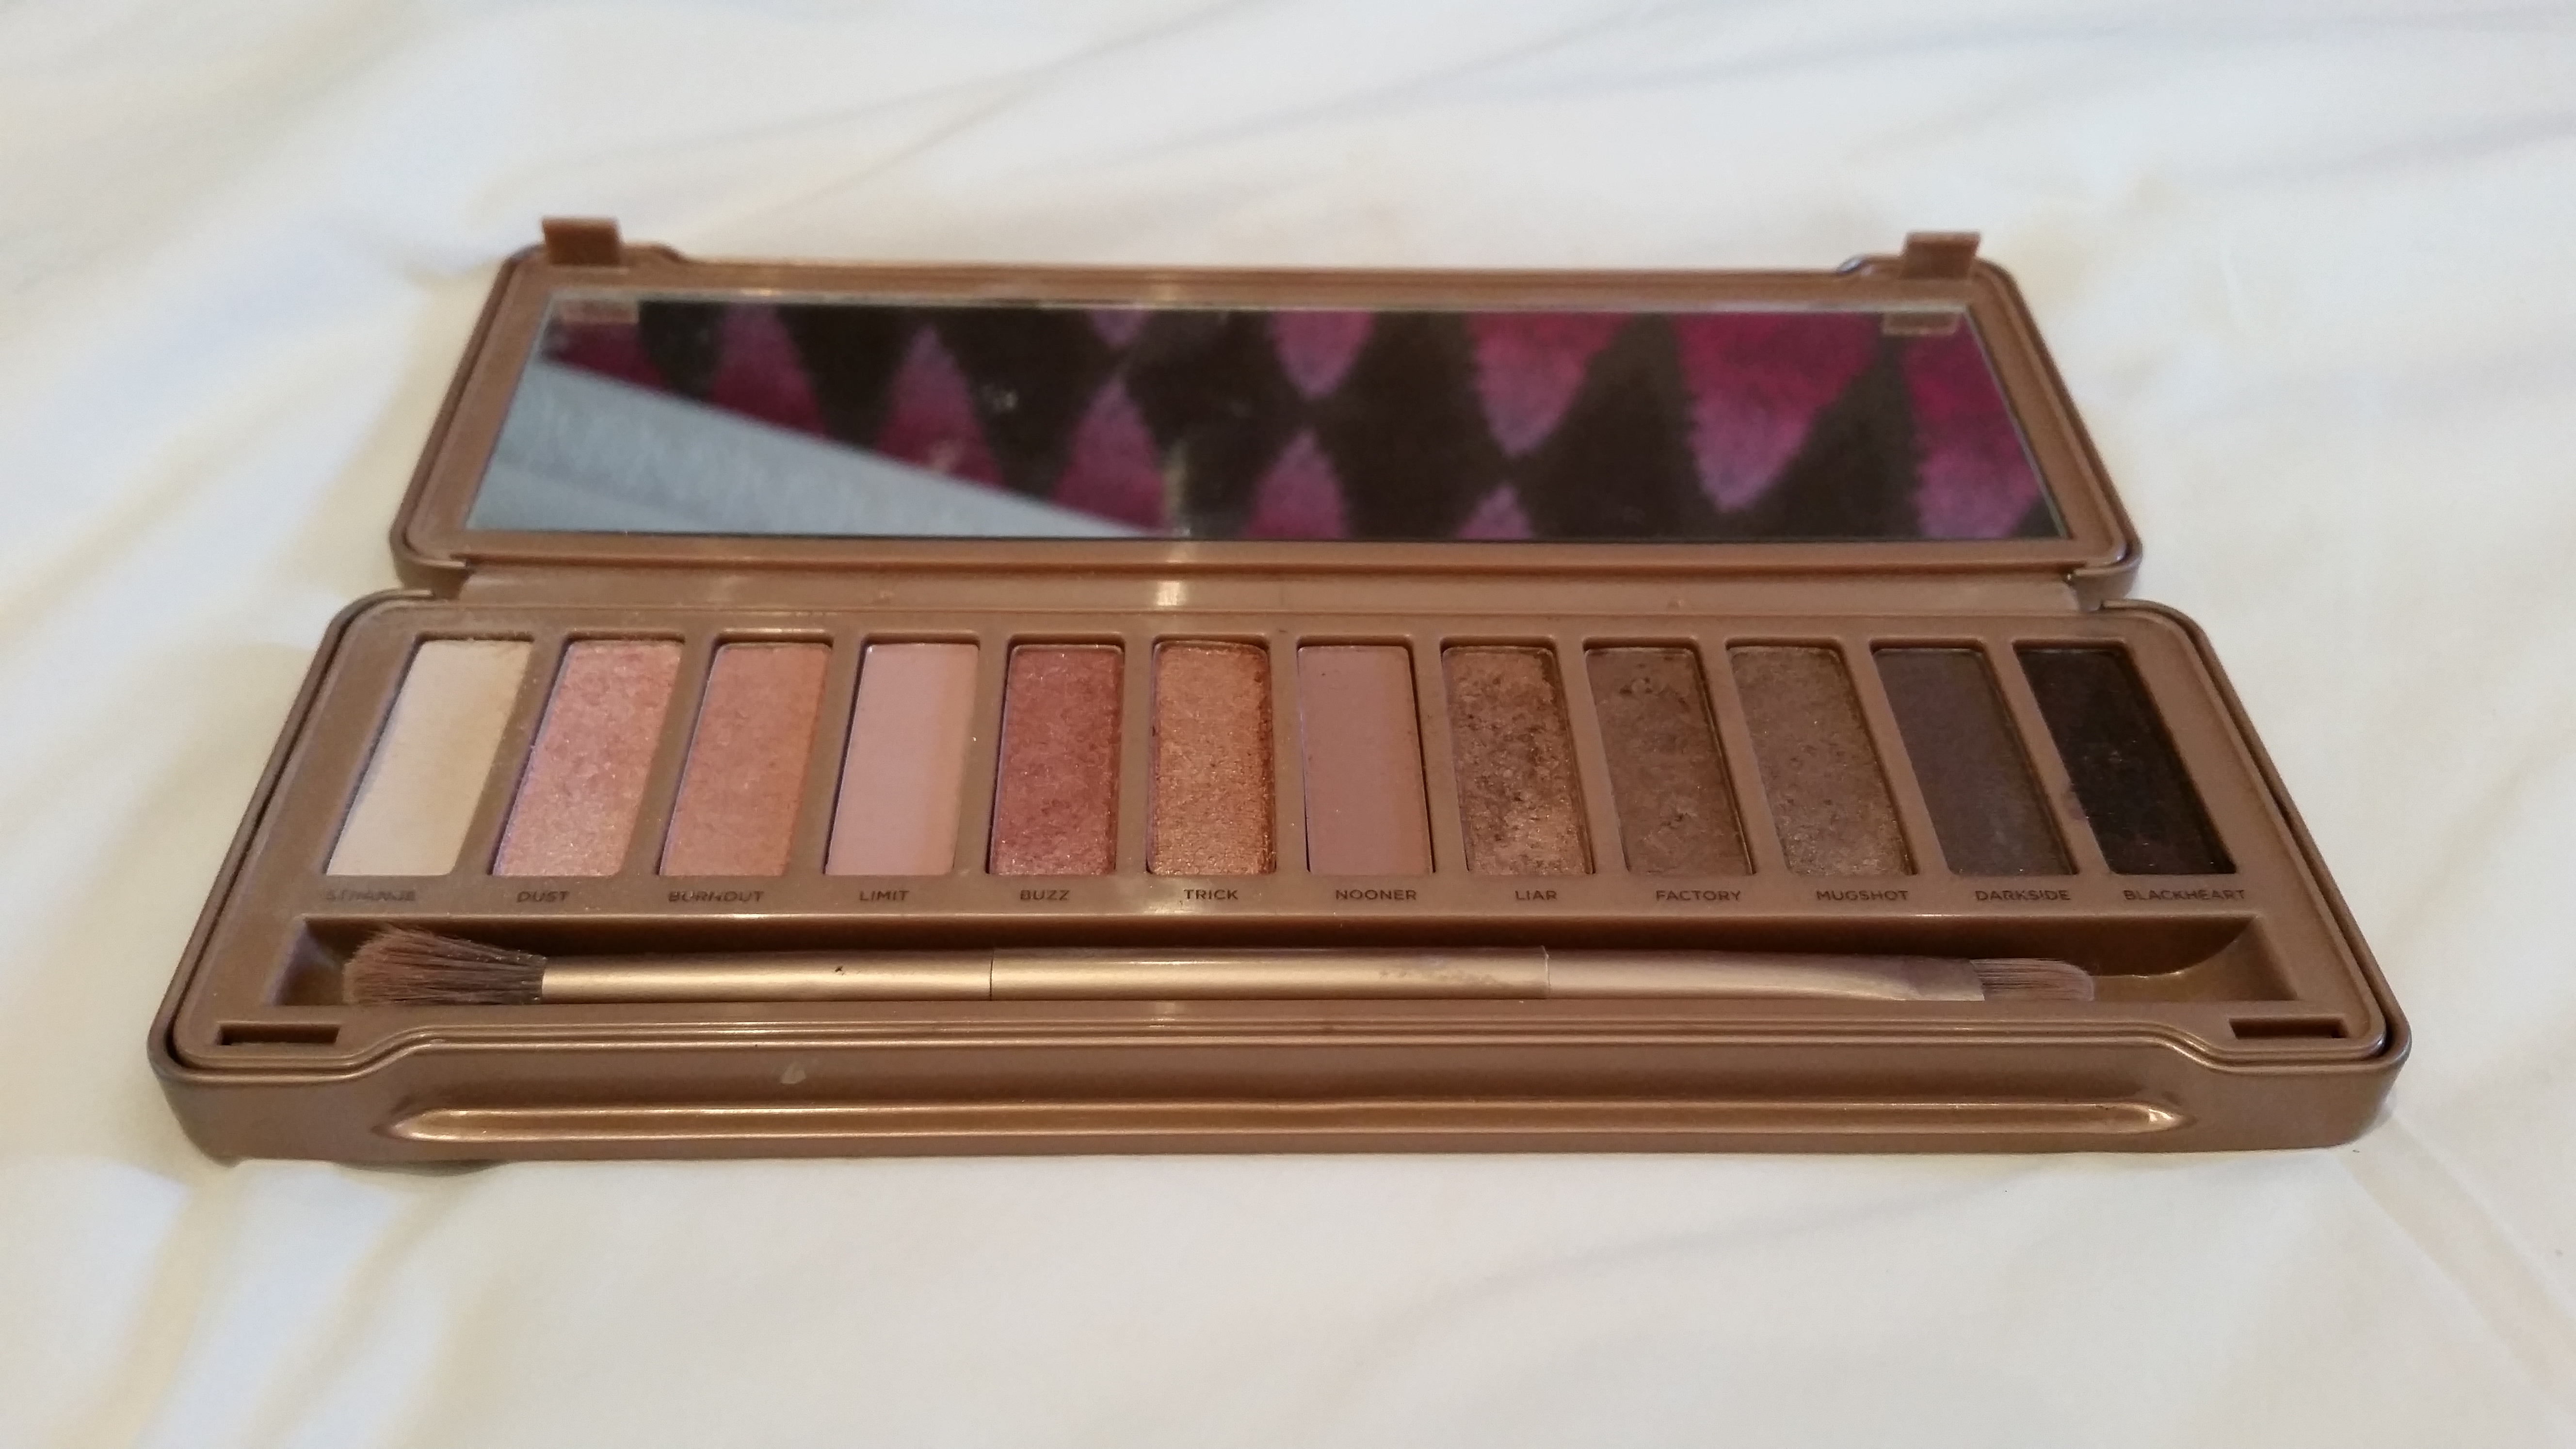
 Firstly, a little bit about this palette. It has twelve gorgeous pink-toned nude colours with a fun combination of shimmers, mattes, and metallics; something to suit every occasion. What is great about this palette is that it takes you from highlight shades, through transition shades, and into the deep shades, which means you can create any look you want. Whether you simply want a subtle hint of colour across your lids or you want a full blown, all out there look, you can do it. It’s a great palette to travel with in this respect. Bronze, gold, and pink are shades that suit all eye colours, they are very flattering and complimentary. Retailing at €44 it is expensive, but with 12 eye shadows it’s just about €3 per shadow, and they are substantial sized shadows for such a big palette!
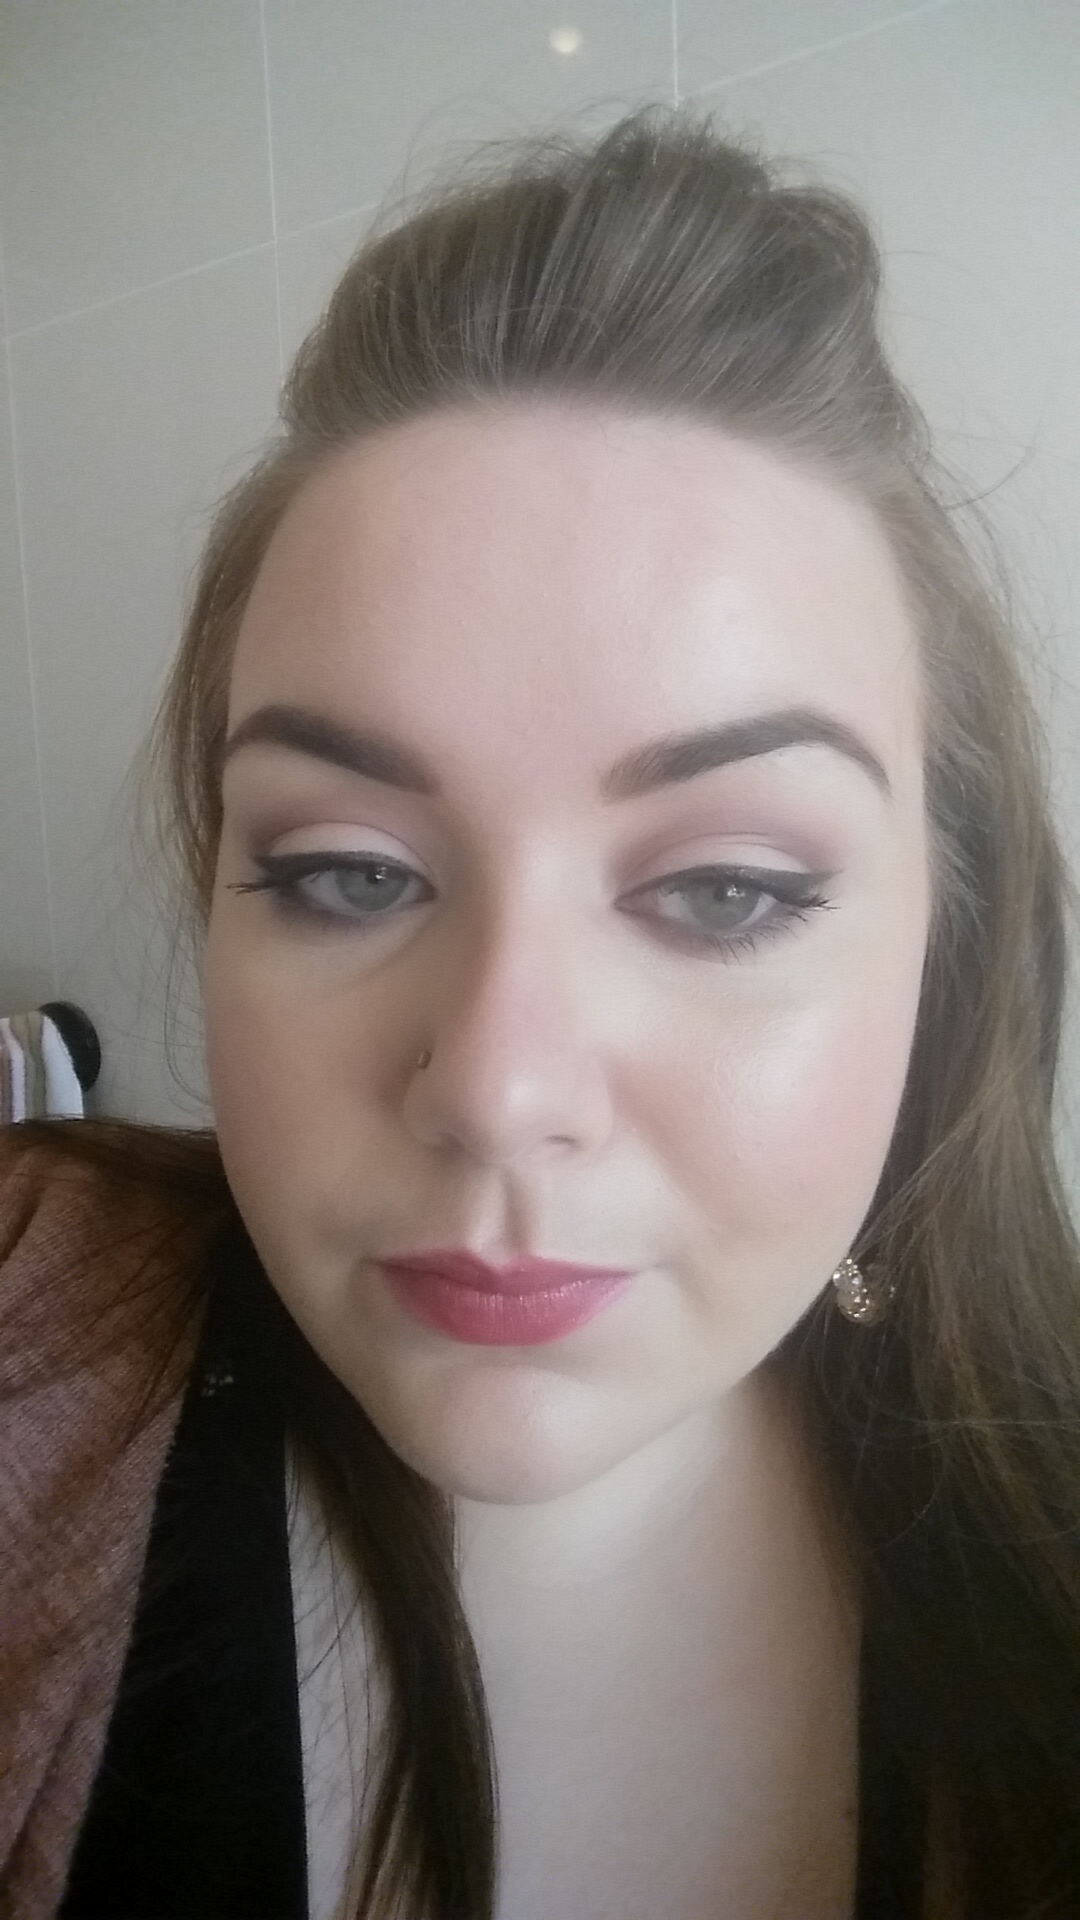
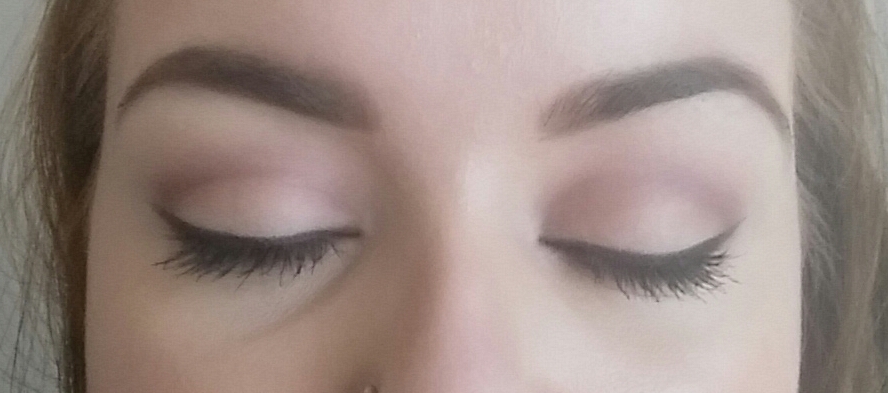
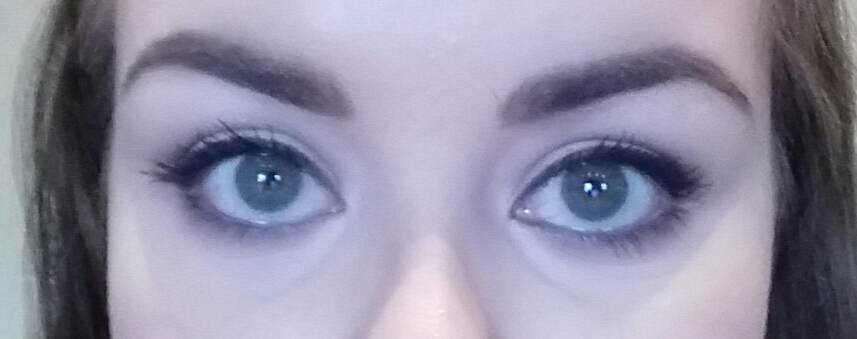
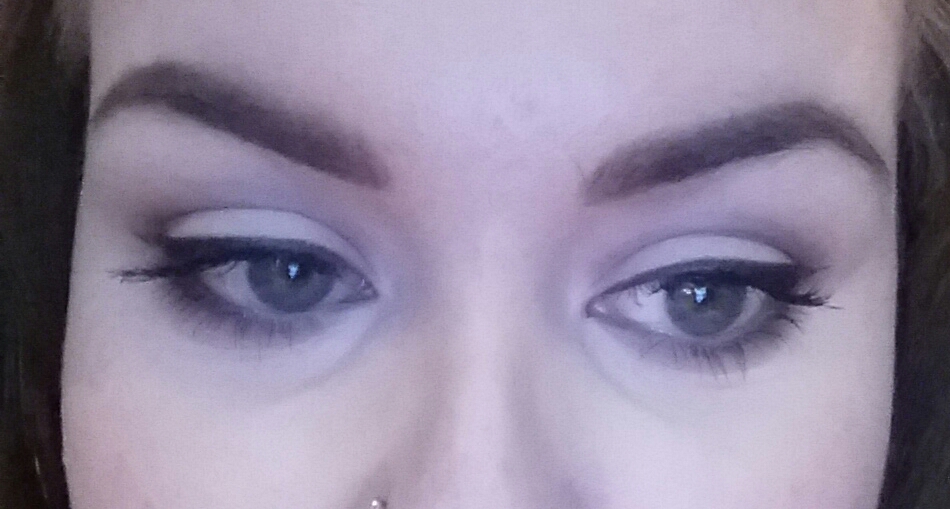
So, without further ado, here is my first look: The Cut Out Crease
This is a look I keep coming back to. It is so handy for any occasion, keep it subtle for casual days and blow it out for more definition. I wear this look on an average day where I want something nice, without too much effort. In the photos I made it quite smokey and did a lot of blending, if you want more of an impact, keep adding to the crease and building up the colour. First take Limit and apply it to the upper crease area, pushing it up towards the brow bone. Then, using a tightly compacted shadow brush sweep Nooner across the crease. Keep this low in the crease for the first application. Then, taking a looser-bristled brush with only a small amount of Nooner on it, go in and blended out the crease. Try to stay tightly in the crease area and work up instead of down. I was very light handed with my application but keep adding colour and you will get a very deep crease. I darken the crease from the very outer corner to the very inner corner, putting more emphasis on the outer. Then apply Strange to the lid below the crease. It is important to make sure this blends seamlessly with the dark crease so keep blending. The more you blend the better it will look. Next use a damp liner brush to line the upper lash line with Blackheart. The lower lash line is optional, if you want to leave it bare, do, if you want to go all out, do that! I went relatively intense with mine, blending Strange and Limit under the lash line and then adding Blackheart to the lash line and blending it out. Finish off with a few coats of black mascara and you’re done! A gorgeous elegant look with minimal effort.

Stay tuned for my next Naked 3 look, xx
Hello

