Look of The Week
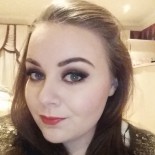
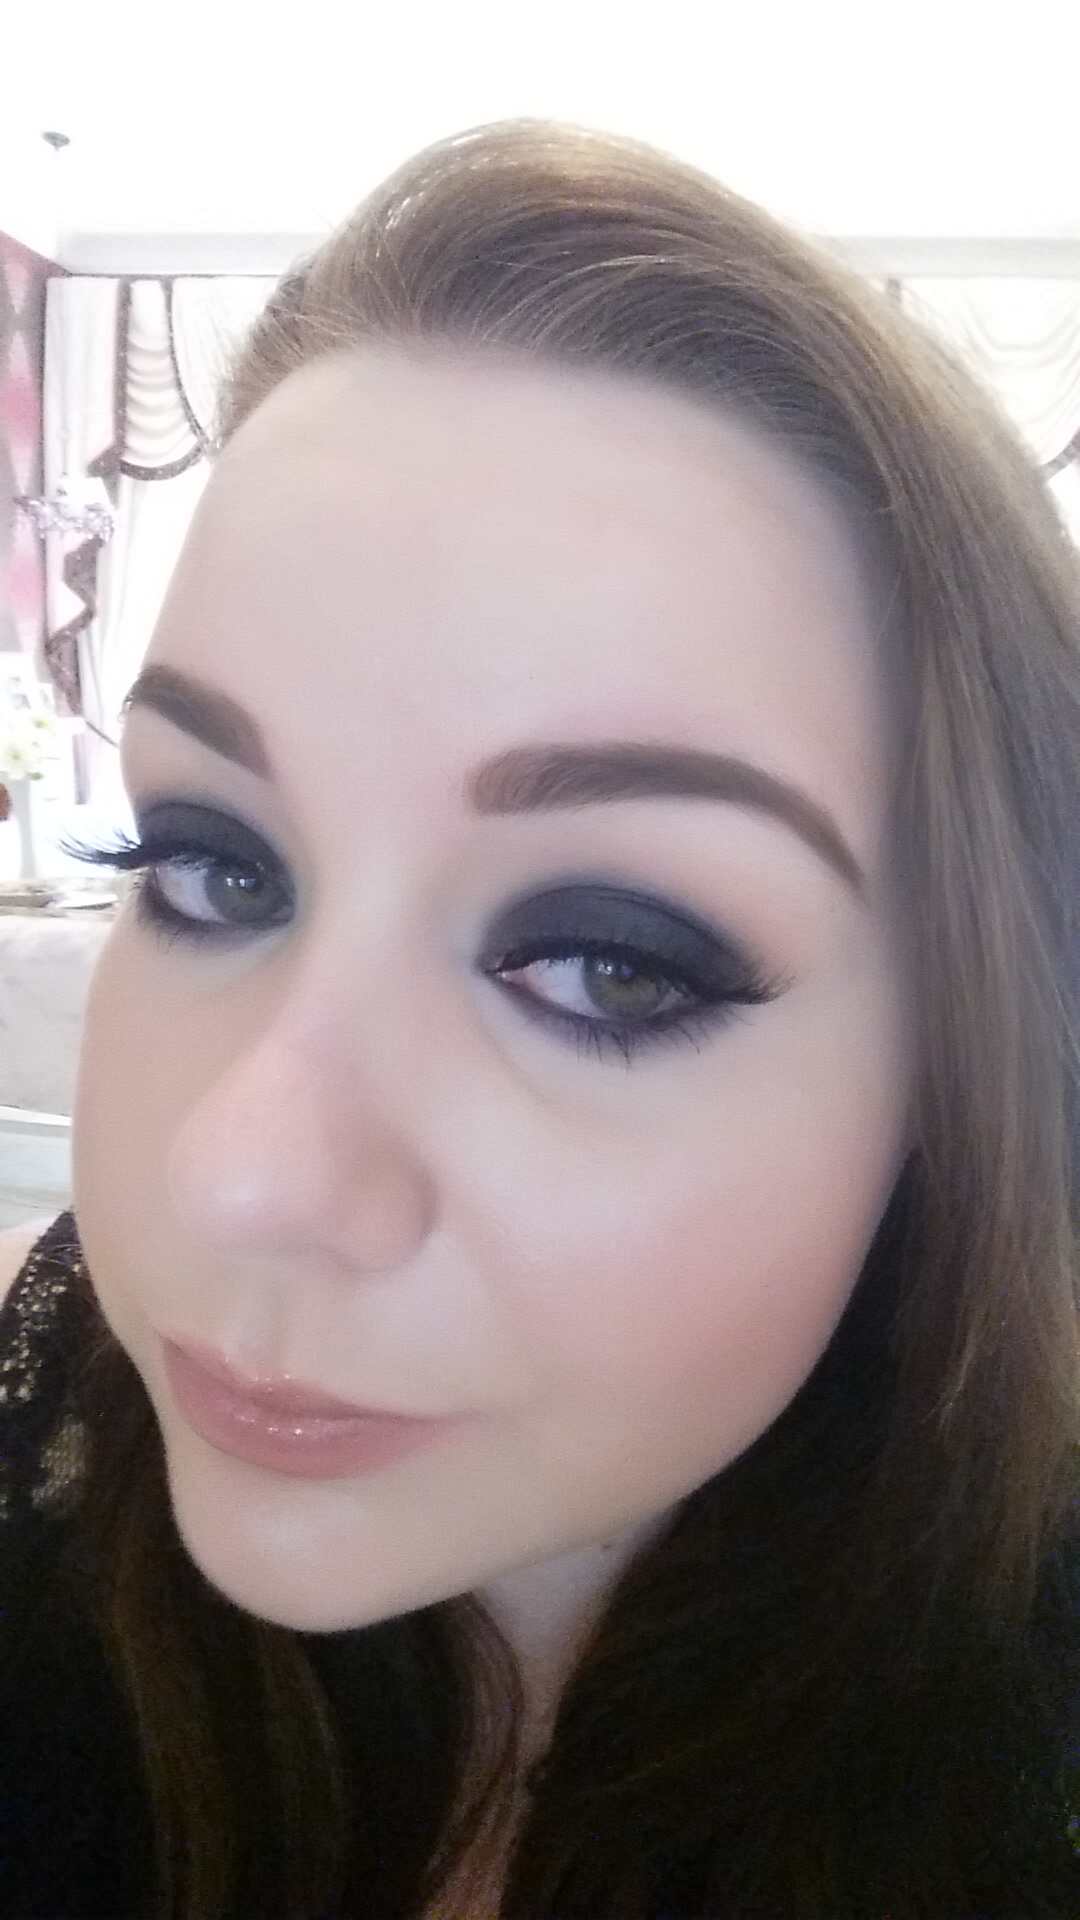
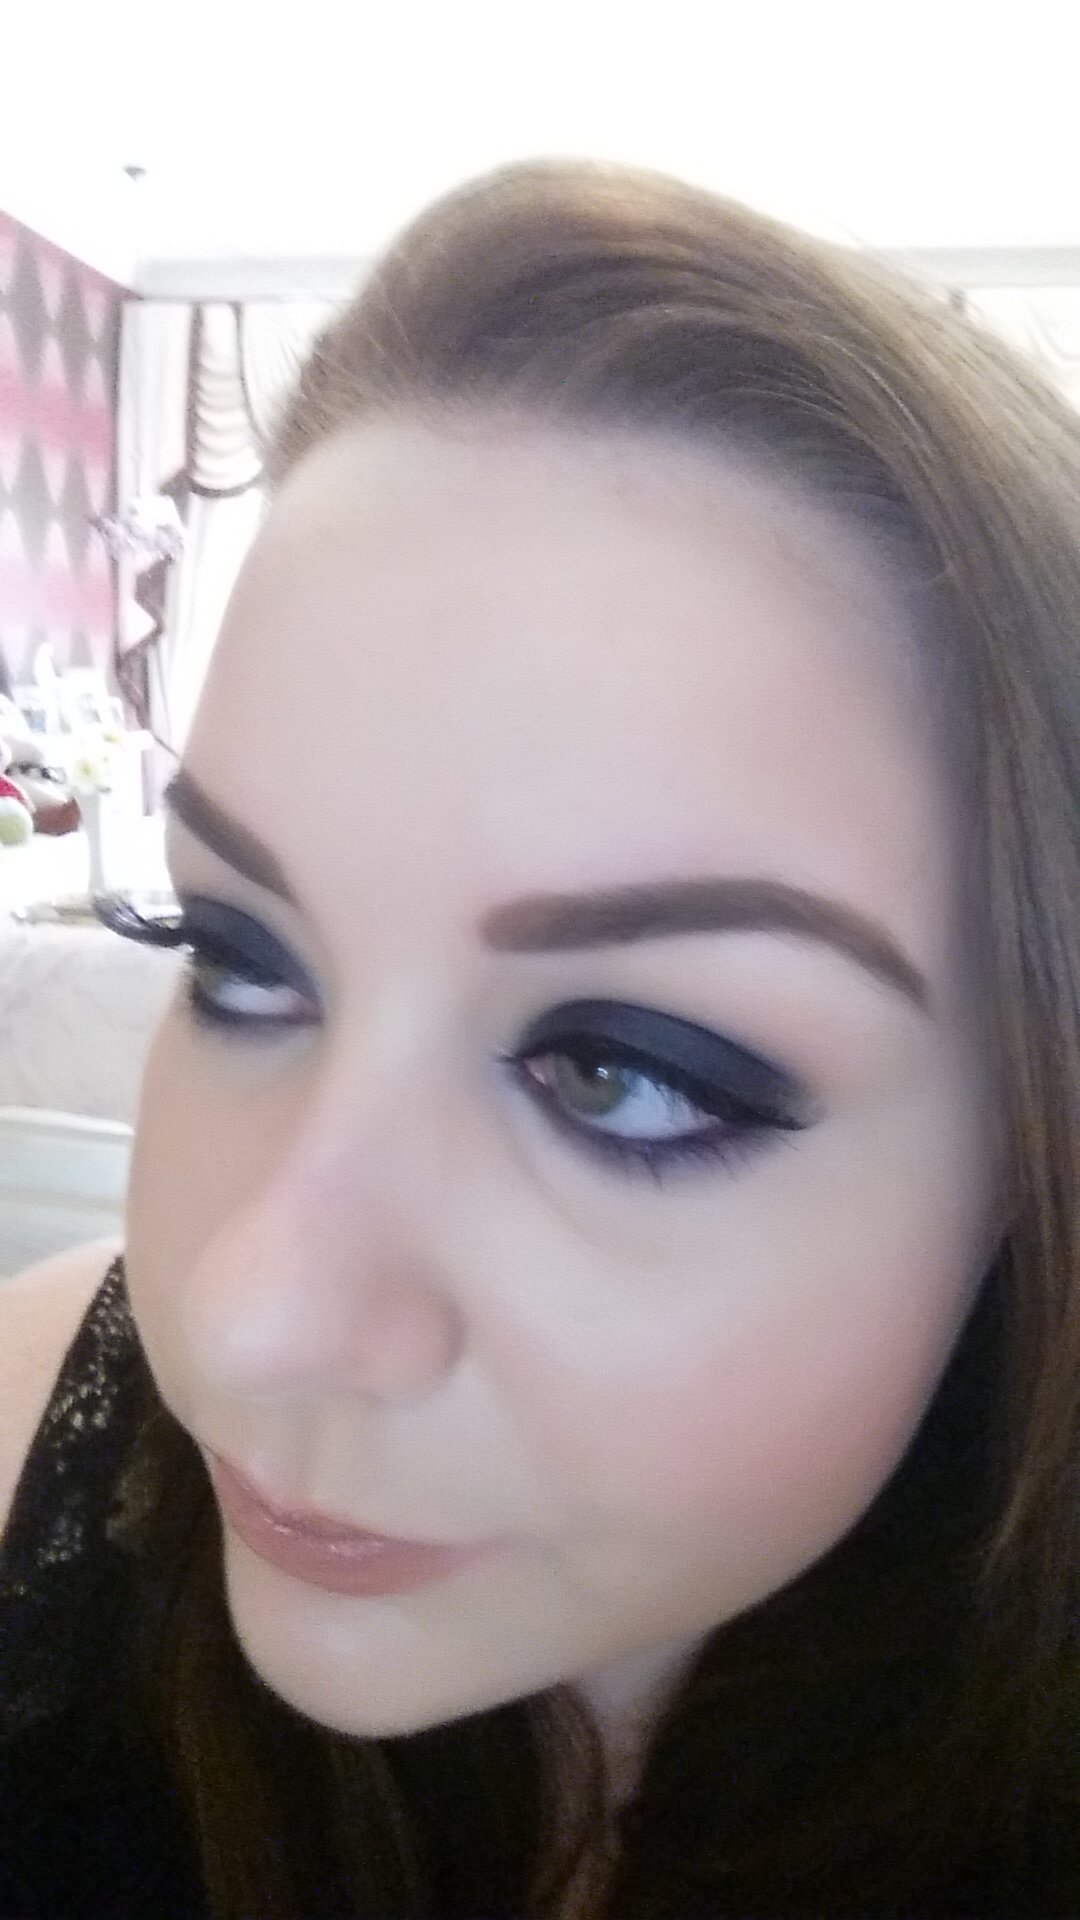
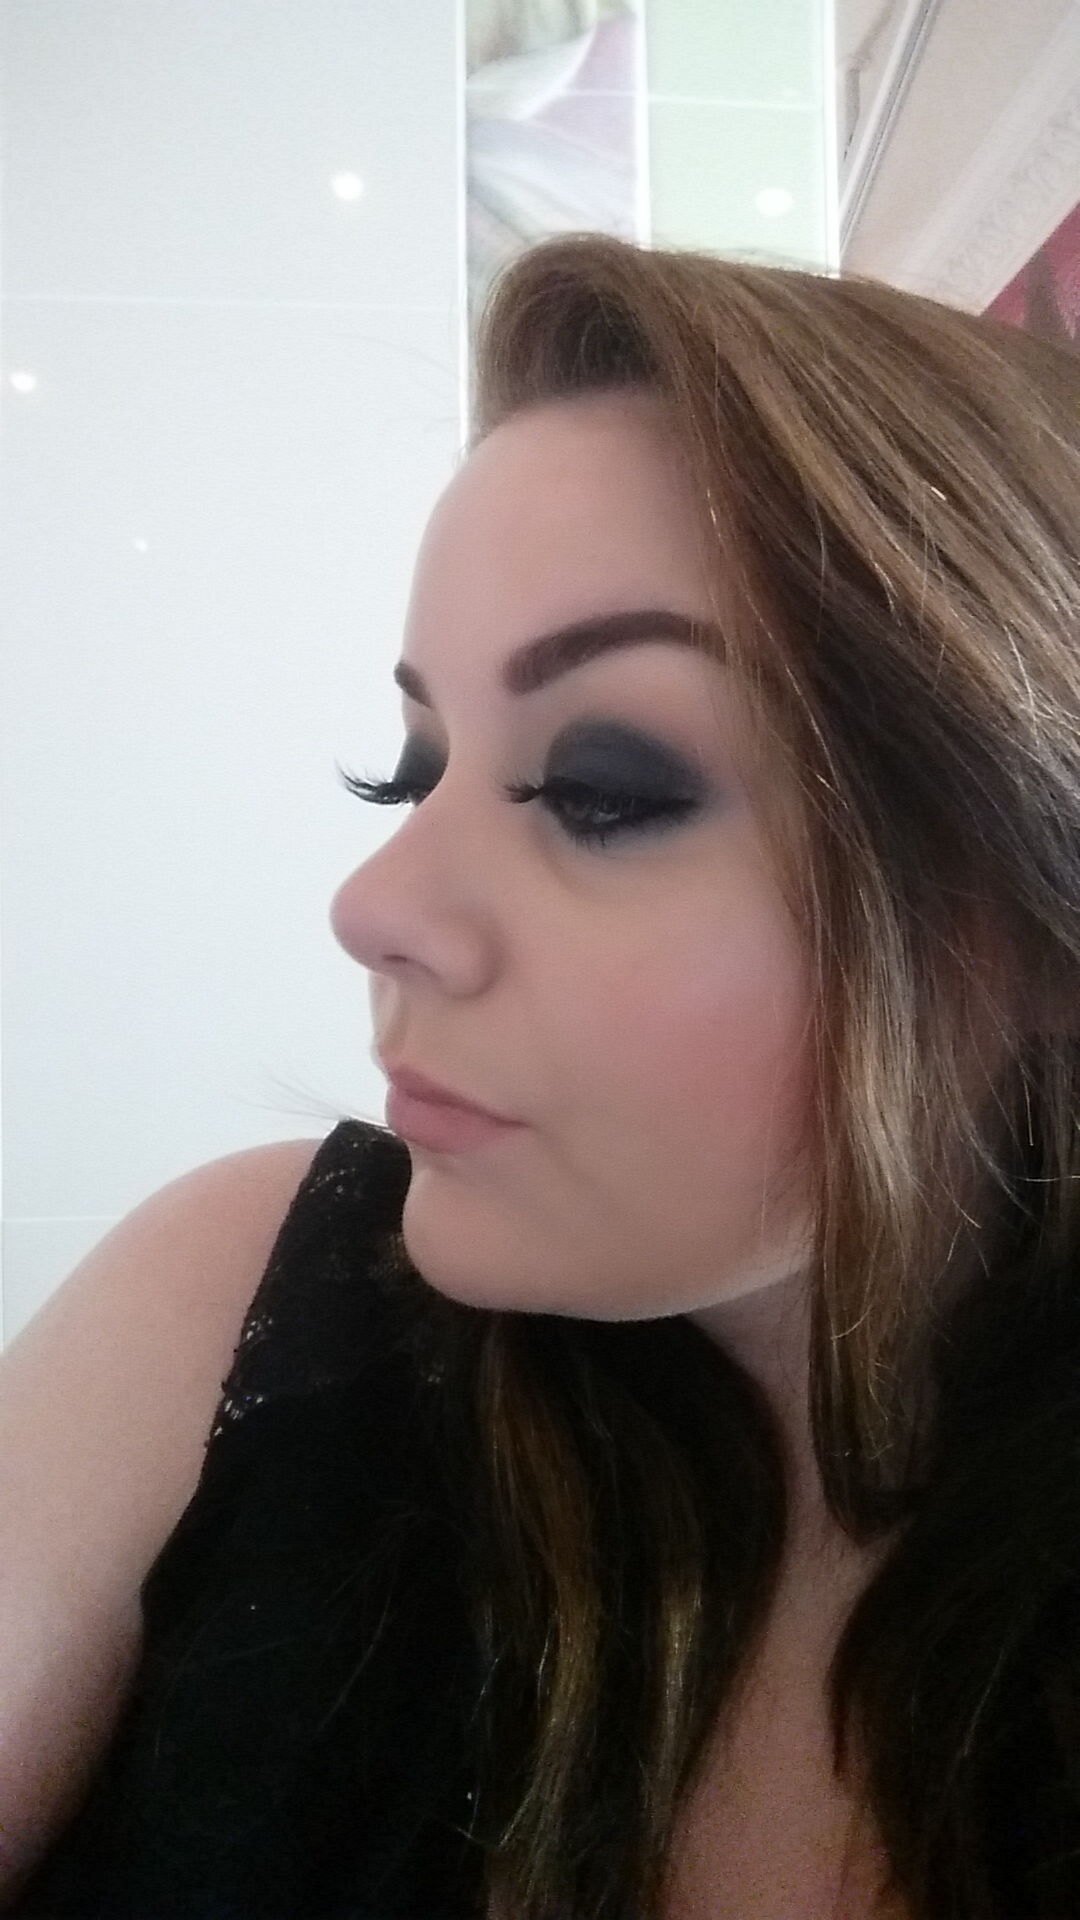
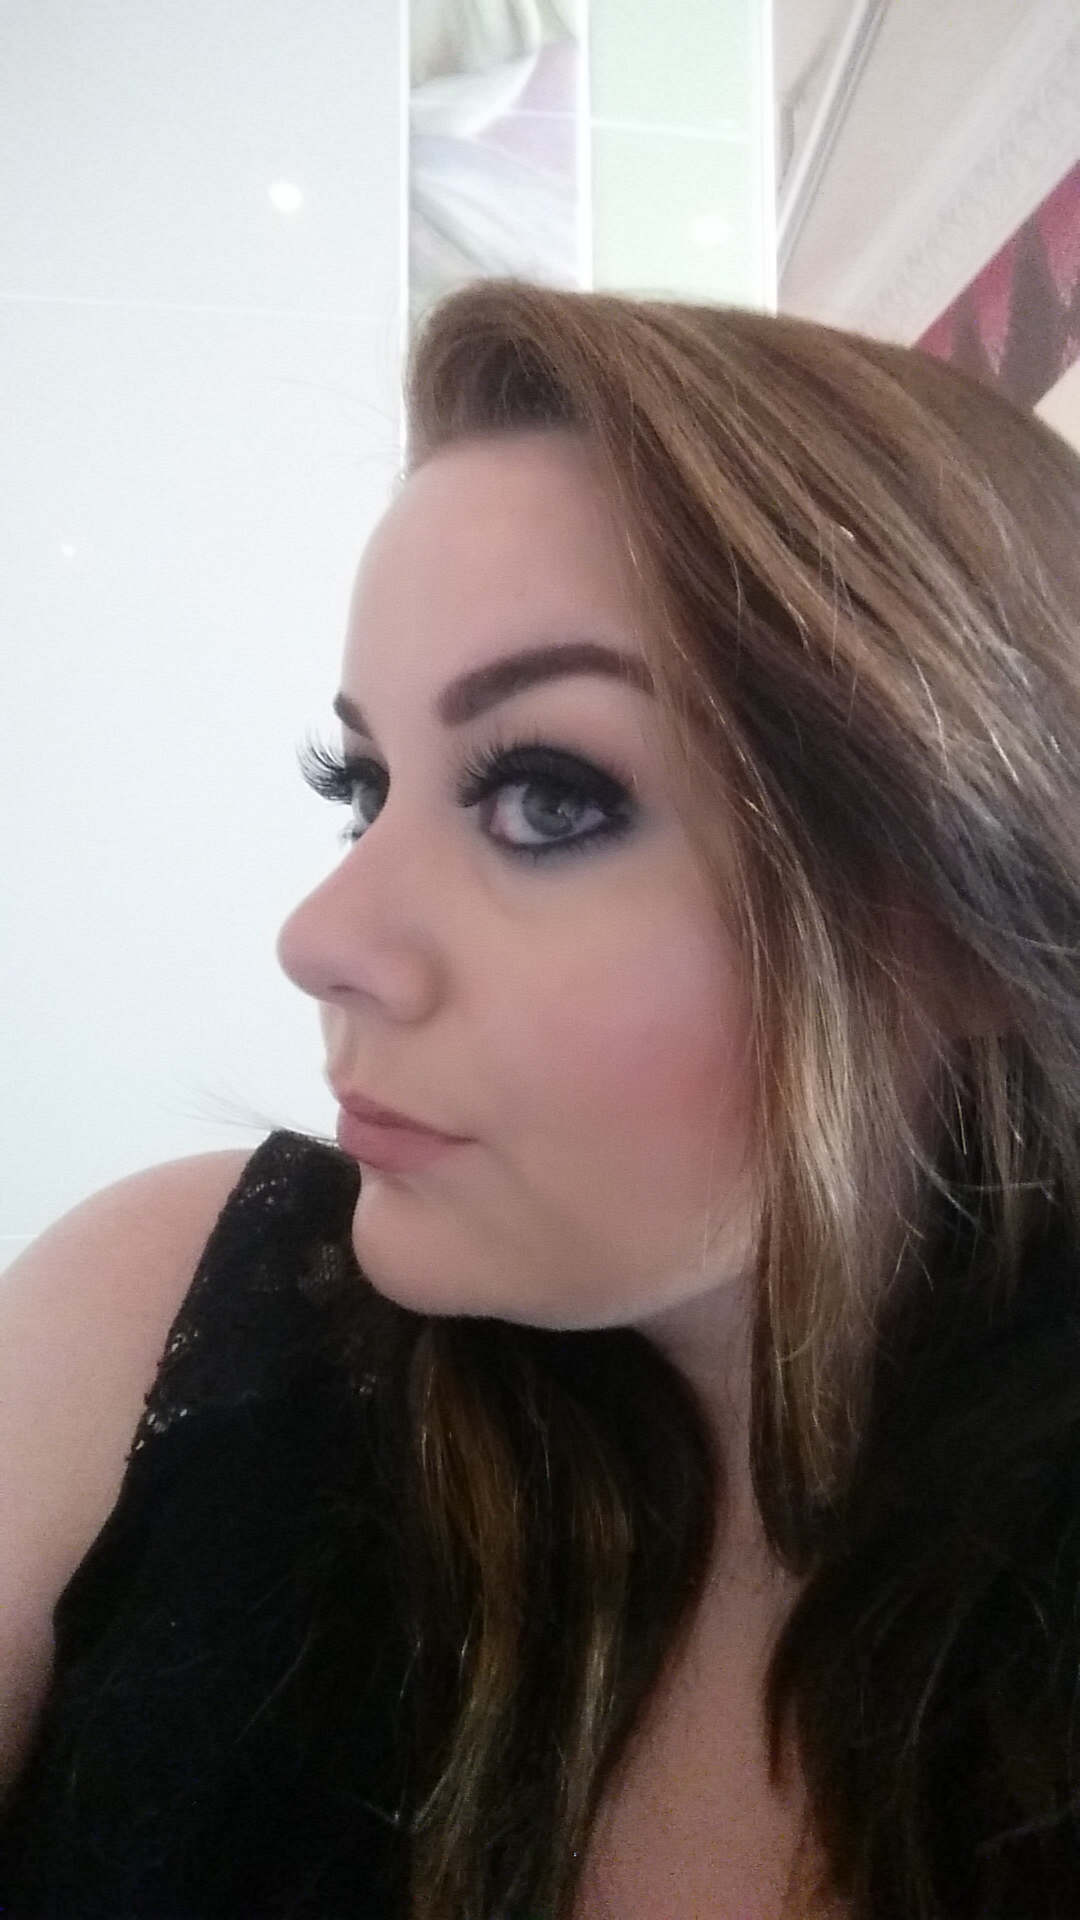
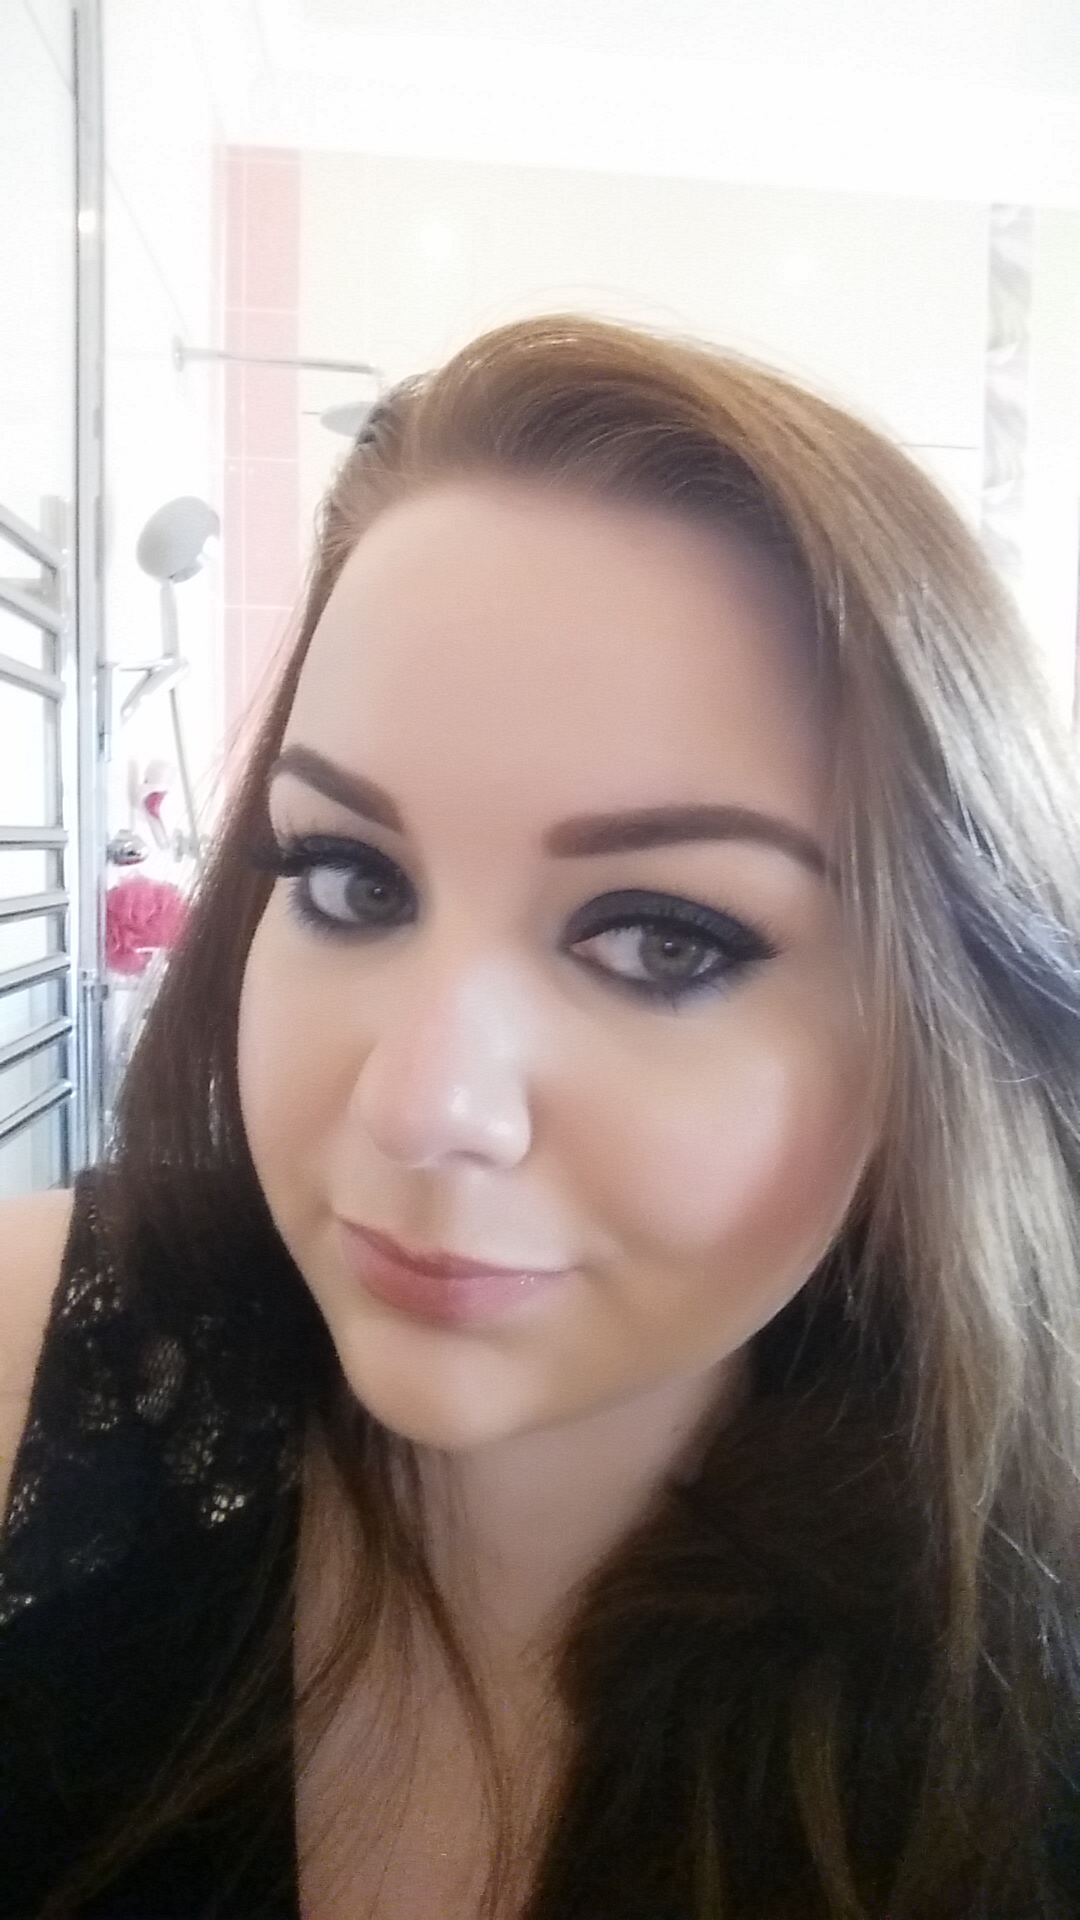
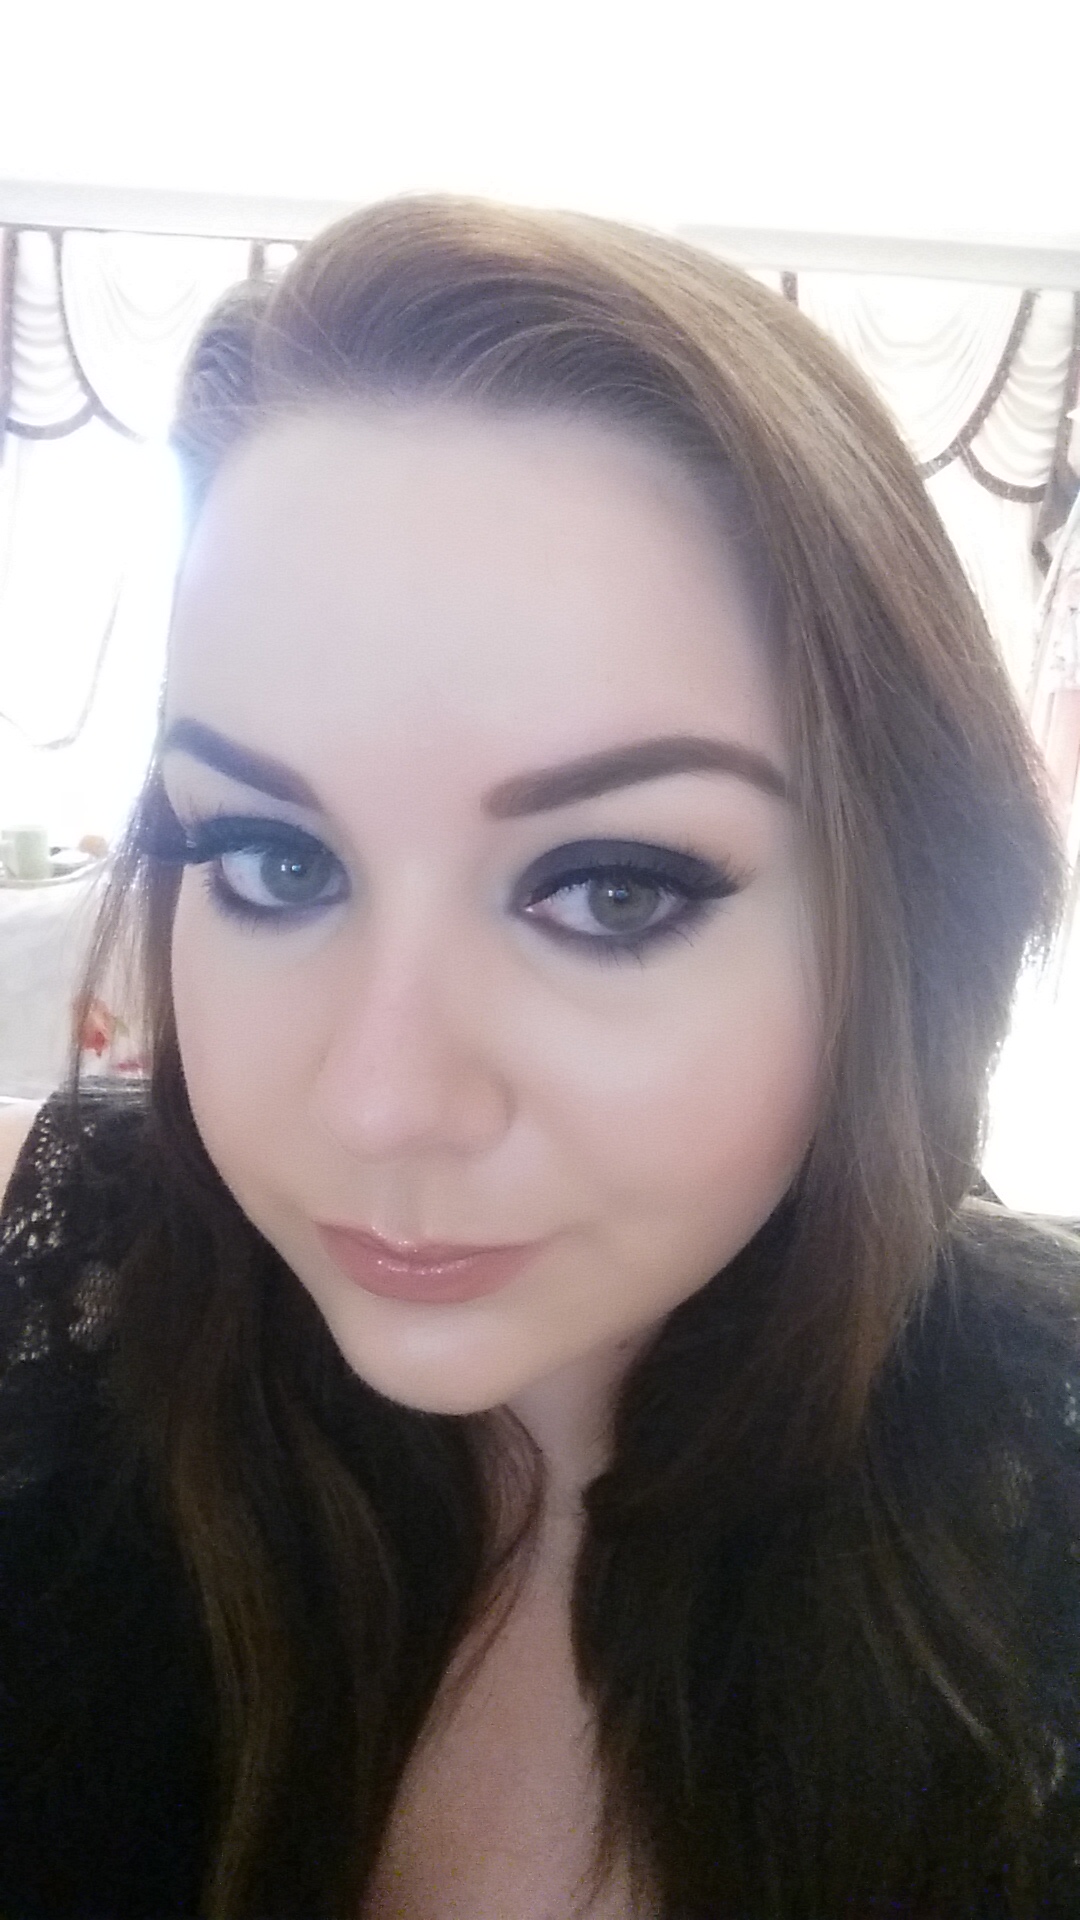
I haven’t done a proper smokey eye in a long time, so this week’s Look of The Week is an intense but simple navy blue smokey eye, paired with a fresh face, and a nude lip. Hope you like it!

I got my inspiration for this look from Home and Away, I love the new character Phoebe, mostly because of her makeup. Apart from being simply stunning, Phoebe pulls of an amazing smokey eye every day. Seeing her wear an intense smokey green eye all day every day made me think we should all be able to wear a smokey eye whenever we want and not just on a night out. I have found out that I am not as cool as Phoebe so I can’t pull off a daytime smokey eye! Maybe I will pare it back a tad for the day light hours.
So to begin as always we prep and prime our skin. Priming your eyes is very important for this look, you want intense colour and smooth shading and blending, you also want it to last all day (and maybe all night). I used my magic potion primer as per usual, and I also applied my concealer for extra hold, and a smoother canvas. I then took my Sigma large blending brush and applied my transition shade to my crease area. For a navy smokey eye I like to use a peach coloured transition shade, my favourite is Urban Decay’s ABC Gum. I applied this liberally all over the crease area bringing it very high toward my brow bone. This shade is important because without it the navy shade will look too intense and heavy. This shade will help blend it out and diffuse any harsh lines. Next, I used MAC’s Tickety Boo, which you will probably have noticed from previous posts is my other favourite transition shade. I applied this to the crease area, being more specific about keeping it in the crease. This also helps to blend and diffuse any harsh lines.
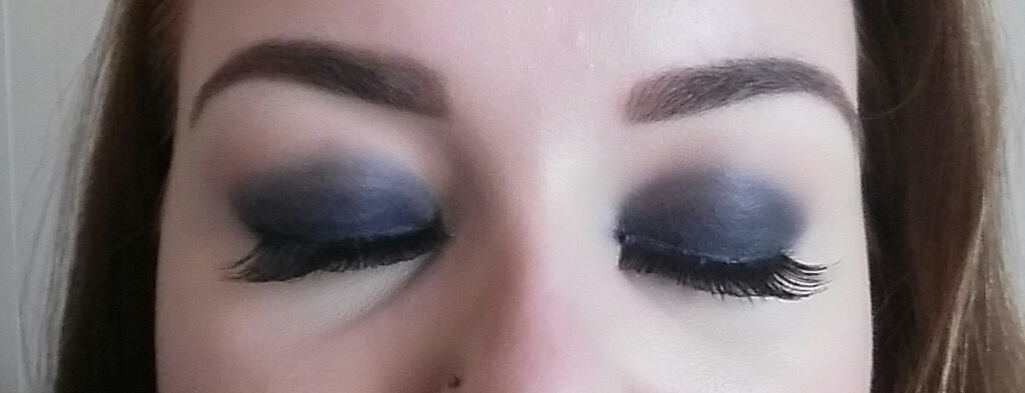
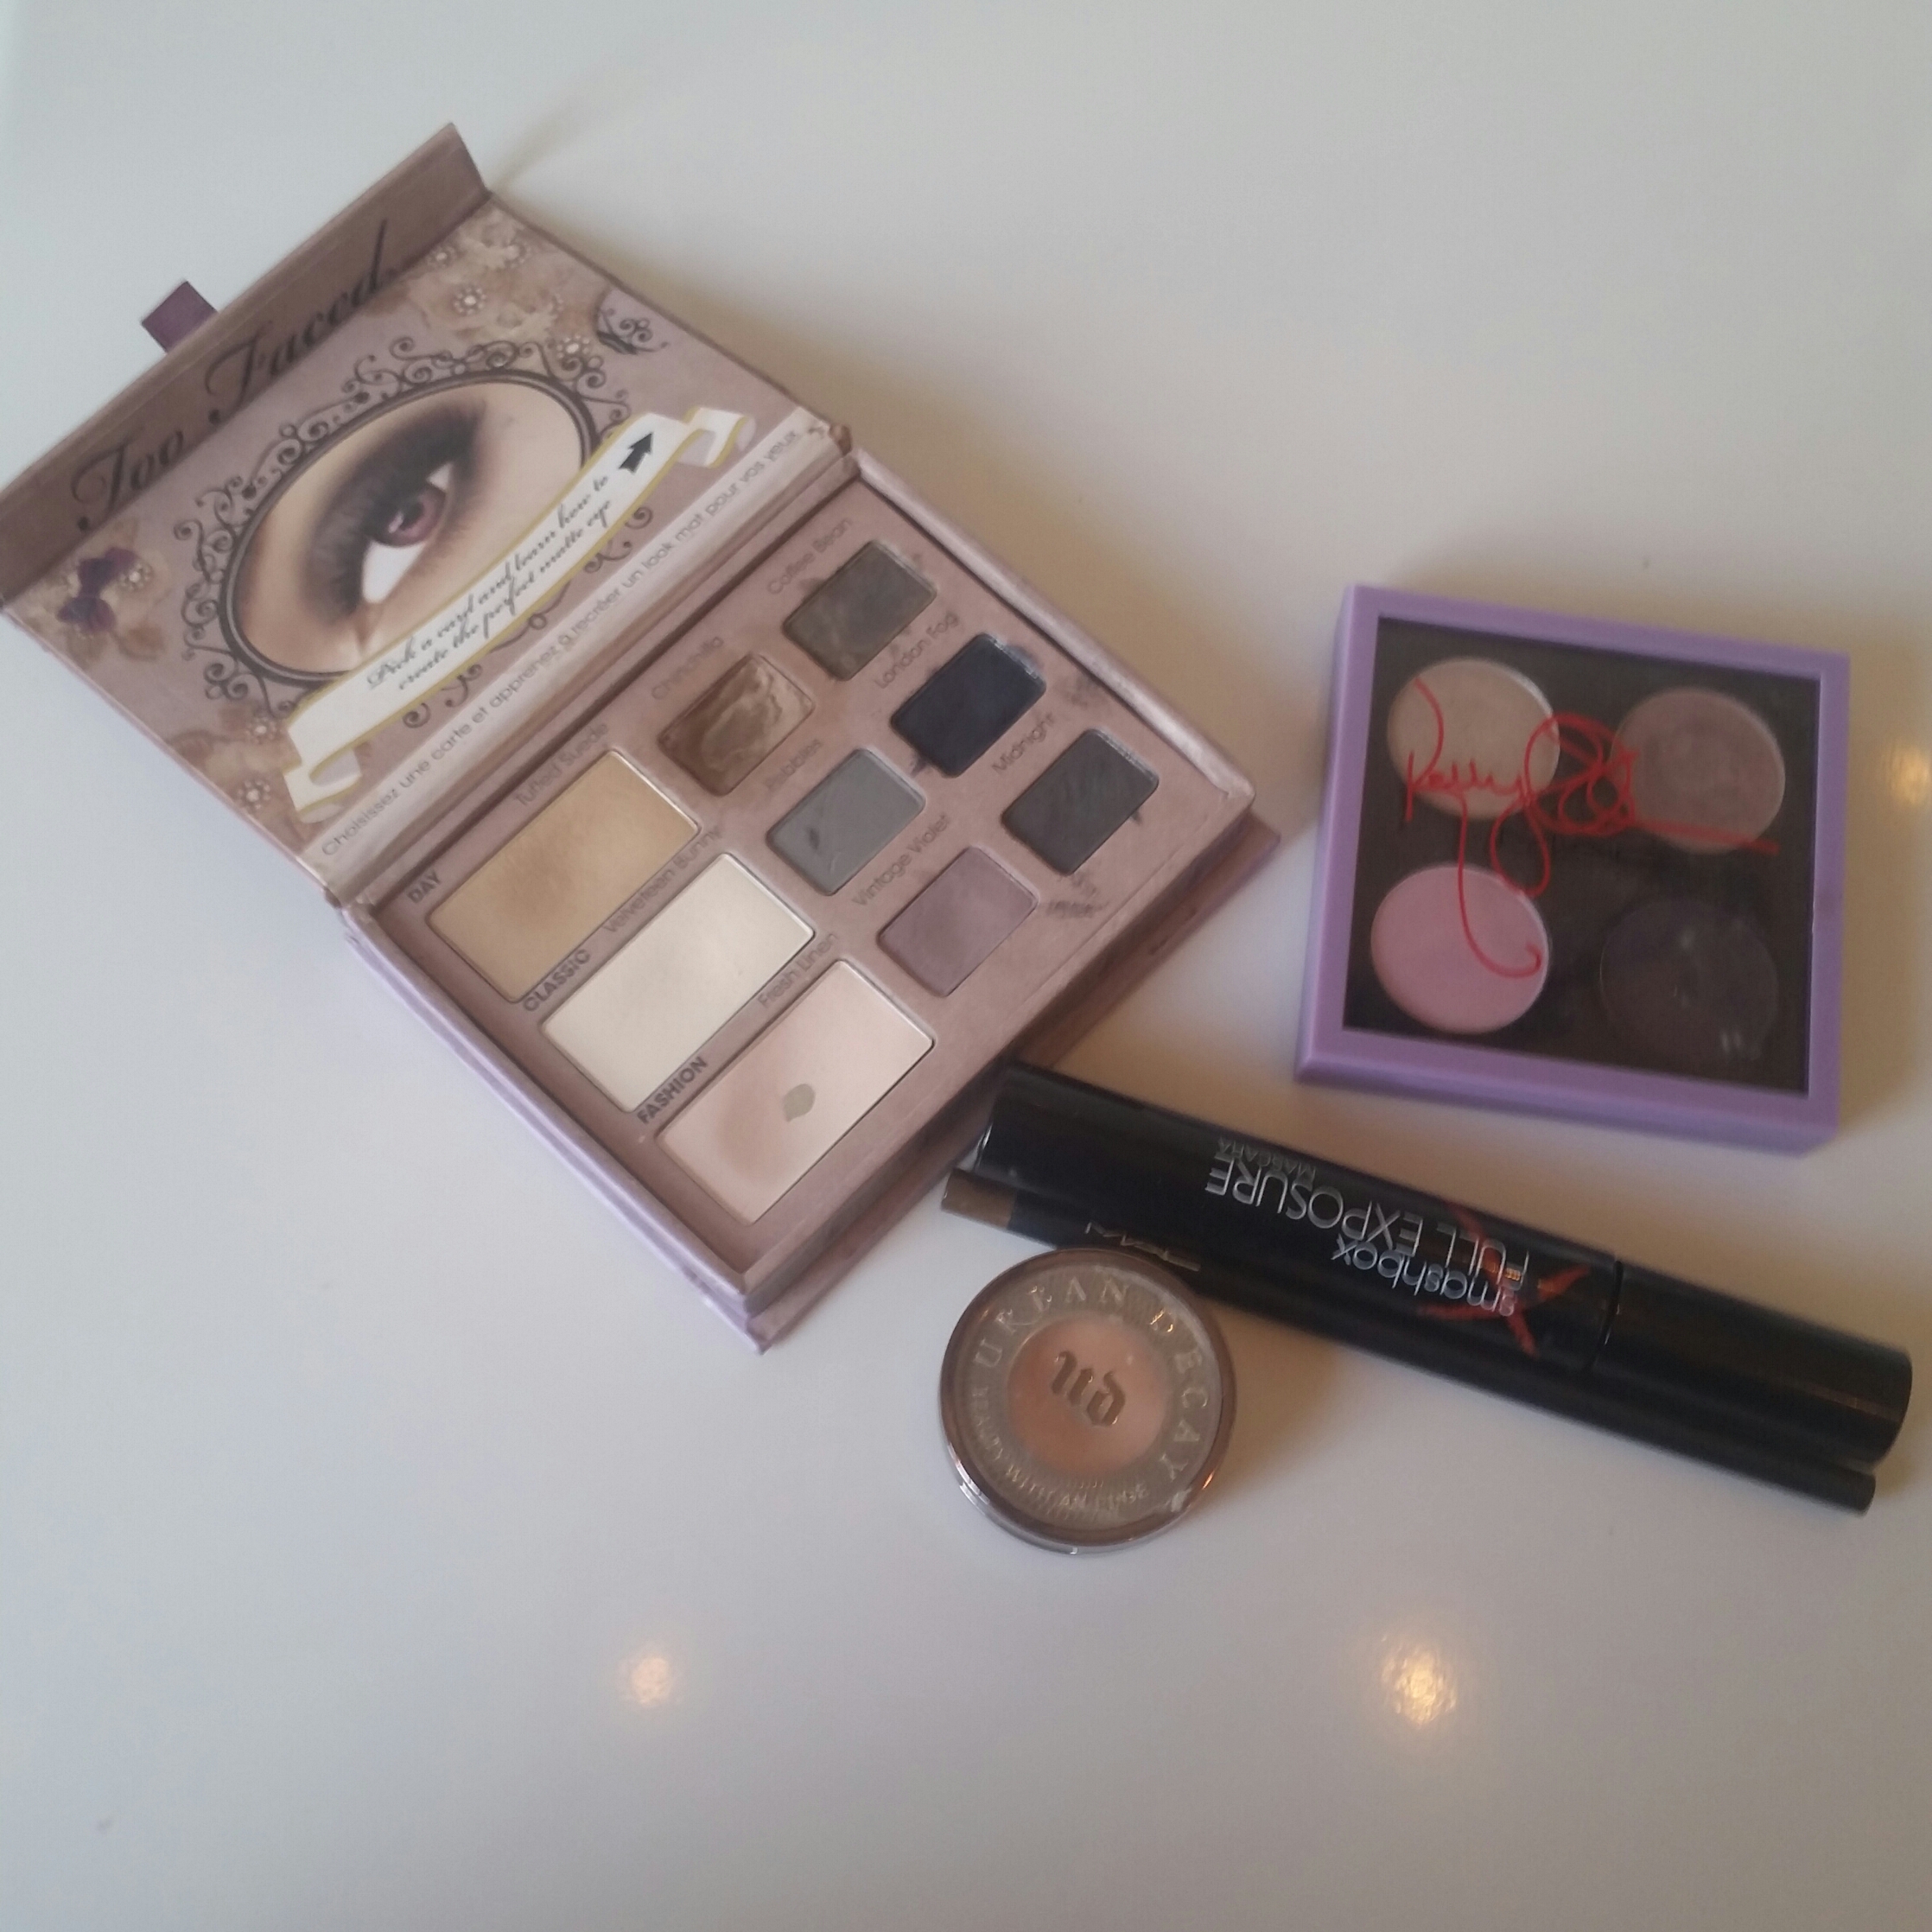
Using a natural bristle eyeshadow brush I applied my smokey colour. Smokey eyes are not all about darkness, black is not your only option. I used a navy blue from Too faced, but you can use almost any shade as long as it is dark and pigmented; plums, purples, greens, greys, browns, there are many options, just remember to keep them dark and intense. Apply your smokey shade all over the lid, you don’t have to be too neat with it, just pack on the colour all over. I bring this shade up into my crease and out to the outer corner of my eye following its natural shape, I tend to avoid any wings, just sticking to the shape of my eye lid. As always blending is essential, the shade needs to be super intense on the lid and then fade away the higher it goes, it helps to go back over the crease area with the blending brush you used for your transition shade. This will eliminate harsh lines and create that smokey effect.
Once you are happy with your smokey lid you can move on to concealer and foundation. With such dark shadow you will probably need to wipe away the fall off from under your eye with an eye cream or moisturizer and a cotton bud, just be gentle. When I was looking less like a panda I applied my concealer to my under eye area with the Sigma tapered kabuki brush. Because I wanted the eye area to be bright and open to balance out the dark shadow, I brought my concealer down from my eye in a triangular shape, bringing the tip down almost in line with my nose. This helps to brighten up the whole eye area. Next I applied my foundation, I had a sample of Bobbi Brown’s foundation stick that I tried (not a fan). I then used my powders to set my foundation and concealer.
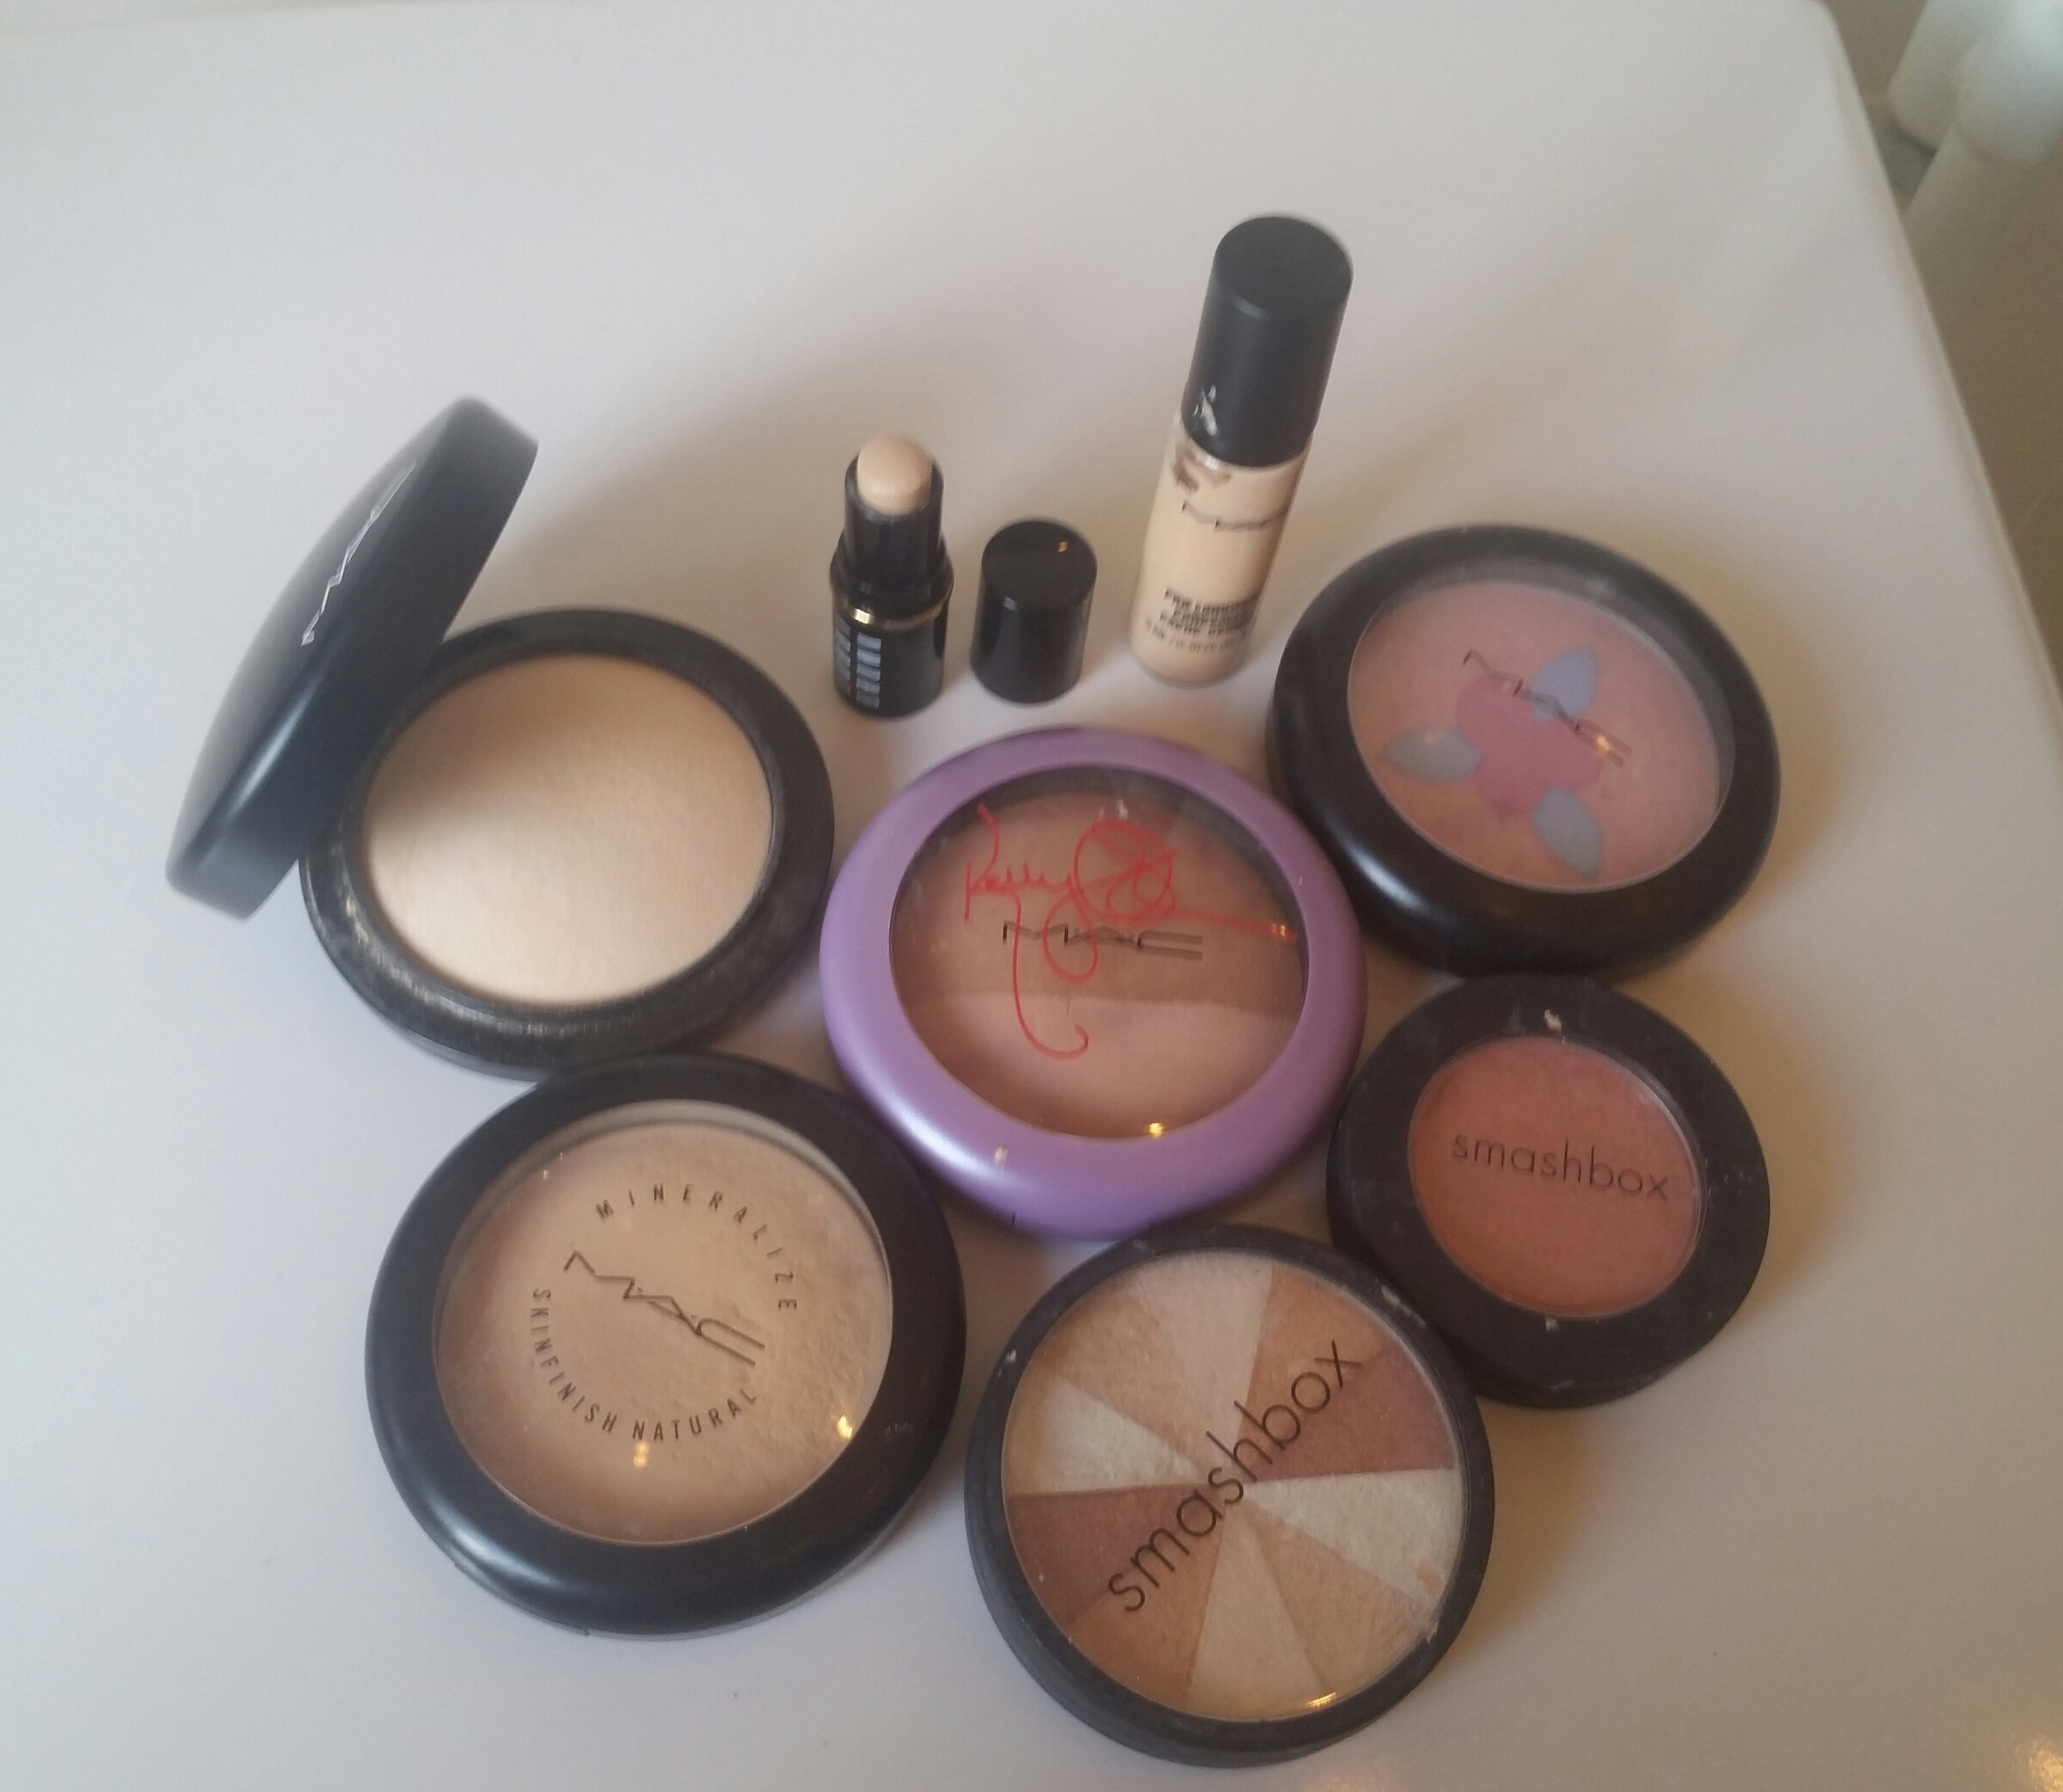
I like to sculpt my face when going for a smokey eye, it adds to the drama in my opinion. Using MAC’s Skin Finish from the Kelly Osbourne collection I sculpted my cheeks and forehead. I was very light handed with the sculpting. For more precise tips on this have a look at my highlighting and contouring post.
With an intense smokey eye you need a subtle blusher, you don’t want too much colour on your face and you don’t want to take the attention away from your eyes. I used a light application of my trusted Smashbox Blush Rush Chiffon. This is a peach shade, however, a pale pink would compliment the navy shadow very nicely.
Going back to my eyes, I used a pencil brush to apply my lower lash liner. Usually I will apply my transition shade first but for this look I wanted an intense and smokey lower lash line and instead went straight in with my navy blue. I’ll say it again, blend, blend, blend! This is crucial for the lower lash line because this is where the smokiness will be most noticeable, any visibly shadow lines will ruin the smokey effect. I would also recommend applying your eyeshadow primer to the lower lash line because sometimes these darker colours, especially when already smudged, can run away altogether and leave you looking like a panda! The primer will help hold the shadow in the lower lash line. I also applied the navy shade to my water line to create more structure in this area. Although I didn’t use liner on my upper lash line, I feel it helps pull it all together when applied to the water line of the lower lashes. It is very important to make sure your lower lash liner wraps all the way around the outer corner and connects with the shadow on the upper lid. You don’t want any random gaps when the lid and lower lash line are so intense. The same is true for the inner corner, the darker the better.
Defined brows are very important with this look. Brows always bring balance and definition to the face. With an intensely smokey eye you need to ensure the eye area is bright and open, sculpting your brows will open your eye up greatly. Highlighting under your brow bone will also make your brows look higher which will really make the smokey eye look polished and defined. Have a look at my eye brow sculpting post for more info on this step.
I think false lashes add even more drama to this look, I am wearing a set of Inglot lashes. However, they are not essential, if you don’t like wearing false lashes just make sure you curl your own and add loads of black mascara. It is also important to apply mascara to the lashes on your lower lash line. Even if you feel you don’t have many lashes here, the mascara will pick them up and make them stand out.
Last but not least, a nude lip is essential with a smokey eye. Just like with the blusher you don’t want any more colour on the face, keep it simple. I applied MAC’s Riot House, the palest lipstick I own, and I paired it with nude gloss, Smashbox’s Pop.
That’s it, we’re done. Creating a smokey eye is super simple as long as you remember to keep blending, and don’t be afraid. When you haven’t started your foundation, or done your lower lash line the eye lids can look a bit scary, but be brave and the look will come together perfectly! Have a look at my photos below (forgive the selfies!), or better yet have a look at Phoebe from Home and Away! xx

Product List:
Primer: Charlotte Tilbury – Magic Glow
Eye primer: Urban Decay – Magic Potion
Foundation: Bobbi Brown – Foundation Stick in Cool Beige
Concealer: MAC – Pro Long wear in NC15
Setting Powder(s): MAC face – Skin Finish Light Plus. MAC under eye – Skin finish Light
Highlighter(s): MAC – Buttercream and Smashbox – Fusion Soft Light
Blusher: Smashbox – Blush rush Chiffon
Eye shadow: Too Faced – Matte Palette, shade Midnight
Transition Shade(s): MAC Tickety Boo and Urban Decay ABC Gum
Mascara: Smashbox – Full Exposure
Brows: MAC – Eye brow crayon in lingering
Lipstick: MAC – Riot House
Lip Gloss: Smashbox – Pop
3 comments on “Look of The Week”
Leave a comment
Hello


Gorgeous!
Does this work for every eye colour equally well or is it better for some?
I think a smokey eye looks great on everyone! You should choose shades to compliment your eye colour though. The deepest shades like violet, plum, navy, and black suit lighter eye shades like blue and green. Darker eye colours like brown should go with bronze, grey, or green shades. Having said that, there are no hard and fast rules. If you have a particular shade you like, go for it!!