
Look of The Week
Purple is one of my favourite colours to wear on my eyes. Any shade of purple will make green eyes stand out and look really green, but purple suits every eye colour. It is also a very easy colour to wear, it adds a pop of colour without being too colorful, if that makes sense? There are so many shades of purple also, it can be used for anything from the deepest smokey eye using plum and mauve to the lightest and prettiest wash of lilac. For this week’s Look of The Week I have aimed for the middle of the road! This is a semi-smokey eye using deep purples in the crease, balanced out and lit up with a pretty lilac shade on the lid. This look can be worn on any occasion, out for the night just go big and bold, heading to the office for the day tone it down. It is so versatile, hope you like it!
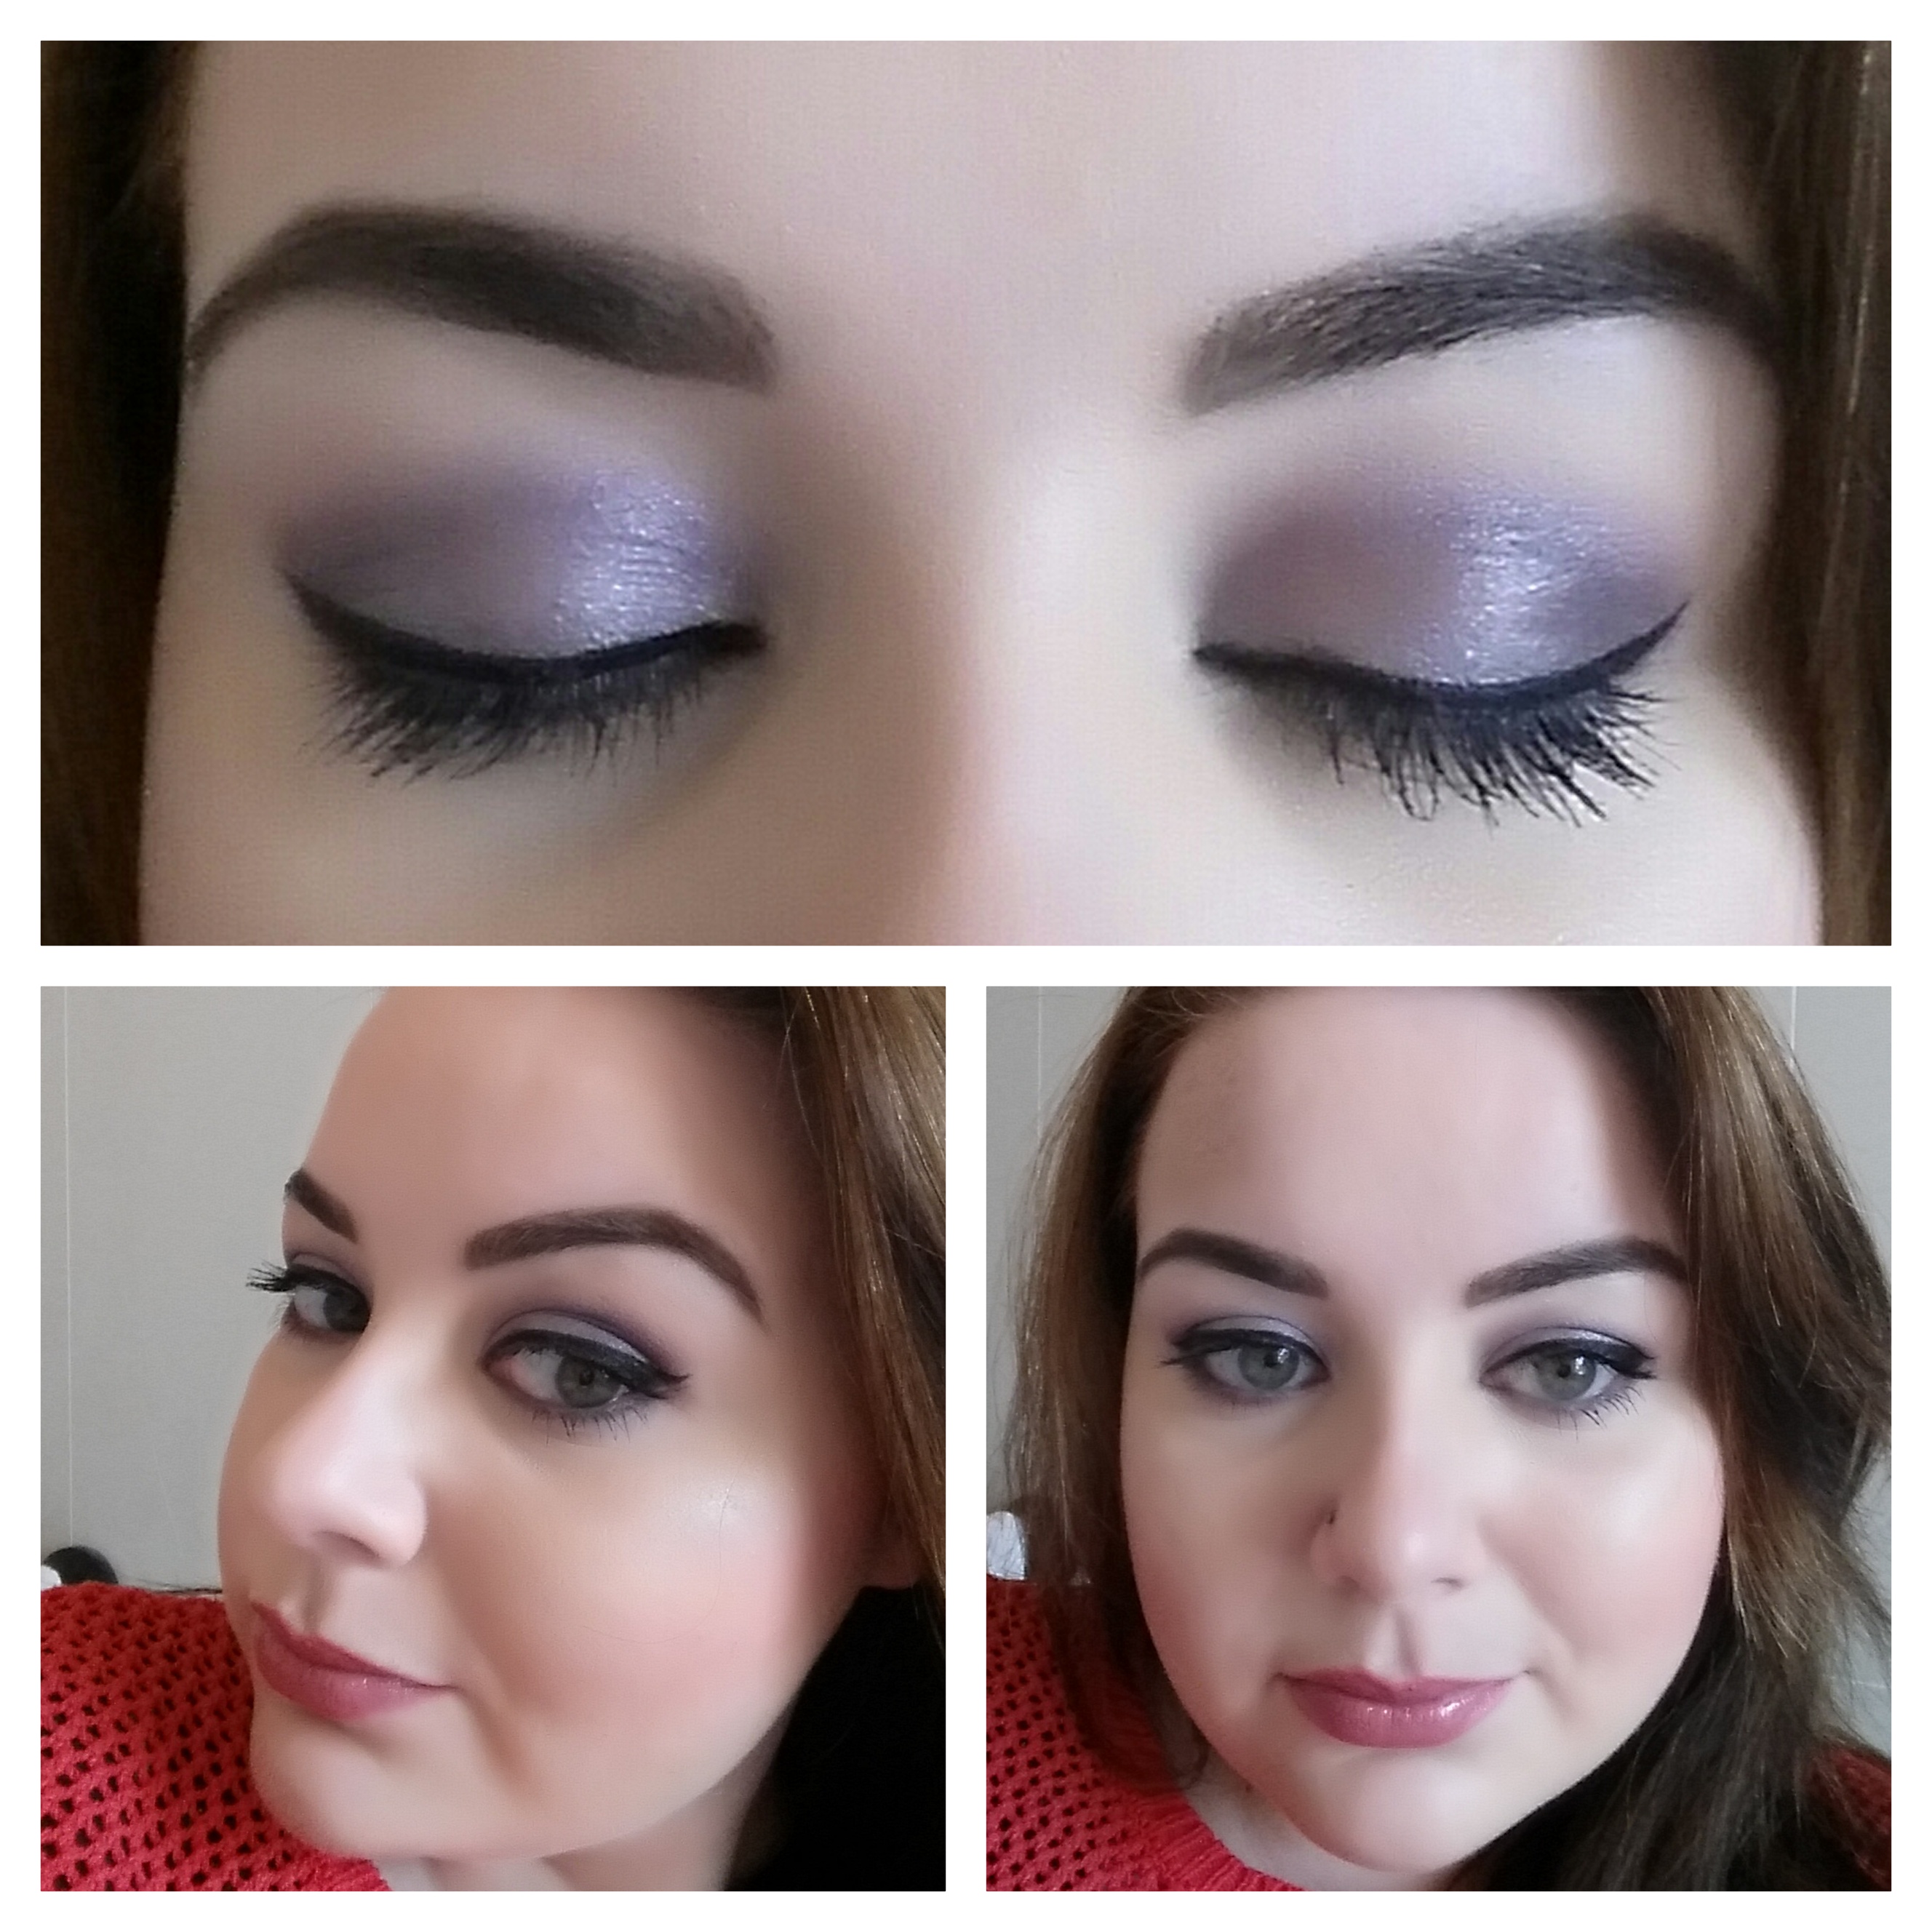
As always we start with a prepped and primed base. I am loving the Charlotte Tilbury Dream Glow primer, it’s working magic with my skin! Applying eyeshadow primer and concealer to my lids is a step I never deviate from. The first shadow I use is a transition shade, I chose Tickety Boo from Kelly Osbourne’s MAC collection. I love this shadow as a transition shade for all smokey eyes because it compliments every shade of shadow. Using a large blending brush I apply this in the crease area working upwards. Transition shades need to be blended out well because it’s their job to diffuse any harsh lines that will be created by the dark crease colour.
Next, I took a smaller blending brush the bristles of which are shorter and packed tighter together, this just gives more control over the application. I used Inglot shadow no. 445 which I picked up in Dundrum a few weeks ago, and I applied this tightly to my crease area. It is important to bring this colour right from the inner corner to the outer corner to create depth and dimension in the crease. I then went over this with MAC’s Satellite Dreams which is a very similar colour but just adds even more dimension.
For my lid I used MAC’s Trax and blended it all over with a small eyeshadow brush. Make sure you don’t bring it too high in the crease because you will cover the darker shades and lose your dimension.
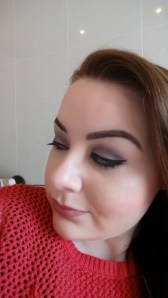
I then took my deepest shade of purple for this look, MAC’s Shadowy Lady from Kelly’s quad to deepen the outer corners of my eye. I used an even smaller eyeshadow brush and applied the shadow in a triangular shape from the outer corner, bringing it in almost to the centre of my eye. This creates a very subtle wing on the outer corner.
To introduce a lilac shade to the eye and make the lid that bit brighter I used a champagne colour, Spoonful of Sugar from Kelly’s quad again, and applied this starting in the inner corner and moving out. I wanted the inner corner of my eye to be the brightest and most intense so I just blended the shade to the outer corner making sure it disappeared into the darker wing I had created. Spoonful of Sugar mixed with Trax makes this amazing pearly lilac shade, I love it!
I then applied thick black liner using the Maybelline gel, I brought the wings out to balance and compliment the shadow wing. Have a look at my post on eye liner for tips.
Don’t forget that between each application of eyeshadow you should use your big blending brush to blend it all together.
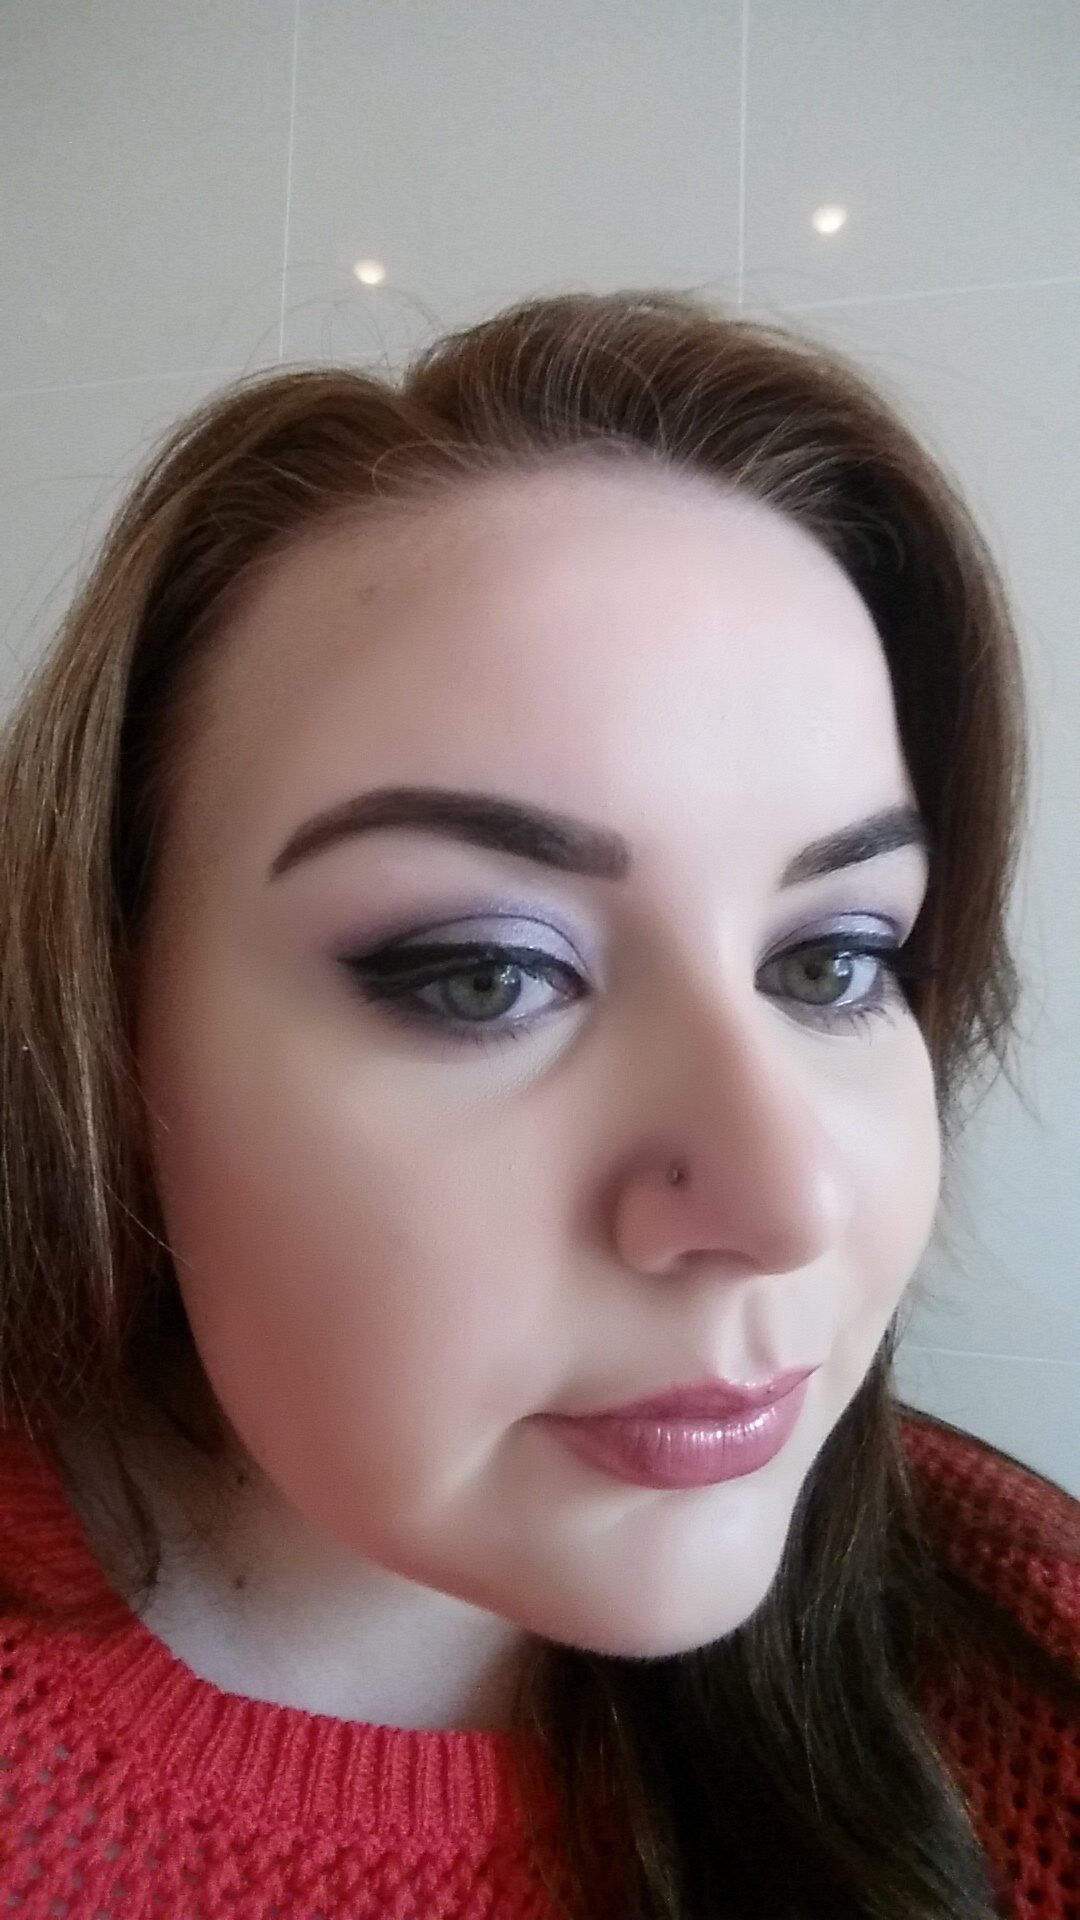
My next step was foundation and concealer. I used Estee Lauder’s Double Wear light and applied it with my Sigma Flat Kabuki brush. This is a lovely foundation because it gives an airbrushed finish. For under eye concealer I used MAC’s Pro Longwear in NC15, I love this concealer because when it is set with a powder it never settles in any fine lines, it doesn’t budge at all. It also adds a brightness to the under eye area that can’t be beaten. I hope to do a post about concealer application very soon, so stay tuned! I set both my foundation and concealer with MAC’s Skin Finish in Light Plus.
The next step was blusher application. I have a post about this too so take a look at it for some tips and tricks. Today I used Smashbox’s Blush Rush Chiffon.
I avoided any cream or liquid highlighters, instead I used MAC’s Buttercream Pink to lightly highlight the top of my cheekbones. I also used Smashbox’s Fusion Soft Lights to add more brightness under my eyes and on my brow bone once my eyebrows were filled in.
I wanted a very subtle contour across my forehead and under my cheekbones so I used MAC’s Kelly Osbourne Skin Finish powder with a very light hand and lots of blending.
Next I had to finish off my eye area. I used Smashbox’s Brow Tech To Go to fill in my brows. Have a look at my most recent post which was all about eyebrow sculpting if you want to know exactly how I did them. For my lover lash line I blended the transition shade, Tickety Boo, liberally across the lash line and then added Shadowy Lady to the water line and smudged this to create a smokey line to compliment the lid. Last but not least I added a coat of YSL’s Volume Effet Faux Clis Mascara in black.
The final step was my lips. I wanted a nude lip that was warm and didn’t entirely disappear. I used a Smashbox lipstick, Rosy Pink, paired with a Smashbox lipgloss, Pop, to create just the shade I wanted. Don’t forget to set your makeup with any kind of setting spray. I am a big fan of the Urban Decay range.
And we’re done. I hope you like this look and you go about creating your own version of it. Like I said, purples are so versatile, have some fun with them!
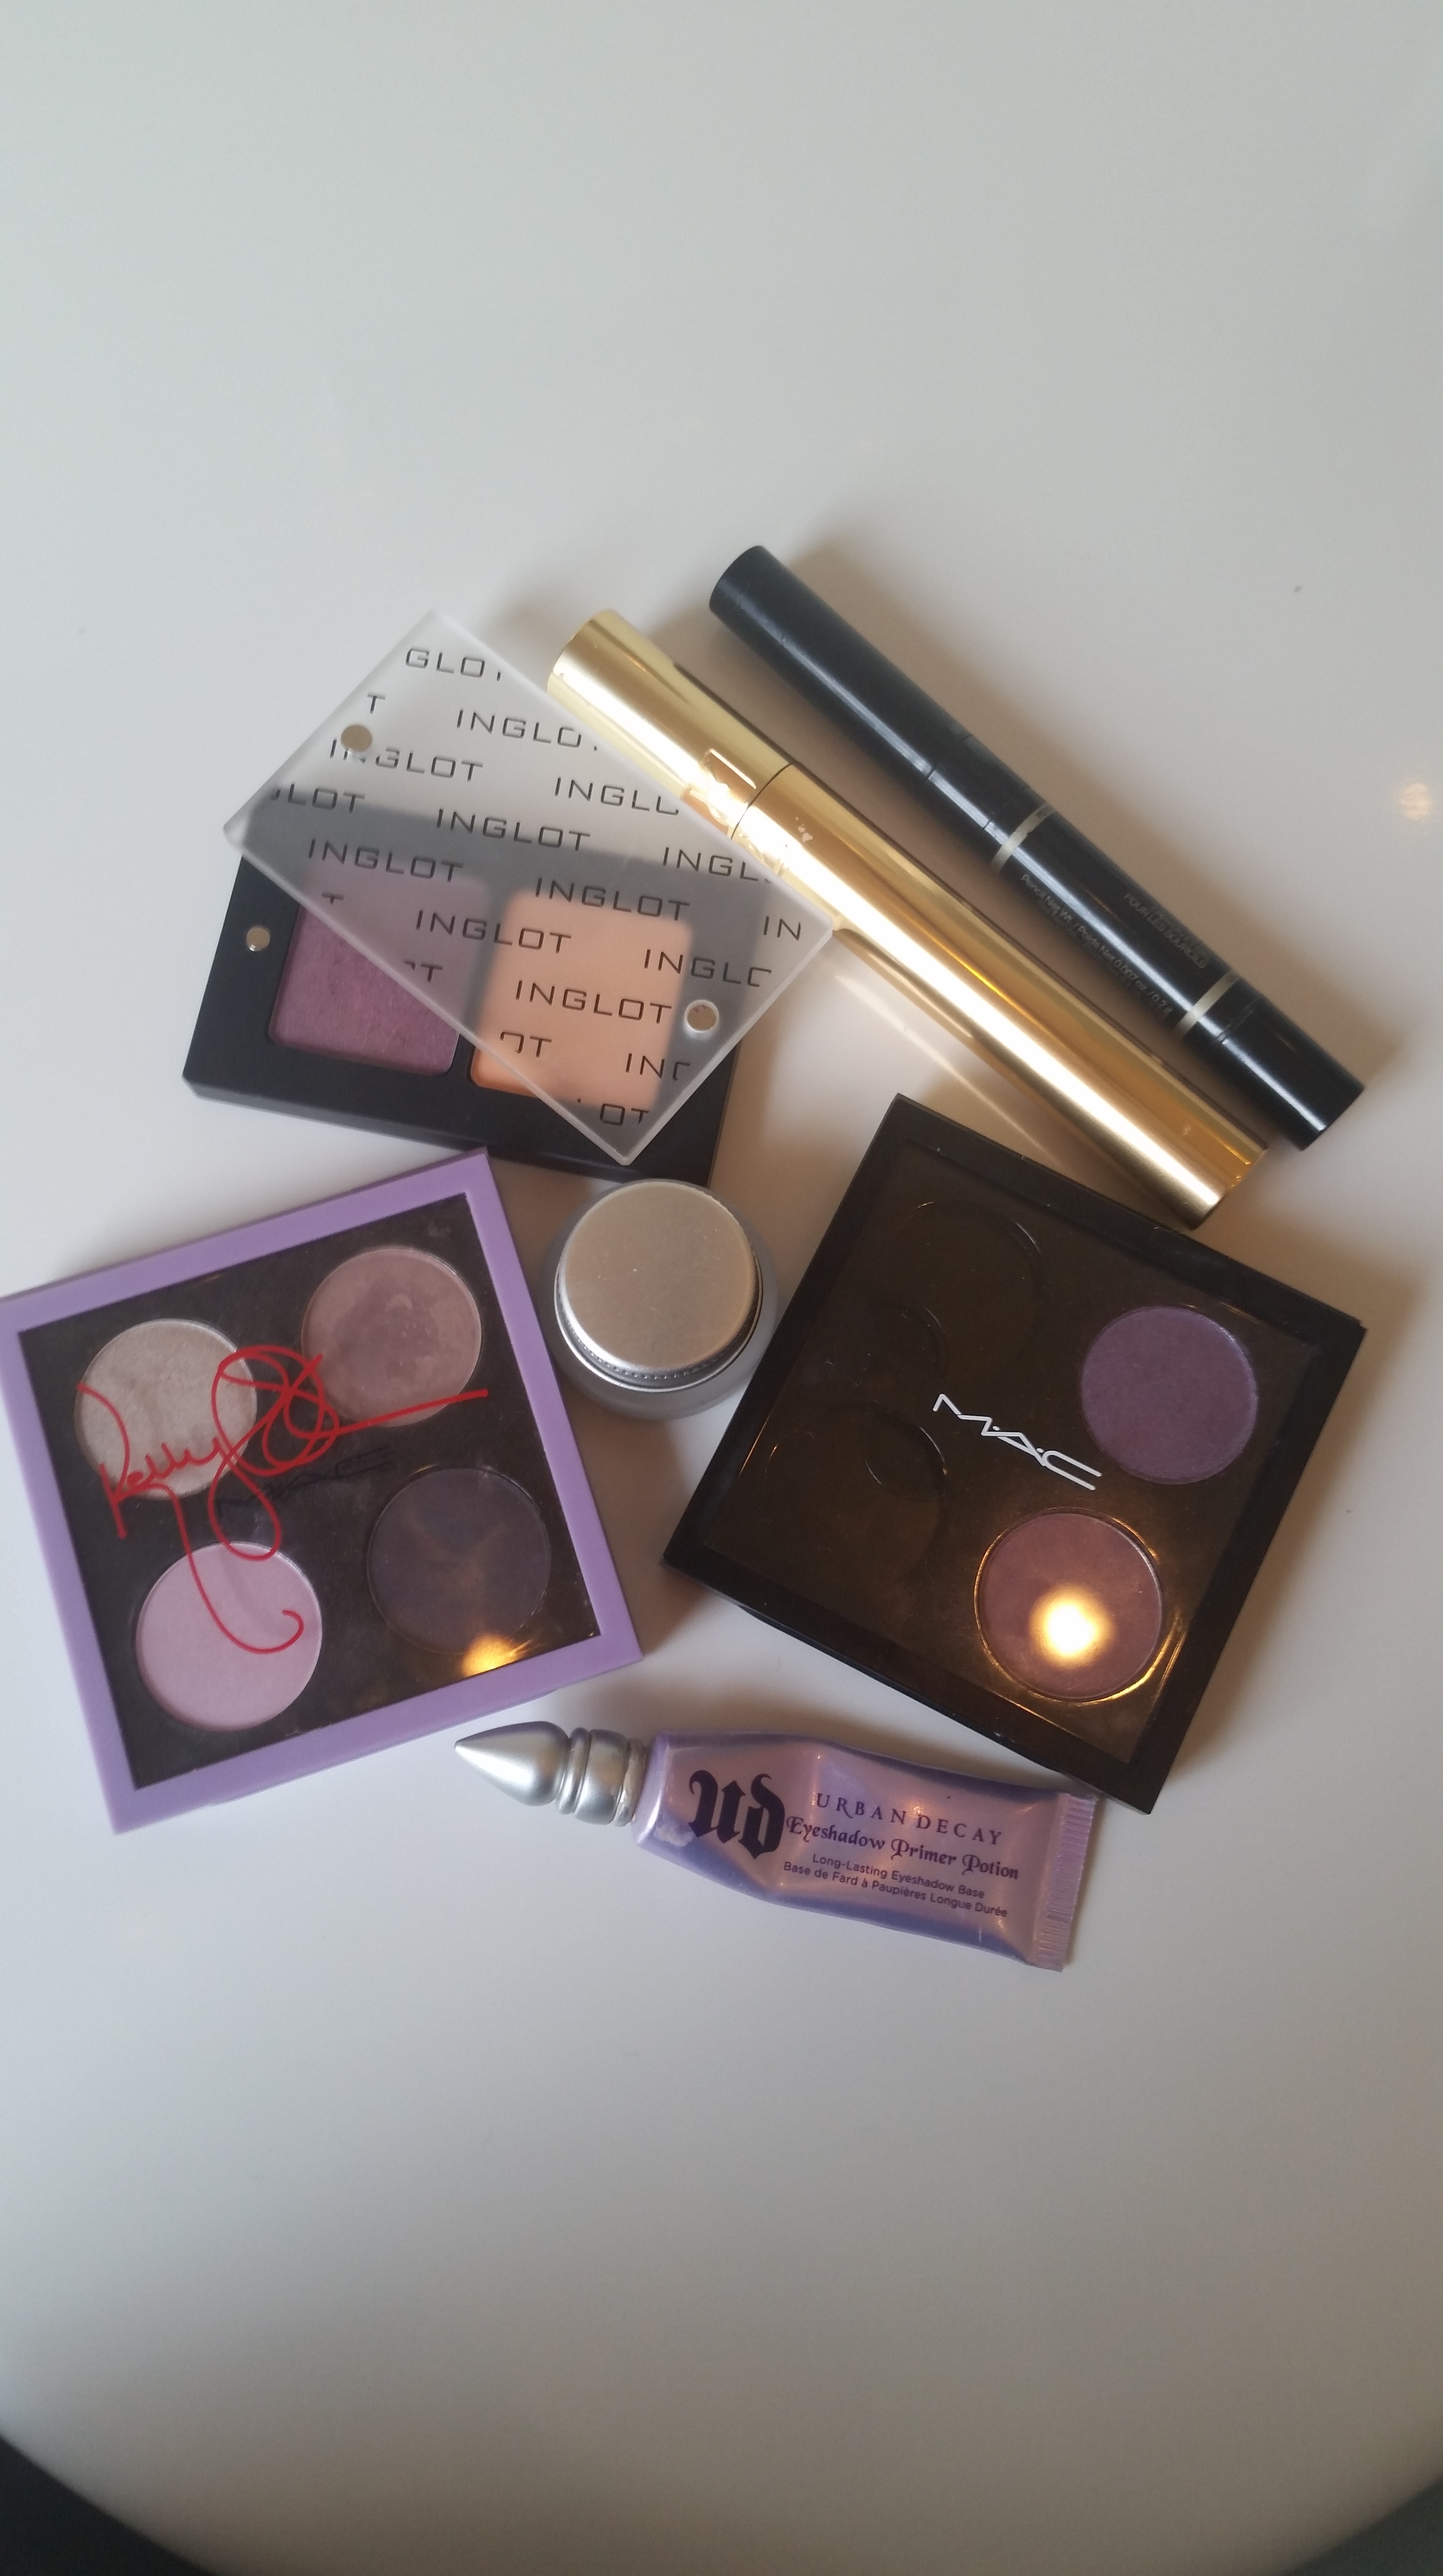
Product List:
- Foundation: Estee Lauder – Double Wear Light in 0.5
- Concealer: MAC – Pro Longwear NC15
- Setting Powder: MAC – Skin Finish in Light Plus
- Highlighter(s): MAC – Buttercream Pink. Smashbox: Fusion Soft Lights
- Blusher: Smashbox- Blush Rush Chiffon
- Eyeshadows: MAC – Trax, Satellite Dreams, Tickety Boo, Shadowy Lady, and Spoonful of Sugar
- Inglot – Shade no.445
- Mascara: YSL – Volume Effet Faux Clis in black
- Brows: Smashbox – Brow Tech to Go in brunette
- Liner: Maybelline – gel liner in black

For the face
For the eyes


Hello

