
Wow Brows
I have been promising to do this post for a long time and I have finally done it, I really hope you enjoy it!
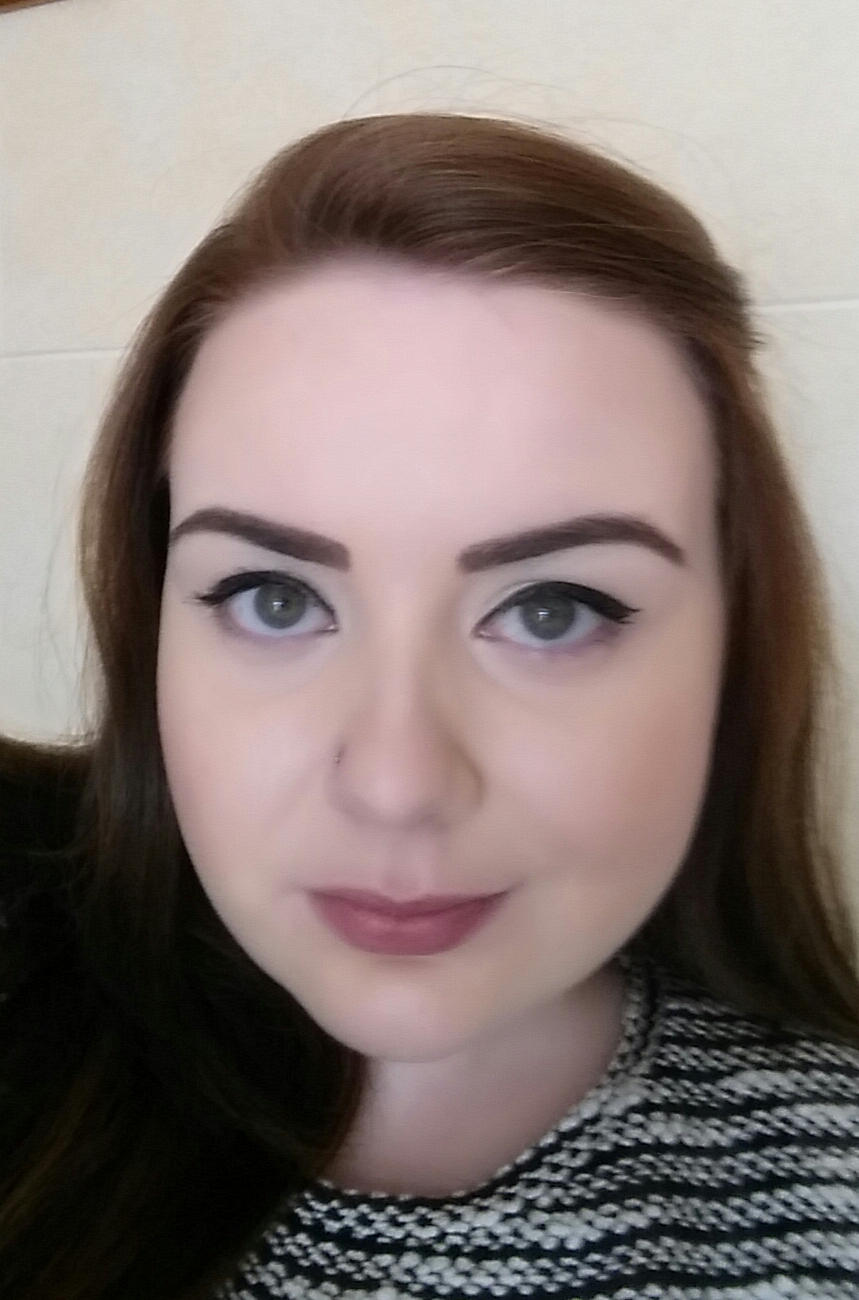
Eyebrows, in my opinion, are so important to get right. They frame your face and the difference they make when filled in and sculpted properly is amazing. Being a glasses wearer I always strive to make my eye area look bright and open, a well-defined brow compliments glasses beautifully. Even if I am having a lazy day and not wearing makeup, I will fill in my brows, I can’t go anywhere without them!
It’s very important to have your brows shaped professionally, doing it yourself is a disaster waiting to happen. Now, don’t get me wrong, maintaining your brows is a job you can do yourself but to get the initial shape right you need to go to the professionals. I have been getting mine done in Coco Beauty Spa and Clinic in Ballincollig, Cork. Coco has now added a HD Brows Studio. HD brows are the greatest thing to happen to the beauty industry (in my eyebrow obsessed opinion!). HD brows are so unique. In comparison to other brow shaping techniques HD Brows are completely individual to each client. After a consultation with your HD Brow stylist, in which you outline what you are looking for in a brow, the stylist then considers your coloring and face shape, and goes about creating the most individually tailored brow to suit you, what more could you ask for? I genuinely see the difference the HD brows have made to my face, the eye area just looks brighter and much more open than before. The brows when completed also look flawless so they create a look of polished perfection. I can’t fault HD brows in any way, I would recommend them to everyone. Even if you feel your brows are sparse and you don’t have much to work with, the girls in Coco will sort you out and give you the brows you deserve! Have a look at their website for more info, http://www.coco.ie/treatments/hd-brows-studio-coco-cork-ireland/ and follow them on Facebook, https://www.facebook.com/CocoBeautySpaClinicCork
Although the dye used during the HD brow process lasts much longer than the normal dye, I still like to fill in my brows to add even more definition and cover up the gaps. There are any number of eyebrow sculpting products on the market, from crayons to pencils, powders, and creams, the options are endless. I personally prefer a crayon or pencil because I feel their shapes and sizes offer much more control. My two favourite products, and I have tried many, are MAC’s eyebrow crayon and Smashbox’s Brow Tech to Go.
MAC’s crayon is a super slim tool which is self-propelling and self sharpening so it is hassle free. Having said that if you twist it up too far it’s lost because it won’t twist back down. Selling at €18 it is pricey because it doesn’t last very long. But the colours are excellent, you will find a shade for any hair colour, and the application is precise.
Smashbox’s Brow Tech is more expensive at €24 but it will last twice as long if not longer. This is a thicker crayon with a slanted edge. You have to be more careful with application, but it is very quick and effortless once you get the feel for it. However, you will be restricted with colour choice as there are only two shades available; brunette and taupe (blonde). It does come with setting gel and brow brush applicator to make sure everything stays in place. Those two are just my preference, we all have our likes and dislikes, whatever product you use, follow the steps below for straight forward brow sculpting.
So to begin, using an eyebrow comb, brush your brows into place. Always brush upwards and outwards.
Pre sculpting
You should always follow the natural line of your brows and not have to do too much shaping with your product, the shape should already be there. I always start in the middle of my brow, just below the arch and start shading in that line, moving backwards along the tail.
I then connect the inner corner of my brow to the middle by starting to shade the lower line from the inner corner and working backwards. I like the inner corner of my brow to be lighter than the tail because I find it looks more natural this way. I try to be as light handed as I can with the inner corner.
Moving to the middle of my brow again, I do the exact same process with the top of the brow. Sometimes I use a brow brush to push down the hair at the top of the brow and then I literally run my crayon along the roots of the hair, following the natural line and then brush it all back up and make sure there are no gaps.
I then fill in the brow between my two sculpted lines from about the midway point, just beyond the arch.
With a much lighter hand, starting at the inner corner, I use feather-light strokes and move upwards from the bottom of the brow, following the direction of the hair to fill in this inner corner. When I am doing a very smokey eye I like my brows to be very defined so I will make sure the inner part of my brow is sculpted with a straight vertical line, on more casual days I leave it rounded off and use the brow brush to blend the colour rather that filling it in with the crayon.
Have a look at the photos below, I took a picture after every step of the process, it might make more sense than my rambling thus far!
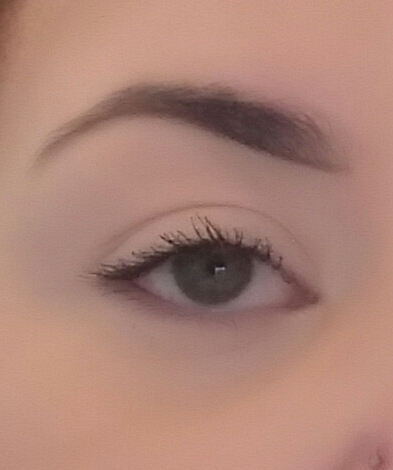
Step 1: sculpt out lower line
Step 2: Sculpt upper line
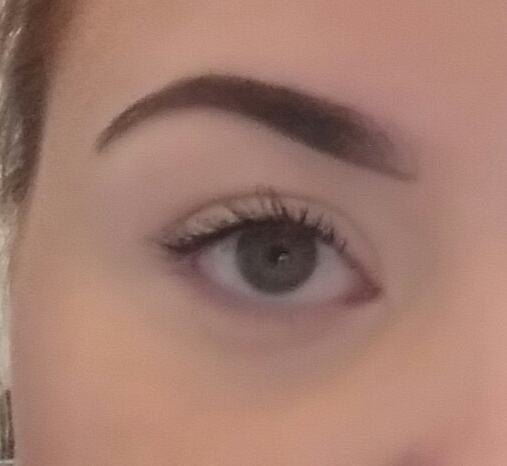
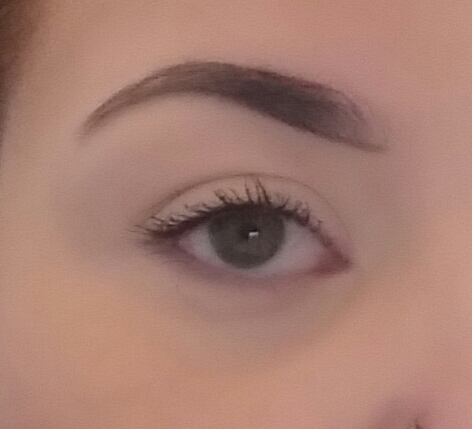
Step 3: Fill in
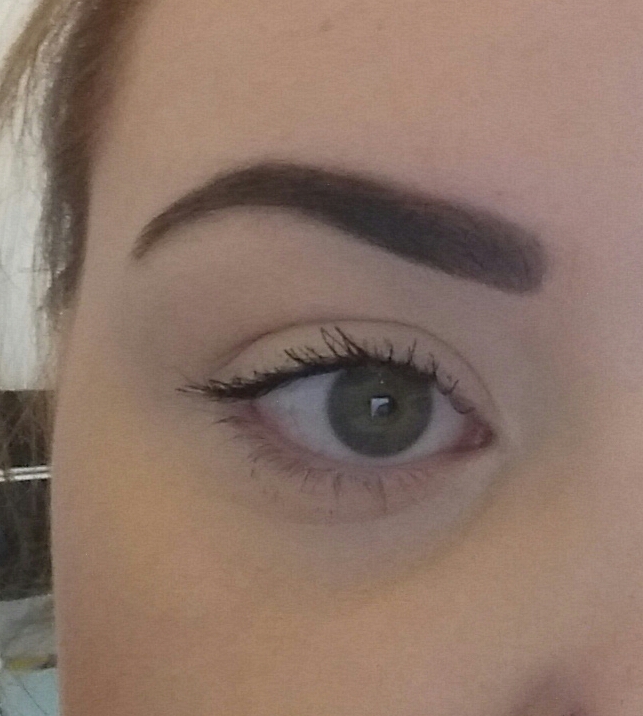
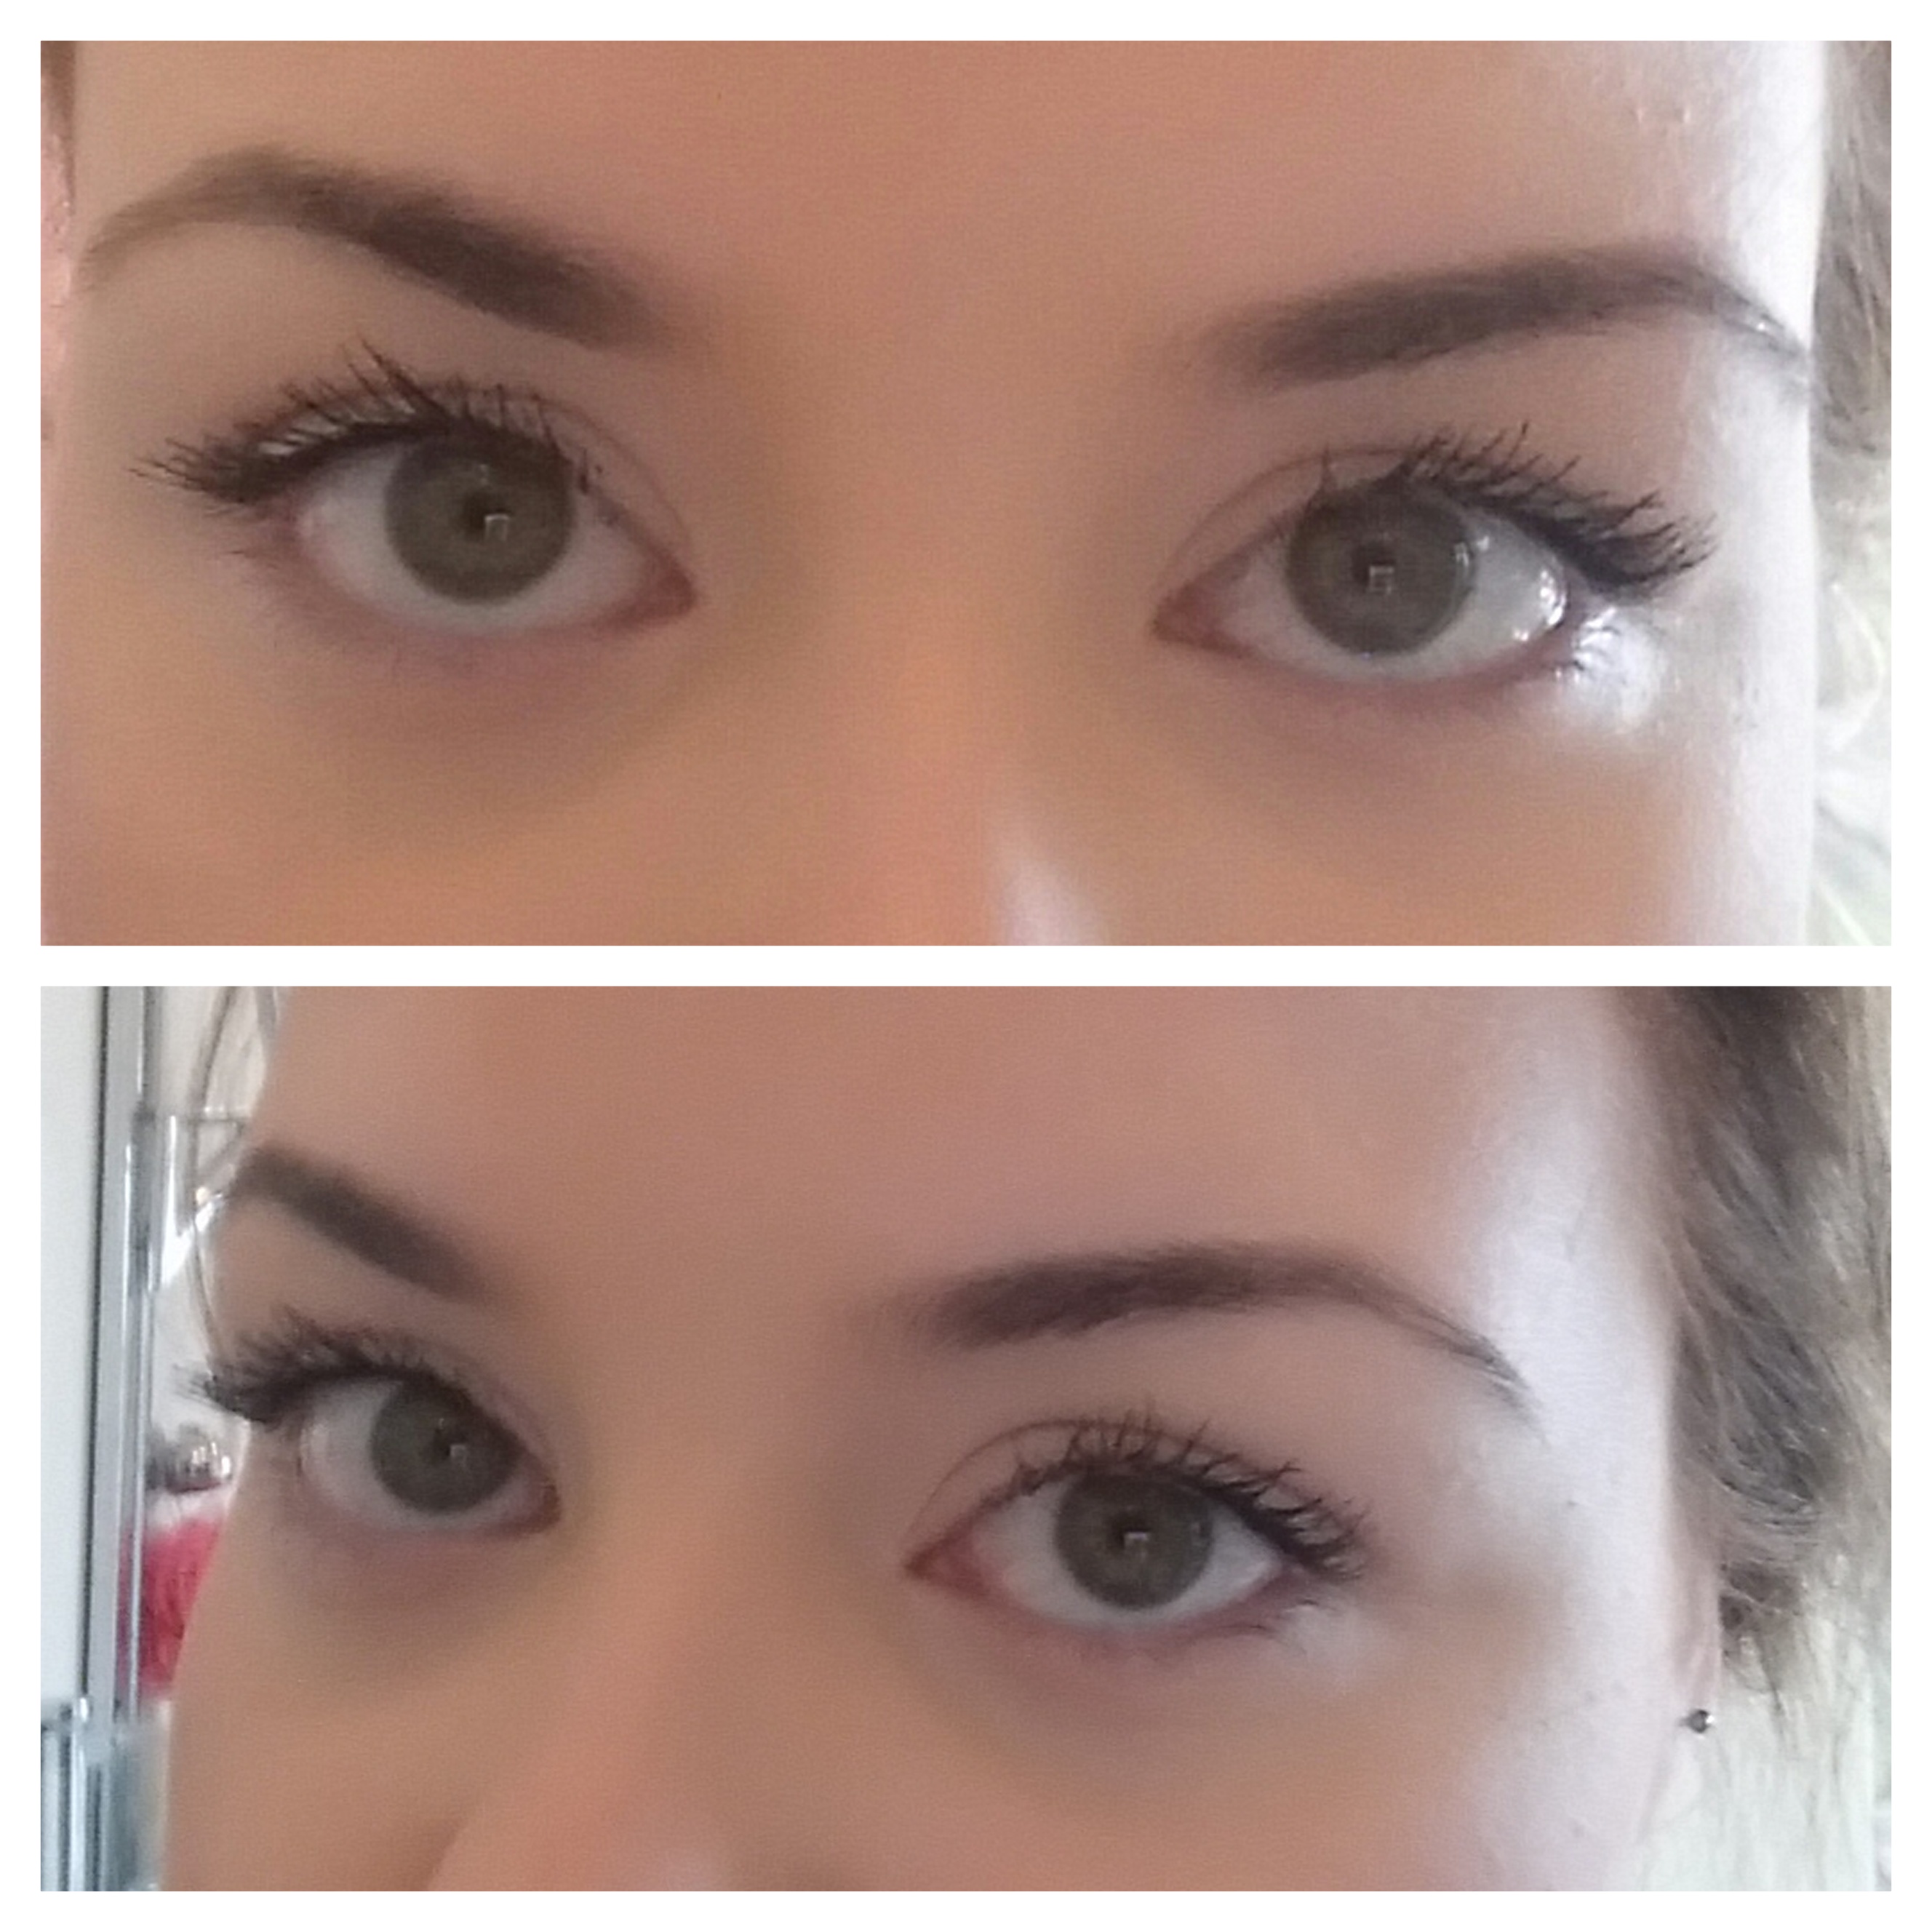
Step 4: fill in the inner corner as dark/light as you want
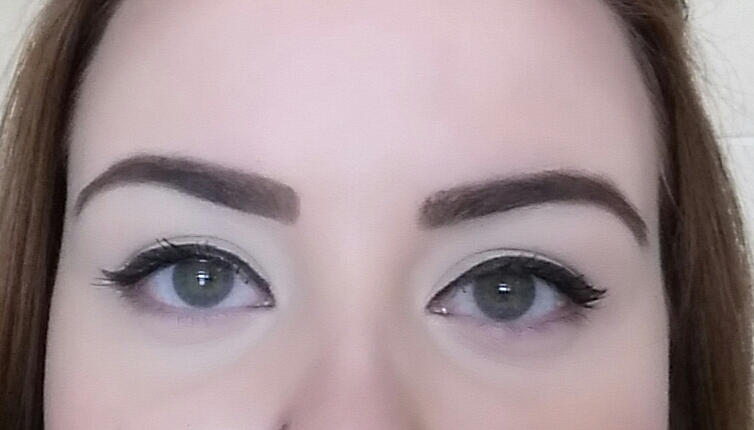
Right eyebrow: more defined inner corner. Left eyebrow: More relaxed/natural inner corner
I hope this post makes sense and is easy to follow. Don’t underestimate the power of good eyebrows, they add sophistication to any look.
Hello

