
Highlighting and Contouring
We all want cheekbones. Some are lucky enough to have them naturally, but for the rest of us, there is makeup! Highlighting and contouring is a makeup routine made popular by Kim Kardashian, she rocks that amazingly sculpted face, and if you haven’t seen that photo of her with her contour and highlight pre makeup, you need to google it, it’s mind-blowing. While I’m not a fan of an intensely sculpted face, I love a good highlight, and a subtle contour gives your face amazing dimension.
There are two methods of highlighting and contouring; cream and powder. I am odd though, as I tend to mix the two! I don’t like cream contour, and I think you get a better highlight with cream AND powder together. Below, I will outline a step by step tutorial, but first I want to go through some basic tips.
The important thing to remember when highlighting and contouring is that you highlight any areas that you want to bring forward, and you contour any areas you want to recede, this is how you give the face dimension.
If you are using powder and cream/liquid, you need to start with the cream and finish with the powder. You cannot apply a cream/liquid over powder. Ever.
Blending is super important. You don’t want any harsh lines and when you are working with really contrasting colours, the differences can be stark. Blend, blend, blend, this will get rid of any harsh lines so that your shadowed contour blends seamlessly with your bright highlighter.
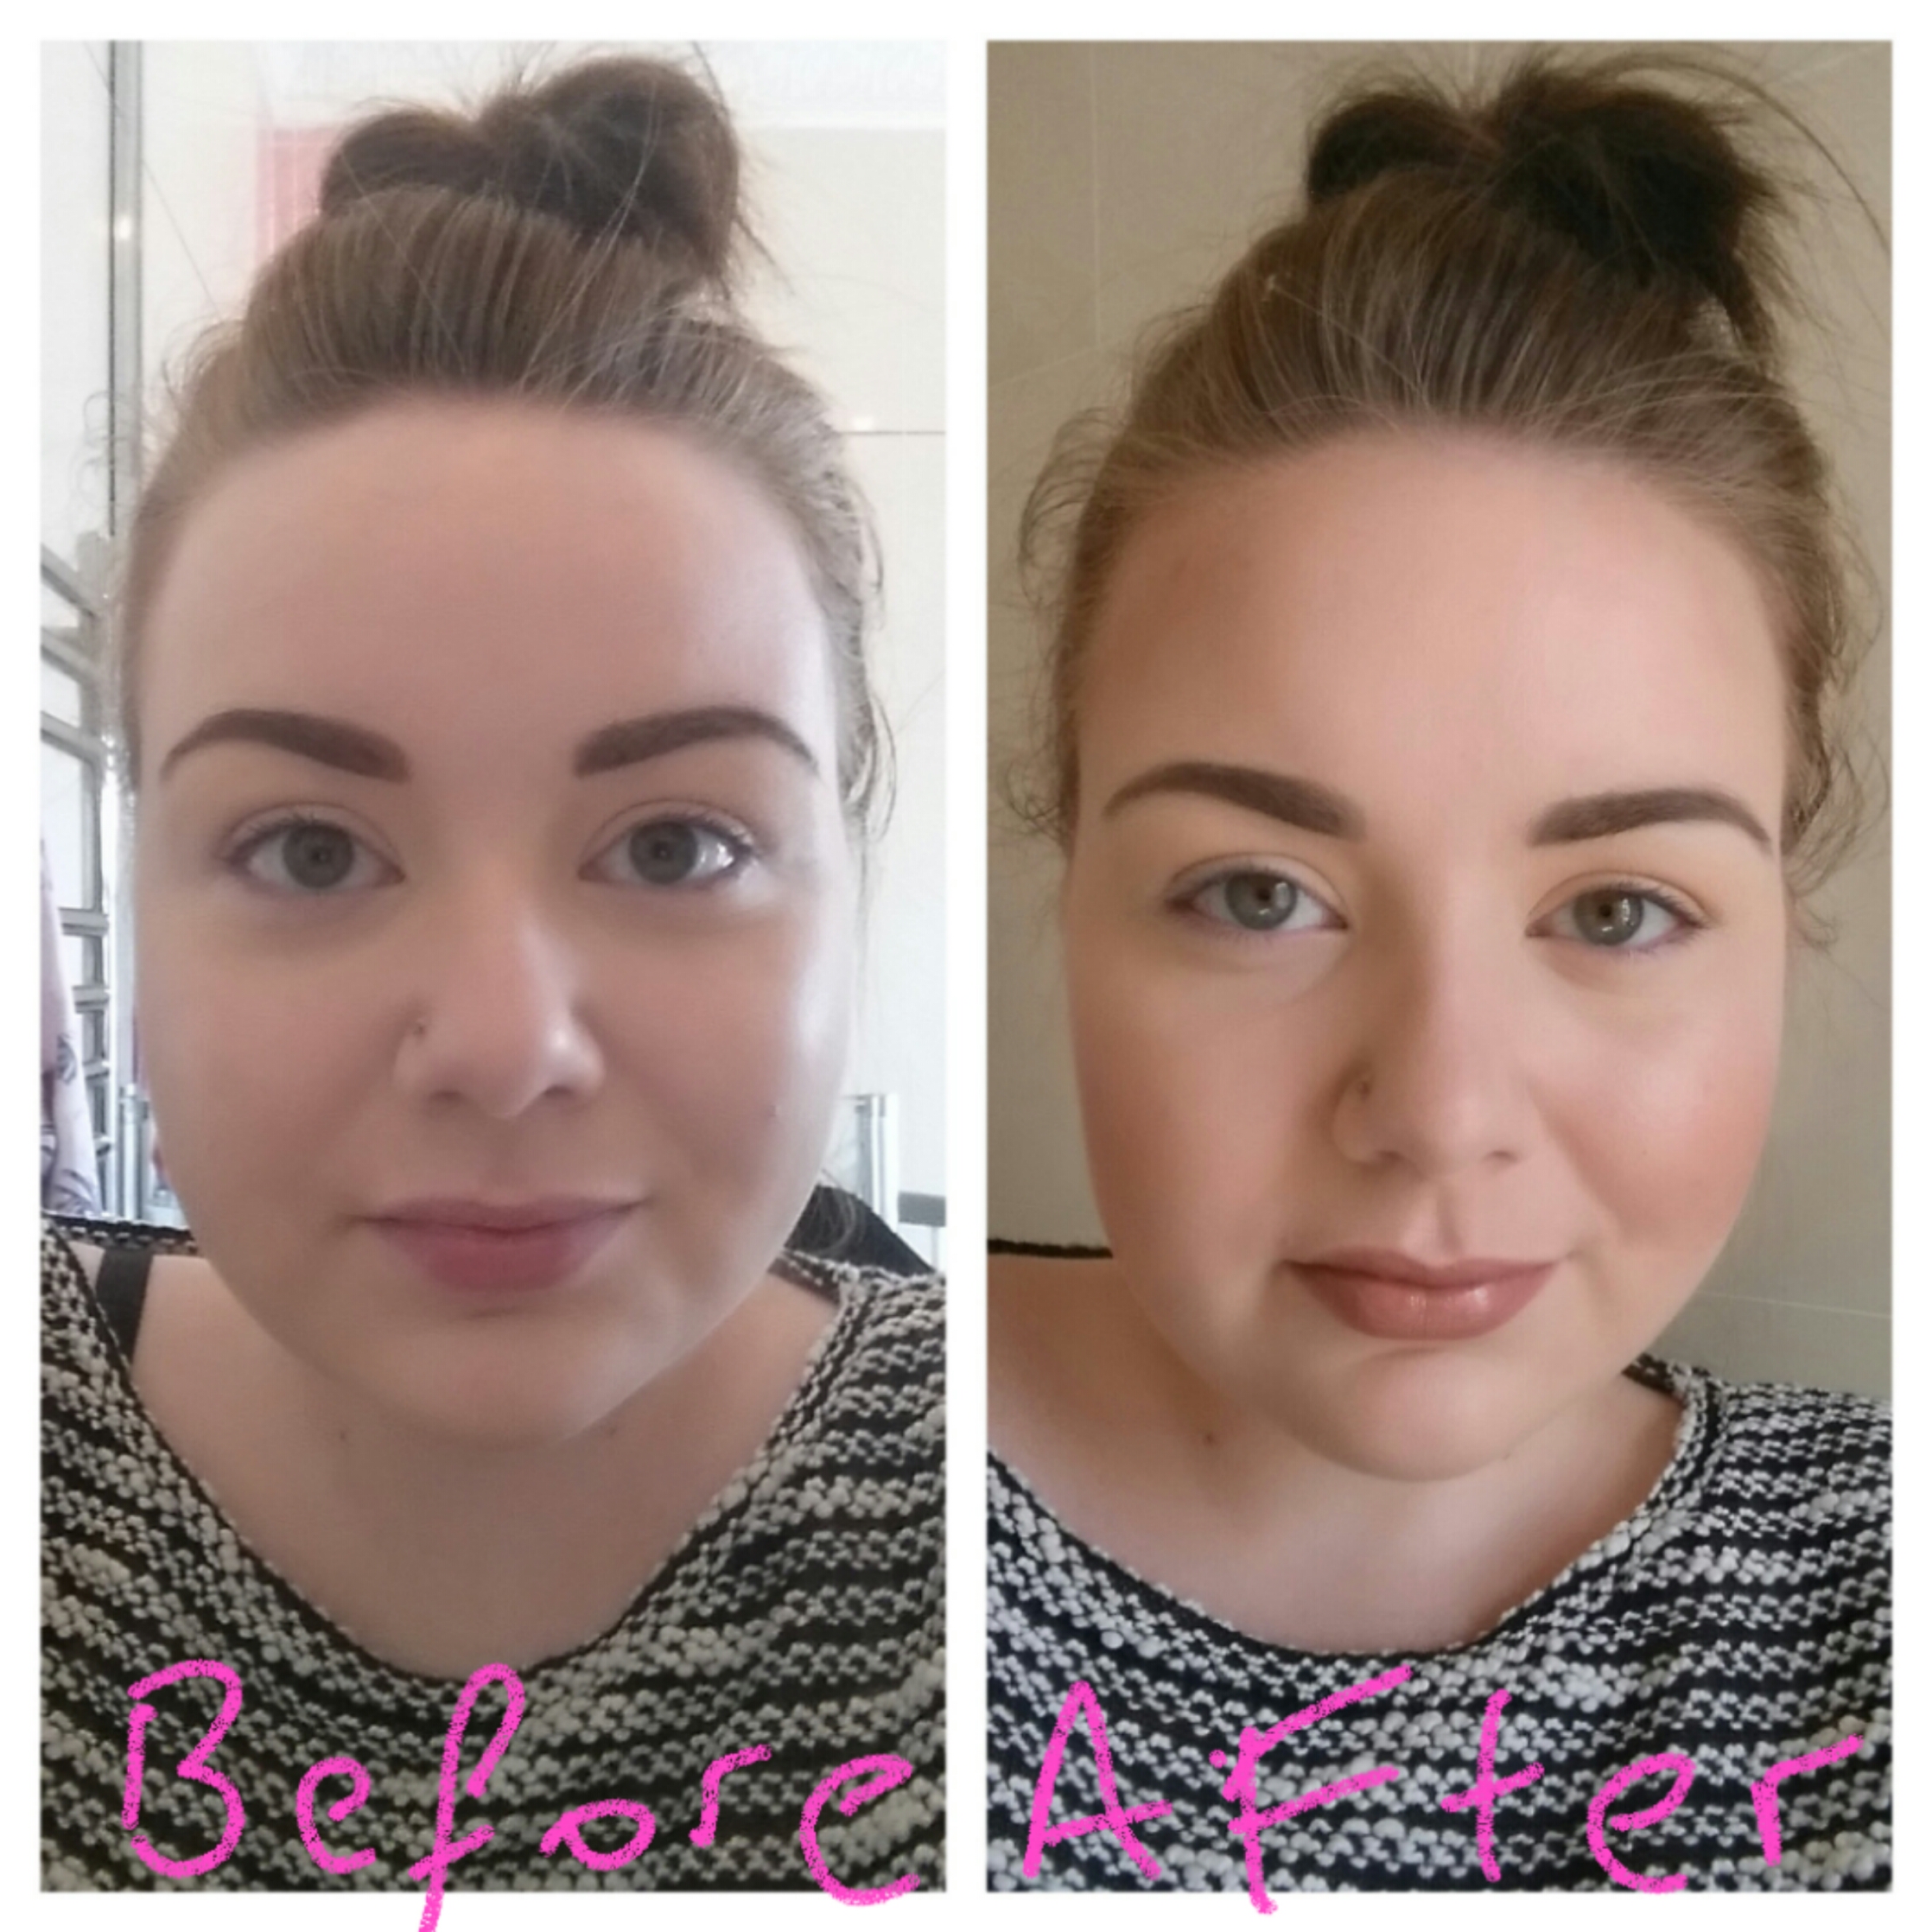
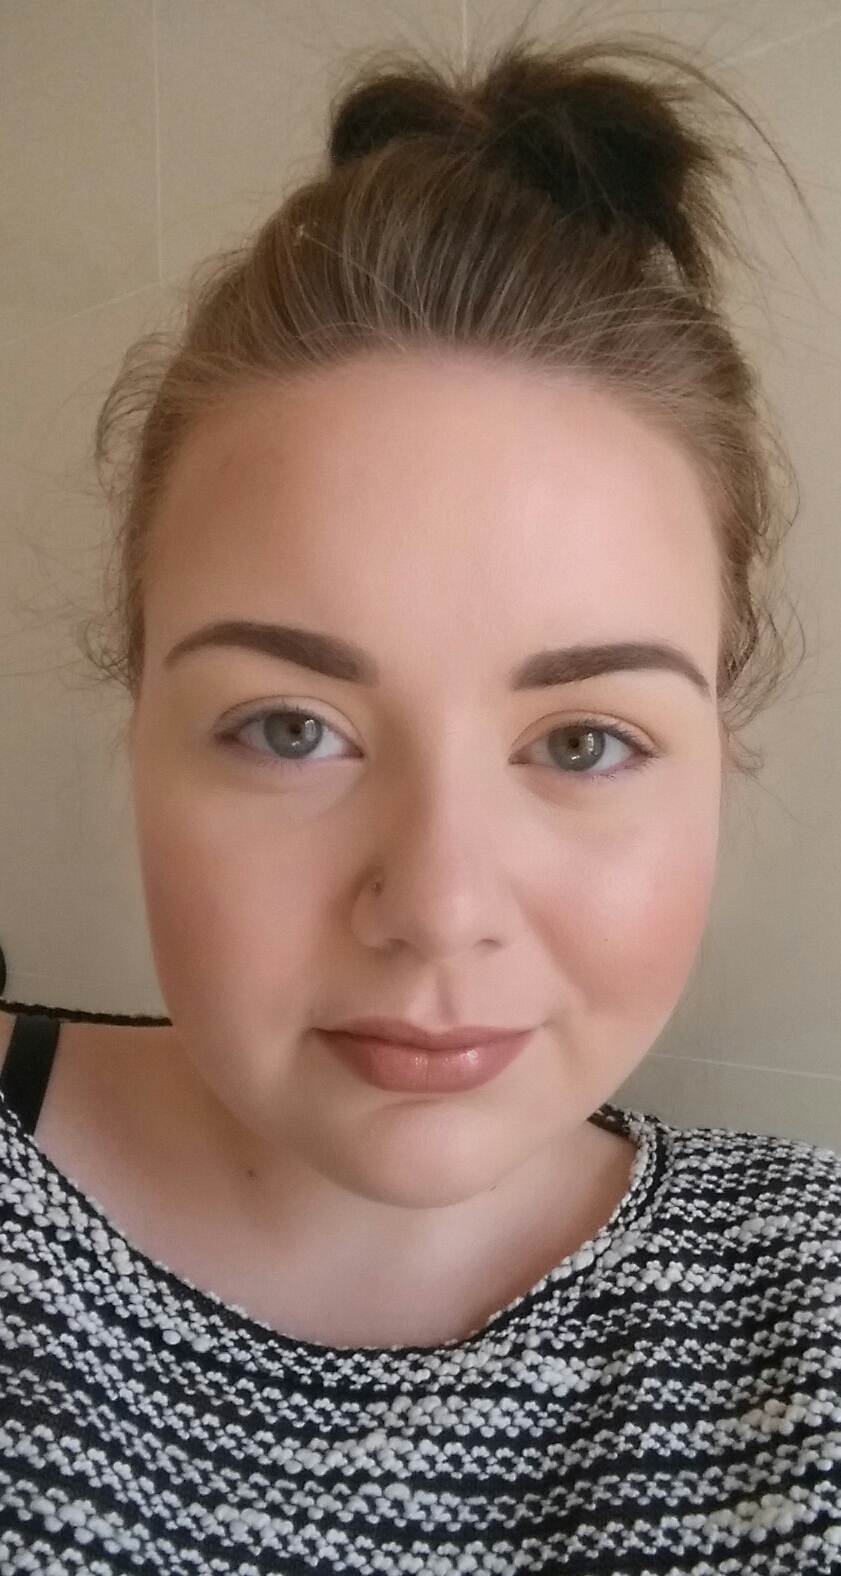
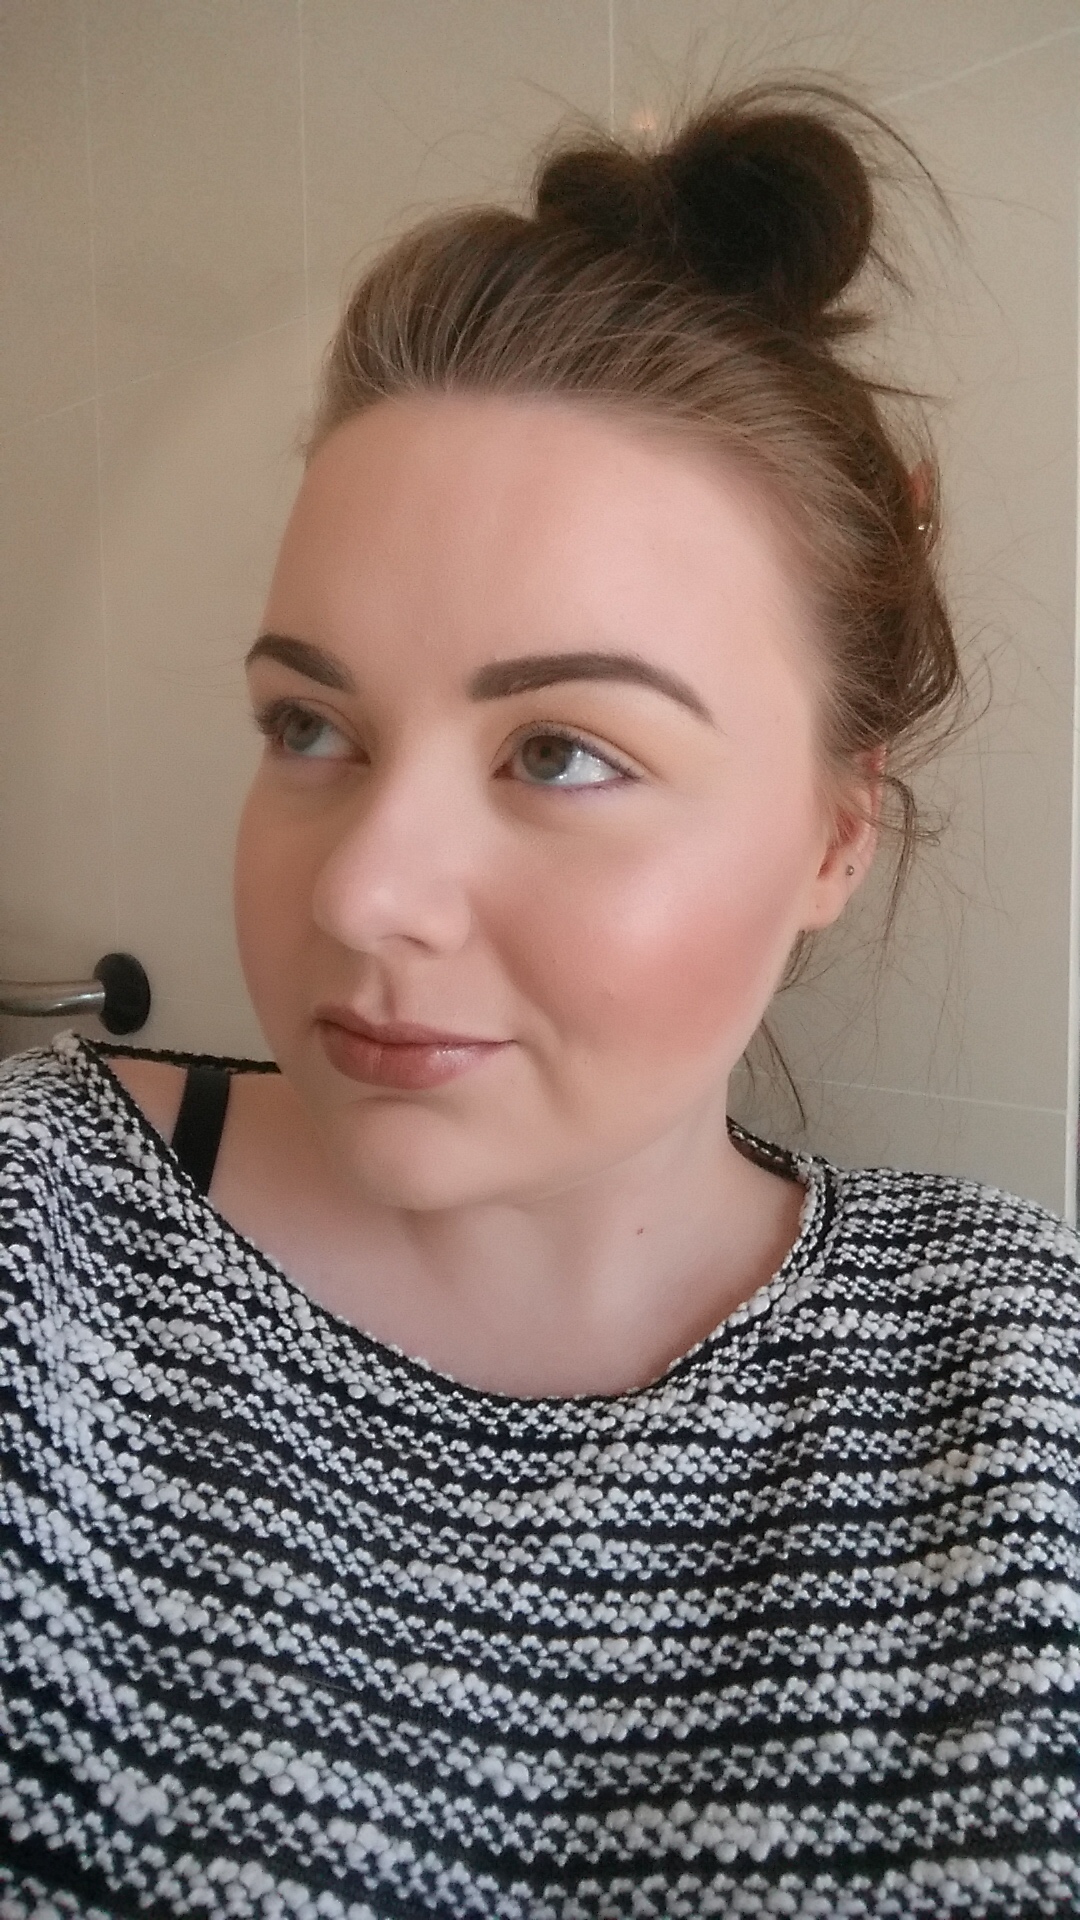
With that in mind we will move on to the tutorial. First, have a look at my before and after photos; on the left I have just applied my foundation and concealer (and of course filled in my brows!). On the right is the completed look. The difference even subtle highlighting and contouring makes is amazing.
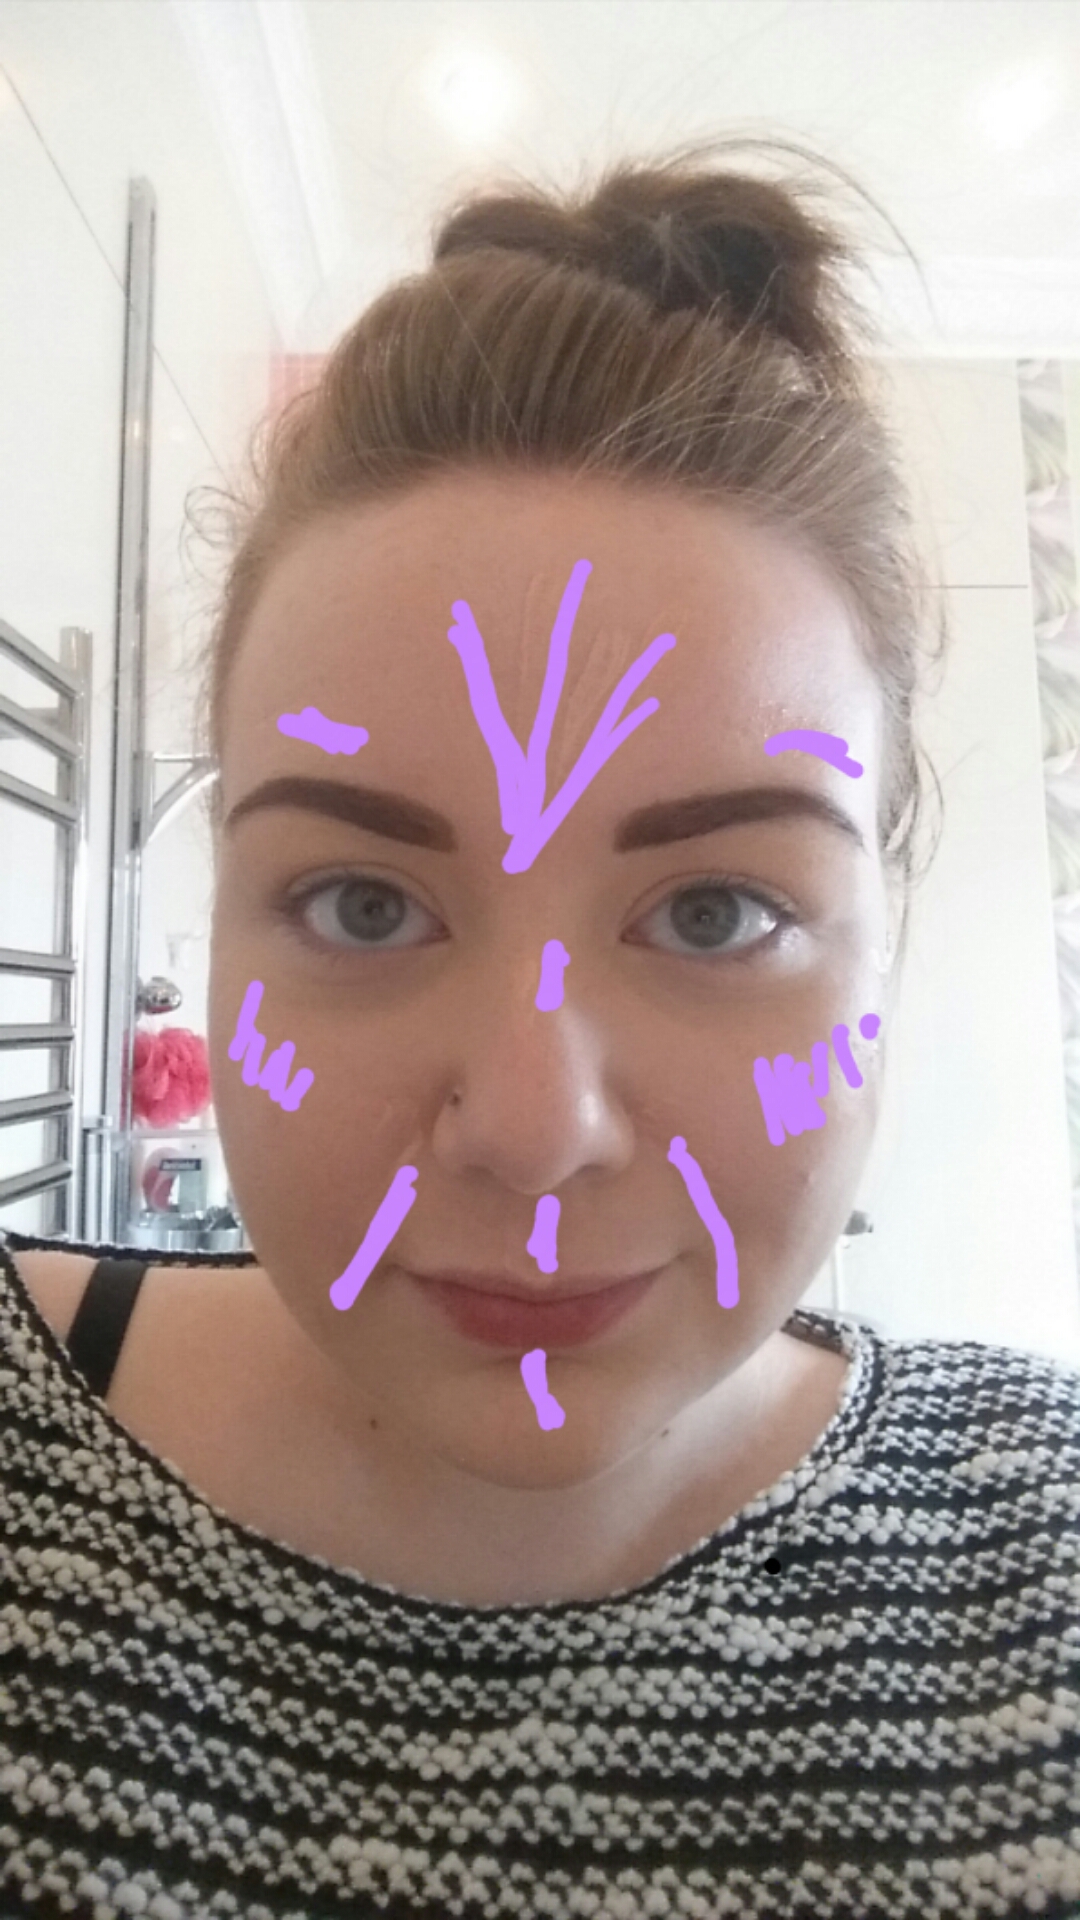
Start with a prepped and primed face and apply your foundation and concealer. You don’t need too much foundation or concealer because you will be adding more products to the face. Starting with MAC’s prep and prime highlighter in Radiant Rose, I highlighted the areas of my face where light naturally hits, the bridge of the nose, forehead, cupid’s bow, cheeks, above the jaw line, the chin, and above the eyebrow arch. I also applied it to the edges of my nose going down to my chin just to diffuse any shadows that may fall there. I love this highlighter as it is so easy to use and gives the most gorgeous luminous glow, it will give dimension to your face even if you choose to skip the contouring part. Because this highlighter is so sheer I couldn’t get it to show up in the photos, so instead I edited the photo after (my highlighter is not bright purple!)

Then, using your foundation brush, blend the highlighter. You can sweep it, stipple it, or whatever other method you have, just make sure it is blending with your foundation. On your forehead always blend up and out, around your nose and chin blend down.
When the highlighter has settled you can start applying contour. Like I said, I prefer powder contours so I used a mix of two of my bronzers. Below I will include photos of the products I used with the brushes I used also. Pick up your bronzer on your brush and tap off the excess, remember when applying any product, the first place you put your brush will deposit the most pigment. Starting at the tip of your ear, where it meets your face, sweep your brush down in a straight diagonal line towards the corner of your mouth. You want to stop the line directly below the arch of your brow. This line should be sitting just under your cheekbone. The next step needs a lot of blending, but very controlled blending. You don’t want to bring your product too far down your cheek because this ruins the idea of contour, and you don’t want it go too high, and too close to your eye. Some people like to make a long contour line, bringing it almost to the corner of the mouth but I like to stop directly below the arch of the brow and then blend it just a little further. I know this may sound a bit confusing, but have a look at the photos below and it will become clearer.
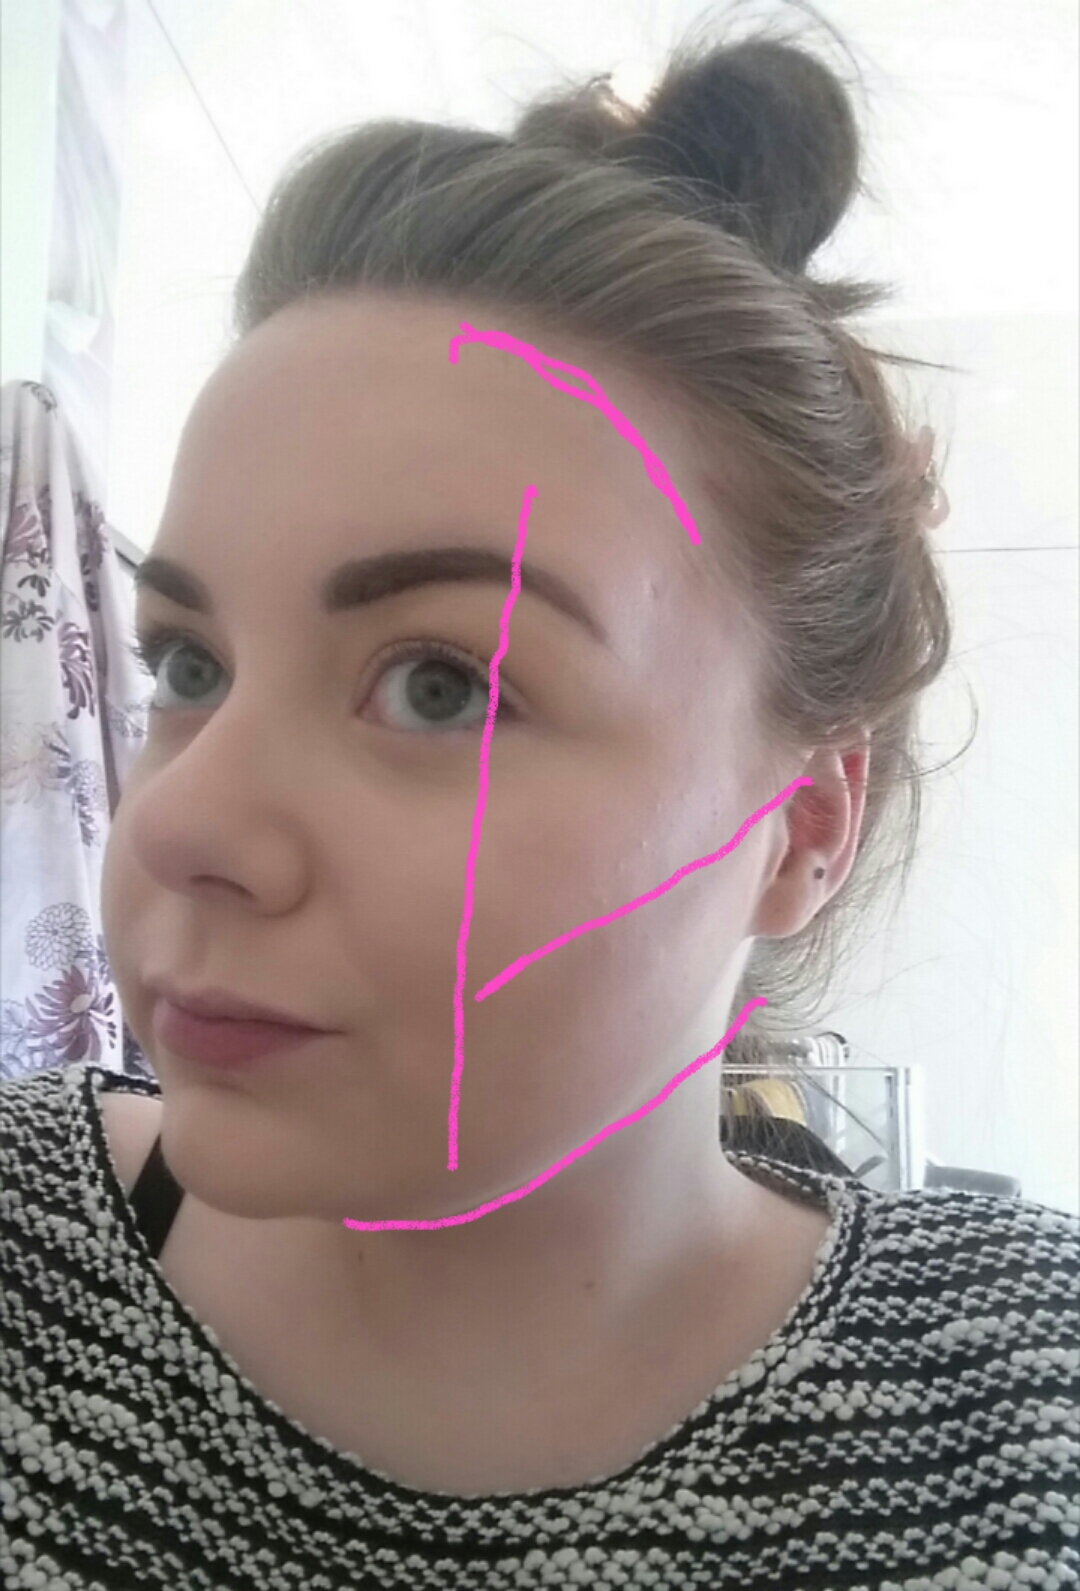
Where to apply contour colour – Use the arch of the brow as your guide
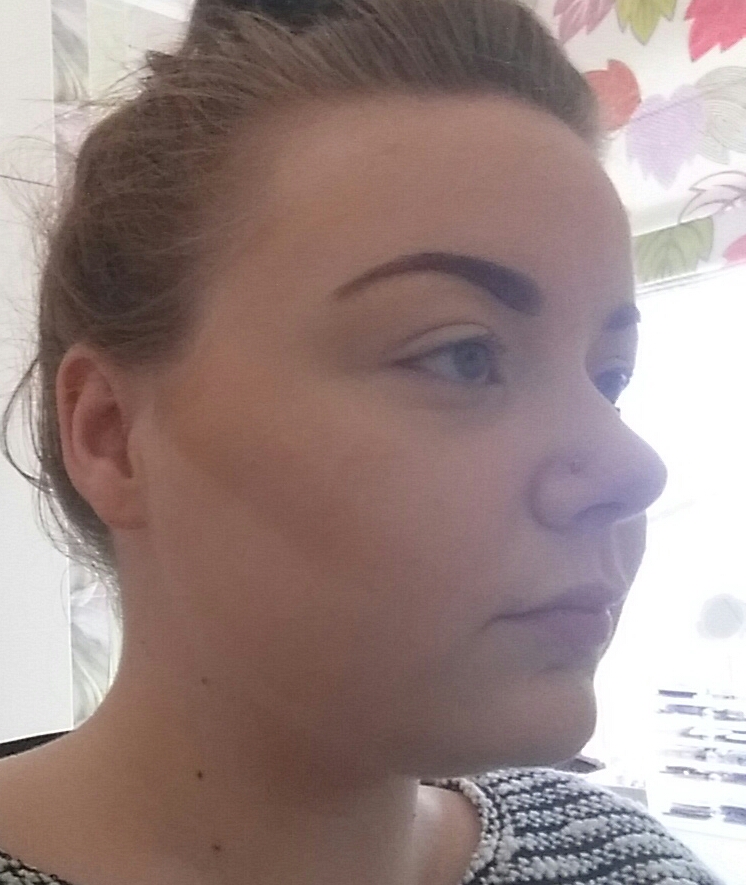
Next I will use the contour just under my jaw line, and at the edges of my forehead. I try to avoid the temple area because this tends to be naturally lighter, but I contour around my hair-line very subtly.
Next, I will take a powder highlighter, preferably one with not too much shimmer in it, I chose to use a combination of MAC skin finnish and Art Deco setting powder, these brighten and help to set any concealer. I will apply this from the inner corner of my eye in sweeping motions back towards my temple. This step helps to open up the eye area. I will also bring this product up and around the outer edge of my eyebrow, stopping just above the arch. Using a very small brow brush I will use a highlighter with more shimmer to highlight my brow bone.
Last but not least add your blusher. I have a post on blusher application, but just to recap, try to keep the areas either side of your nose free from any colour other than foundation. Sweep your blusher along your newly sculptor cheekbones, blending it well with the bronzer. An extra optional step is to take a powder highlighter of your choice and apply it lightly to the tops of your cheekbones for an extra pop.
And there you have it, a softly sculpted face that looks like it is glowing from within.
Products:
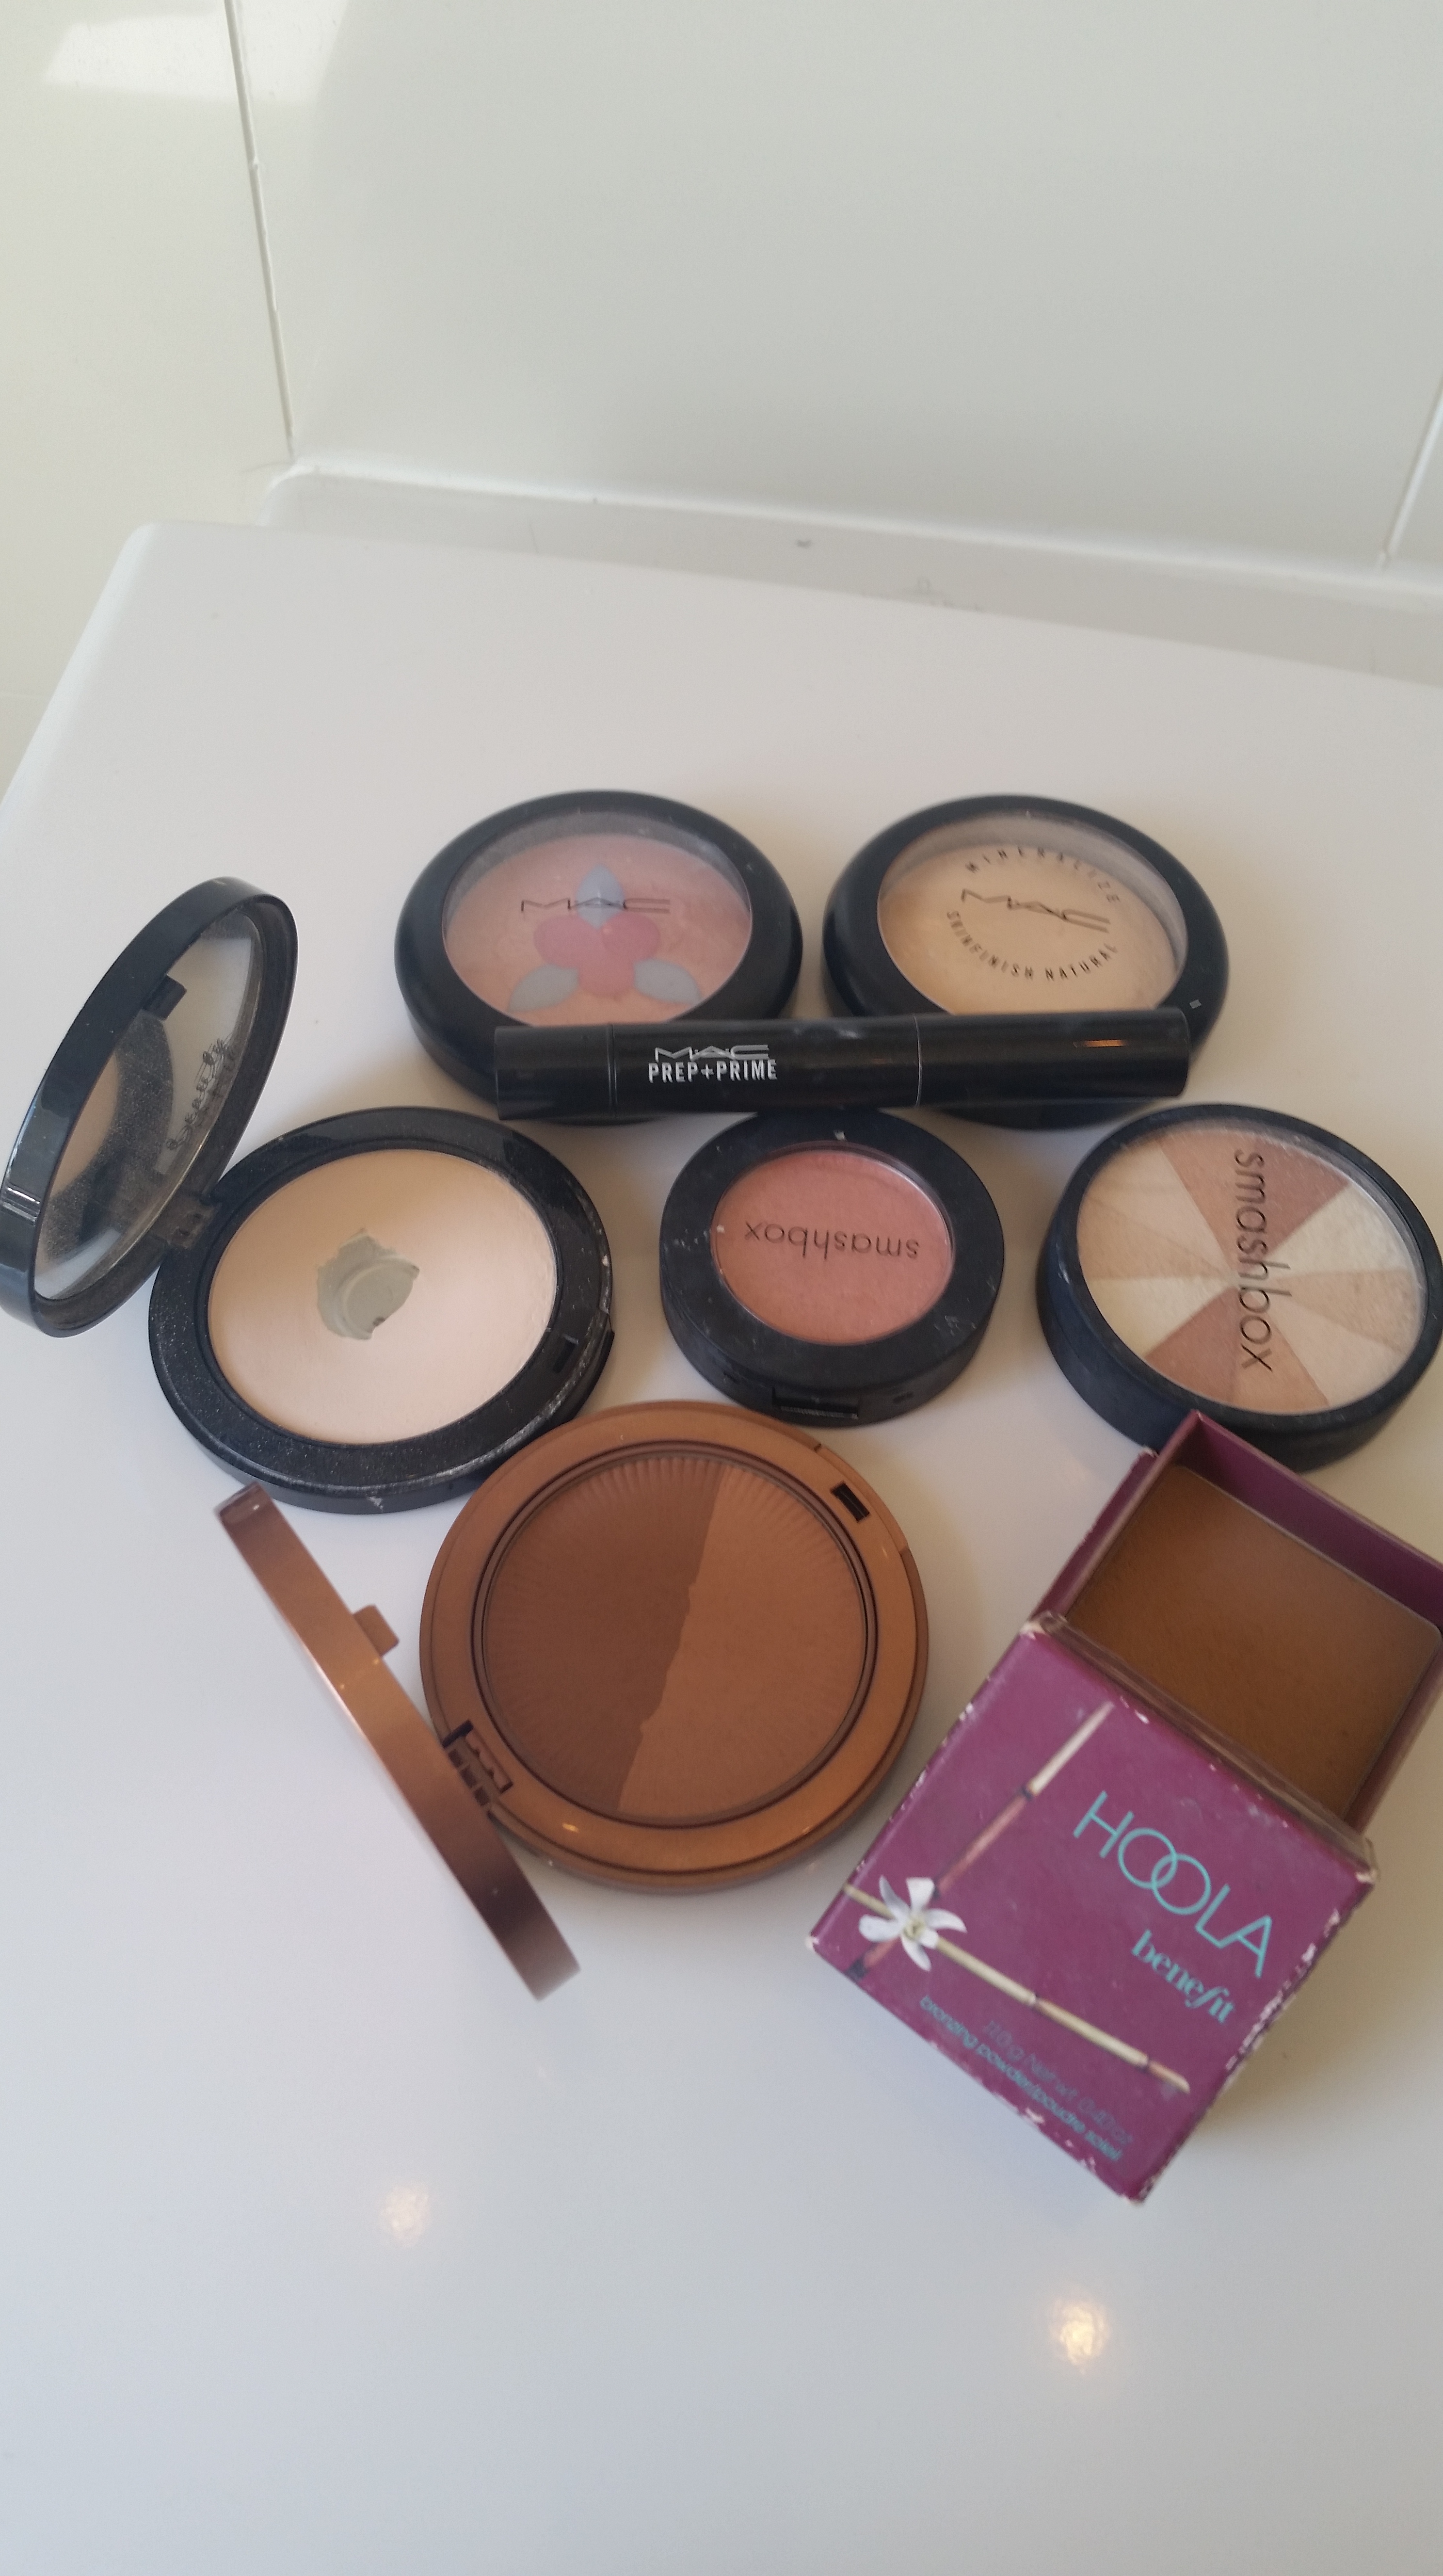
All the highlighters and contours I used
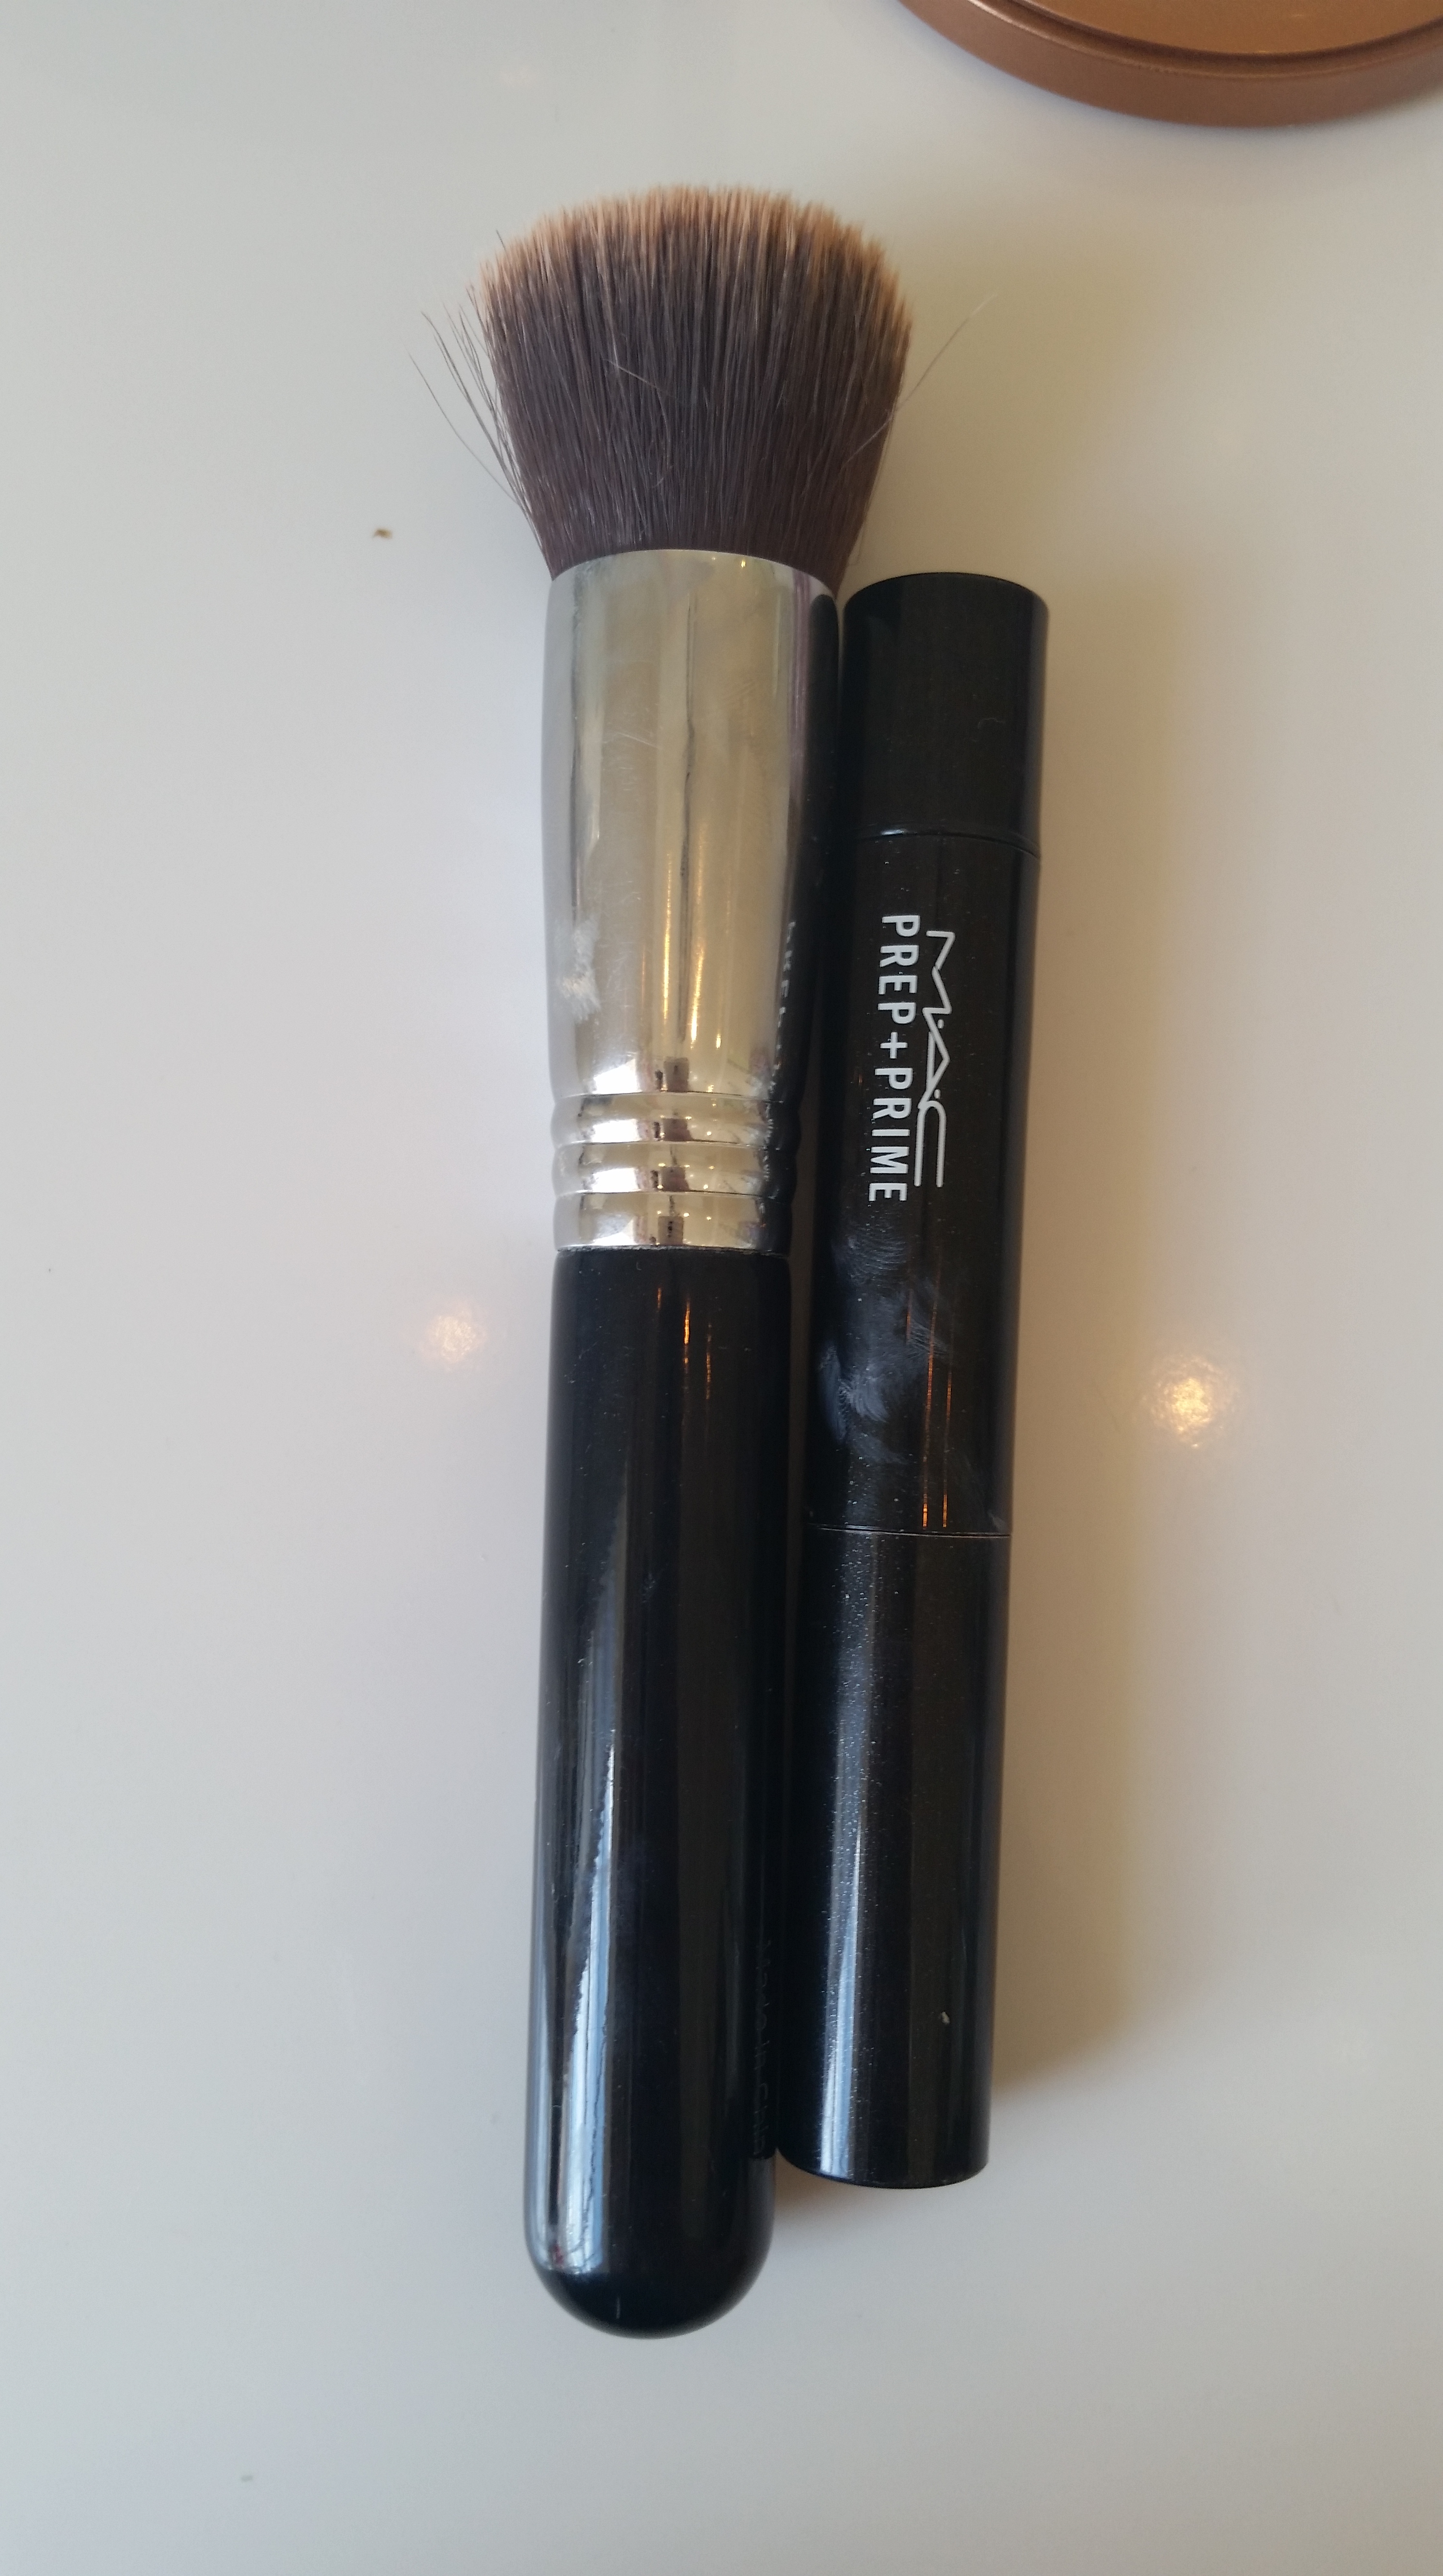
MAC’s prep and prime highlighter in Radiant Rose and my Sigma flat kabuki brush
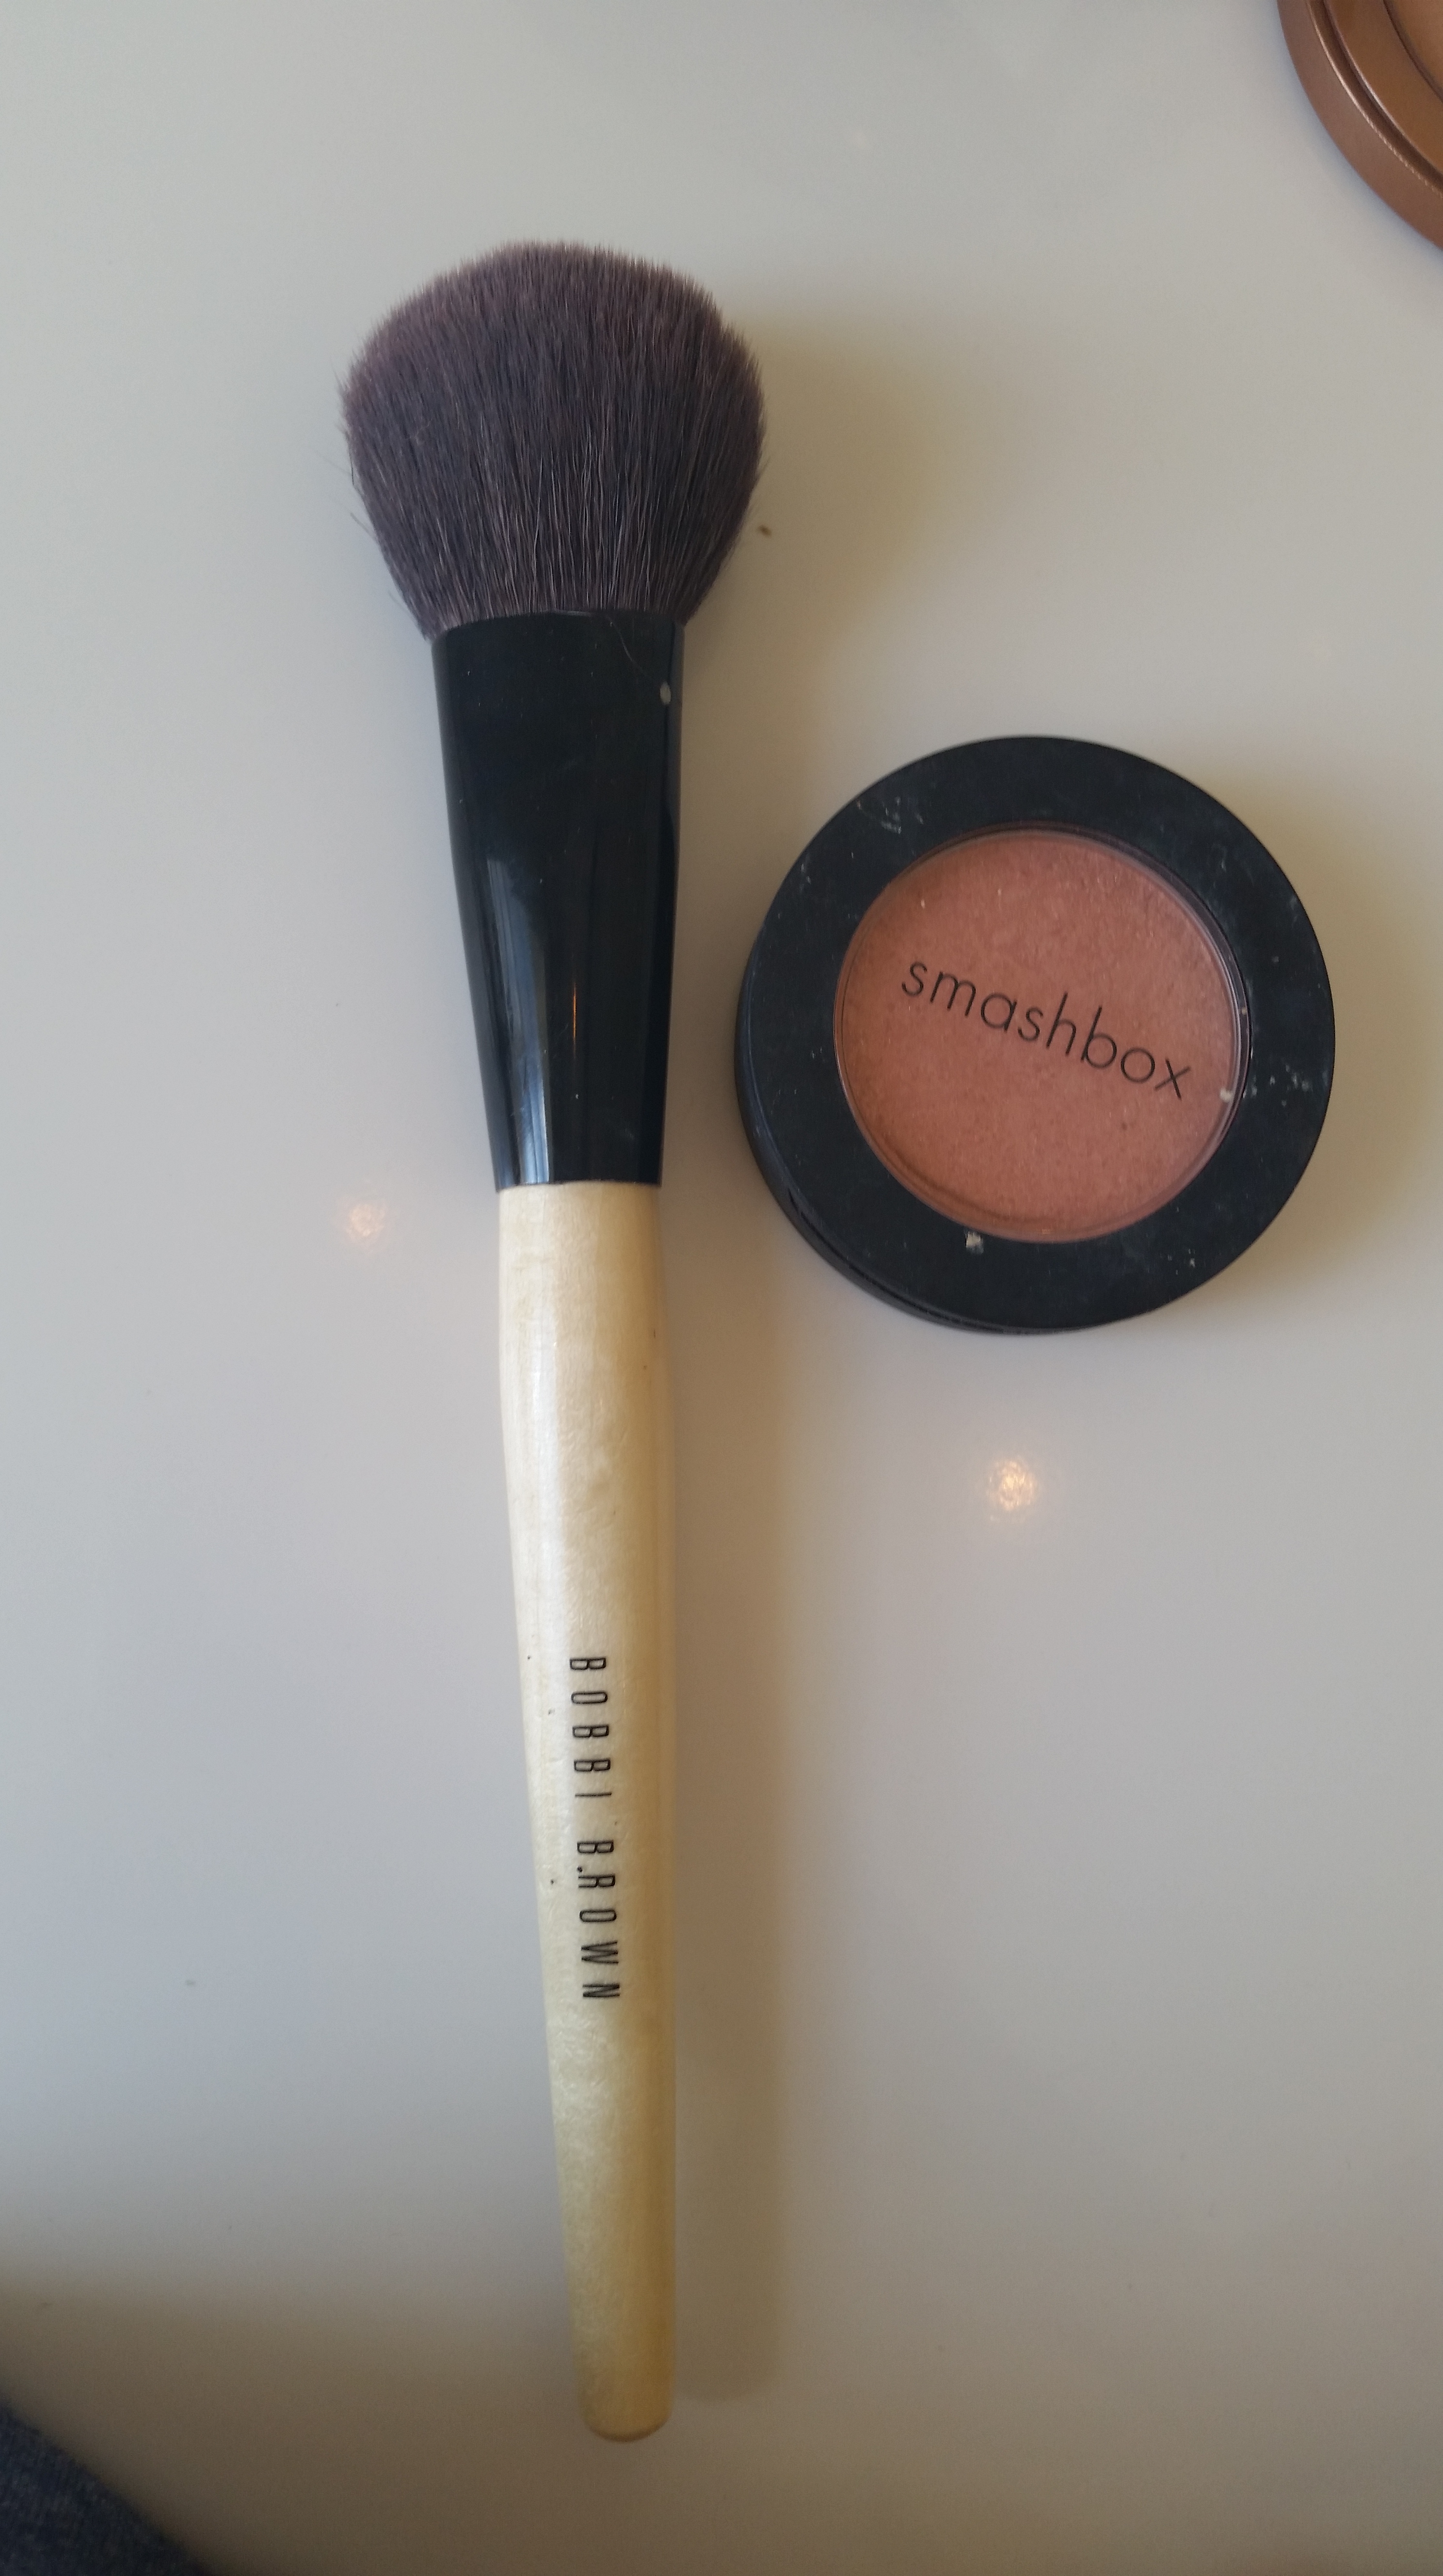
Smashbox Blusher in blush rush shiffon and Bobbi Brown blusher brush
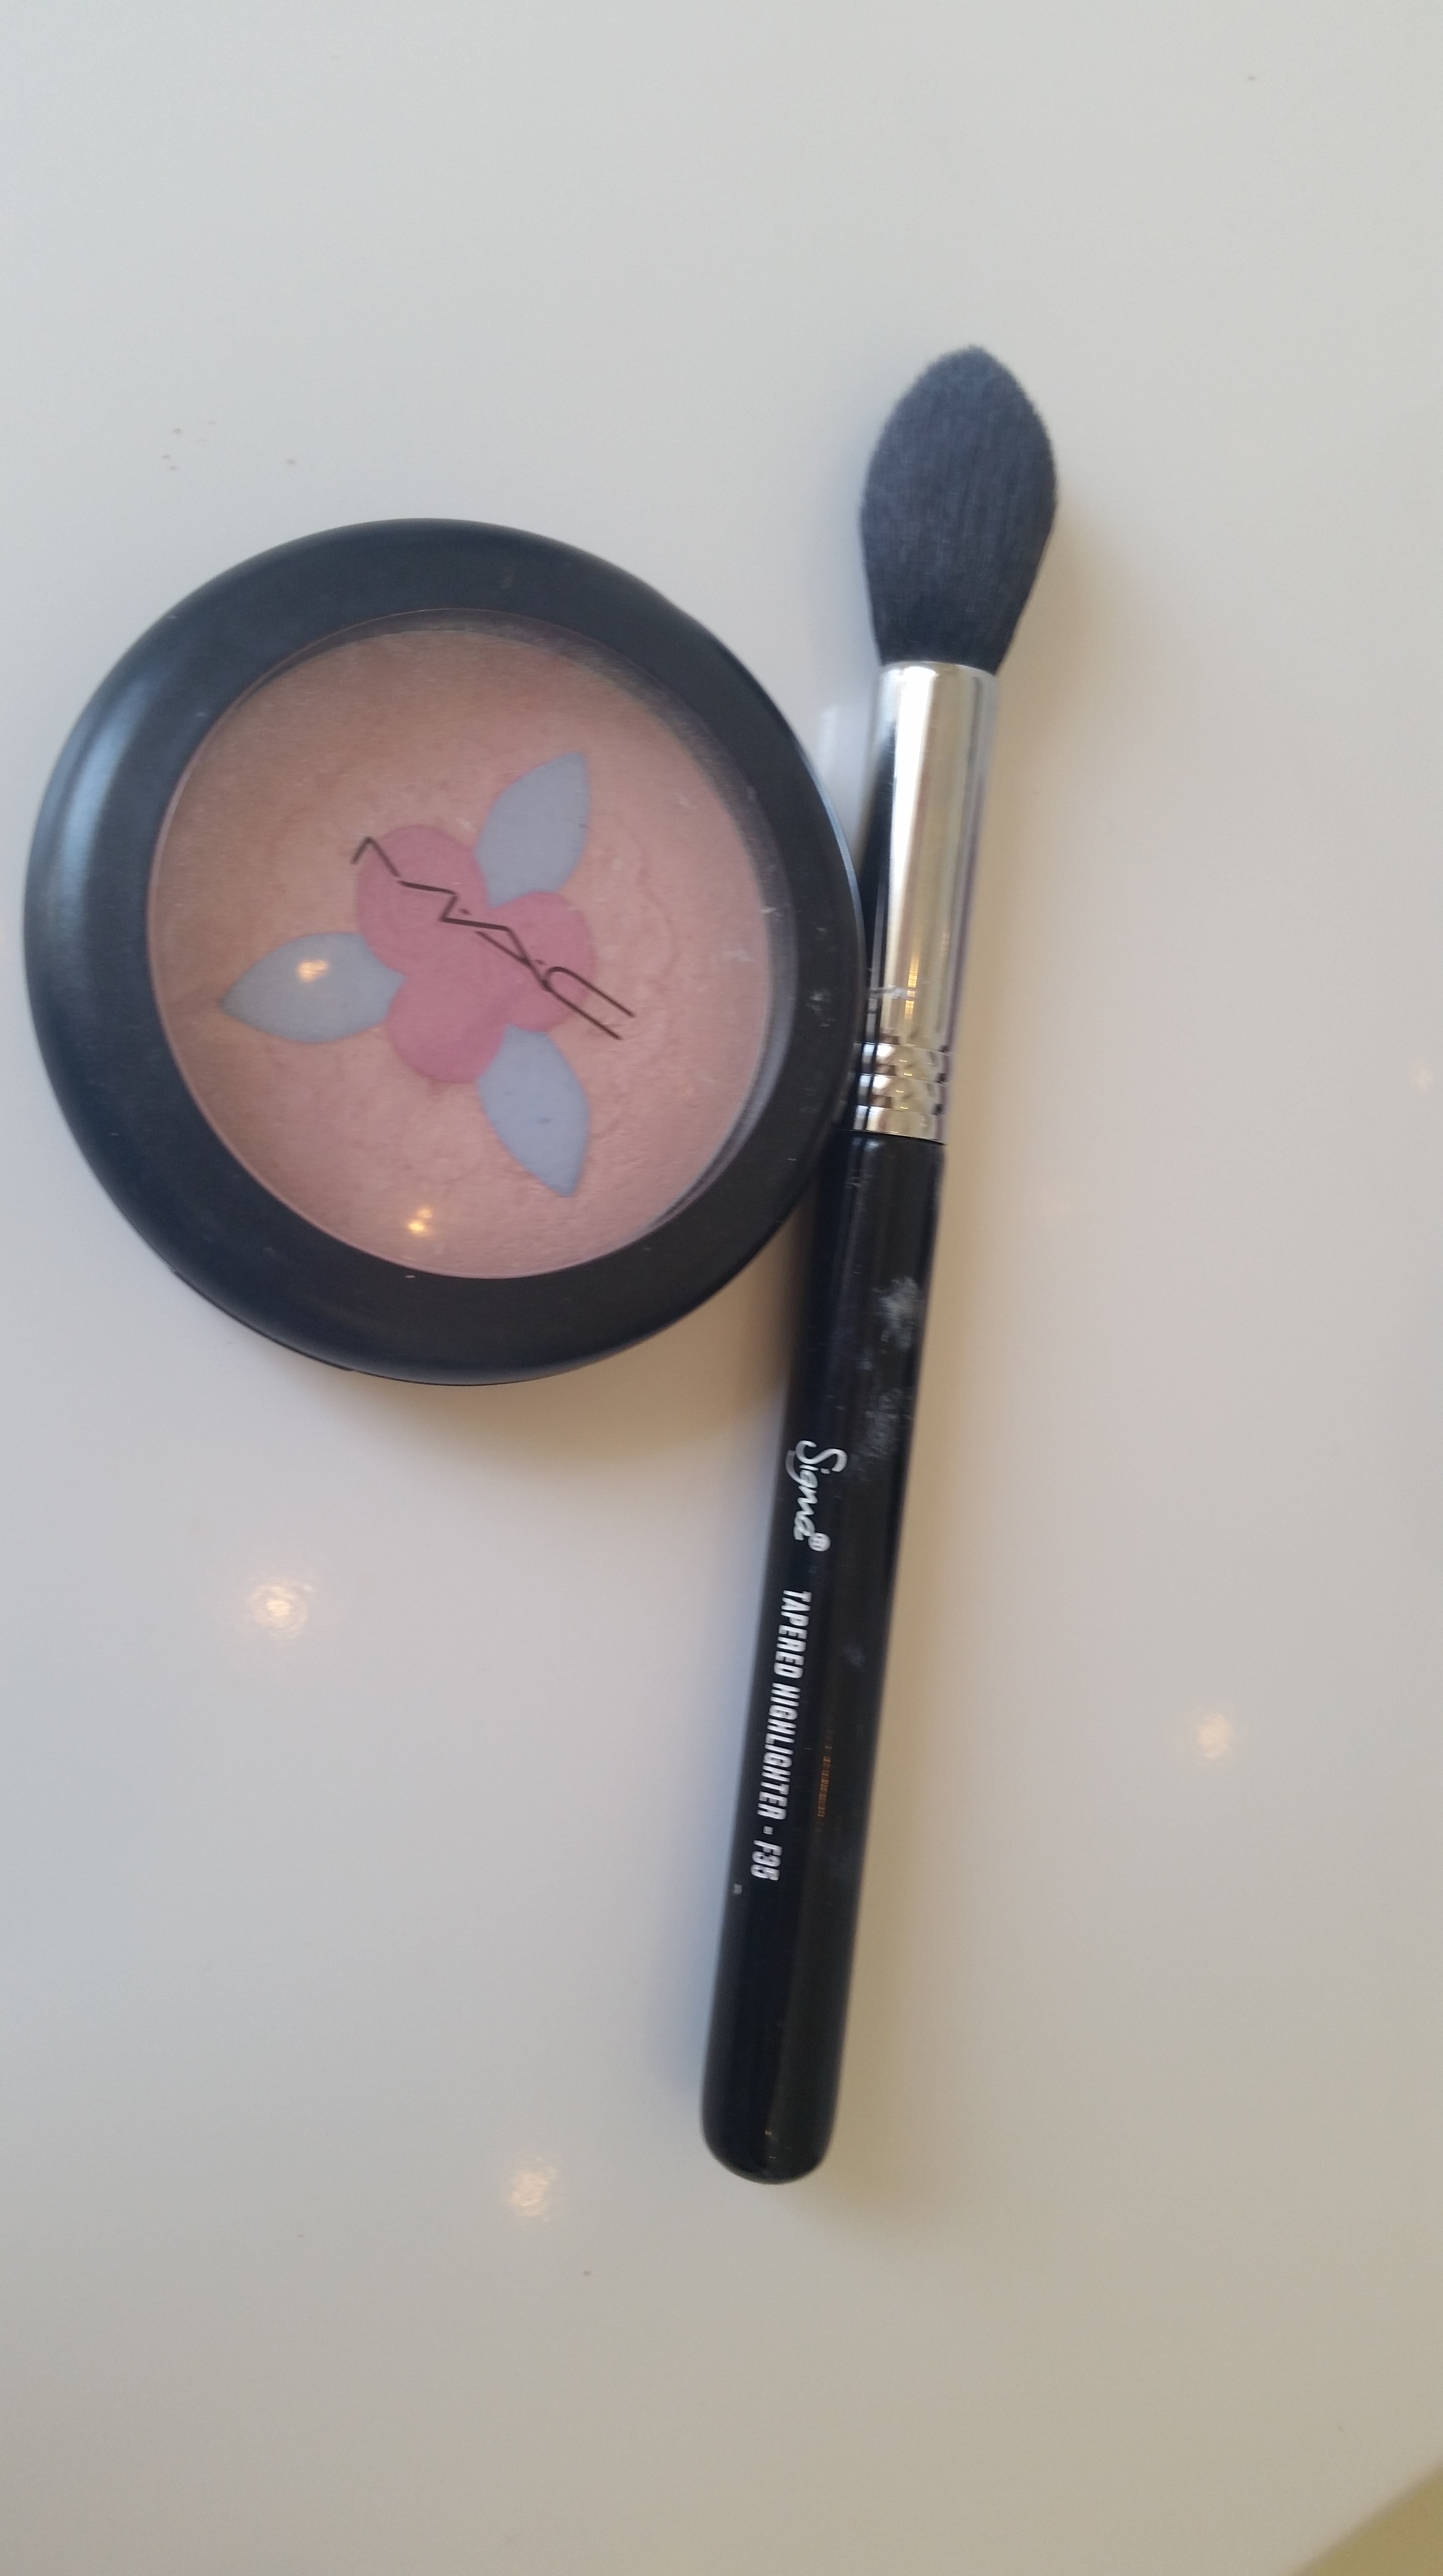
MAC Skin Finish highlighter in Buttercream Pink and Sigma blending brush
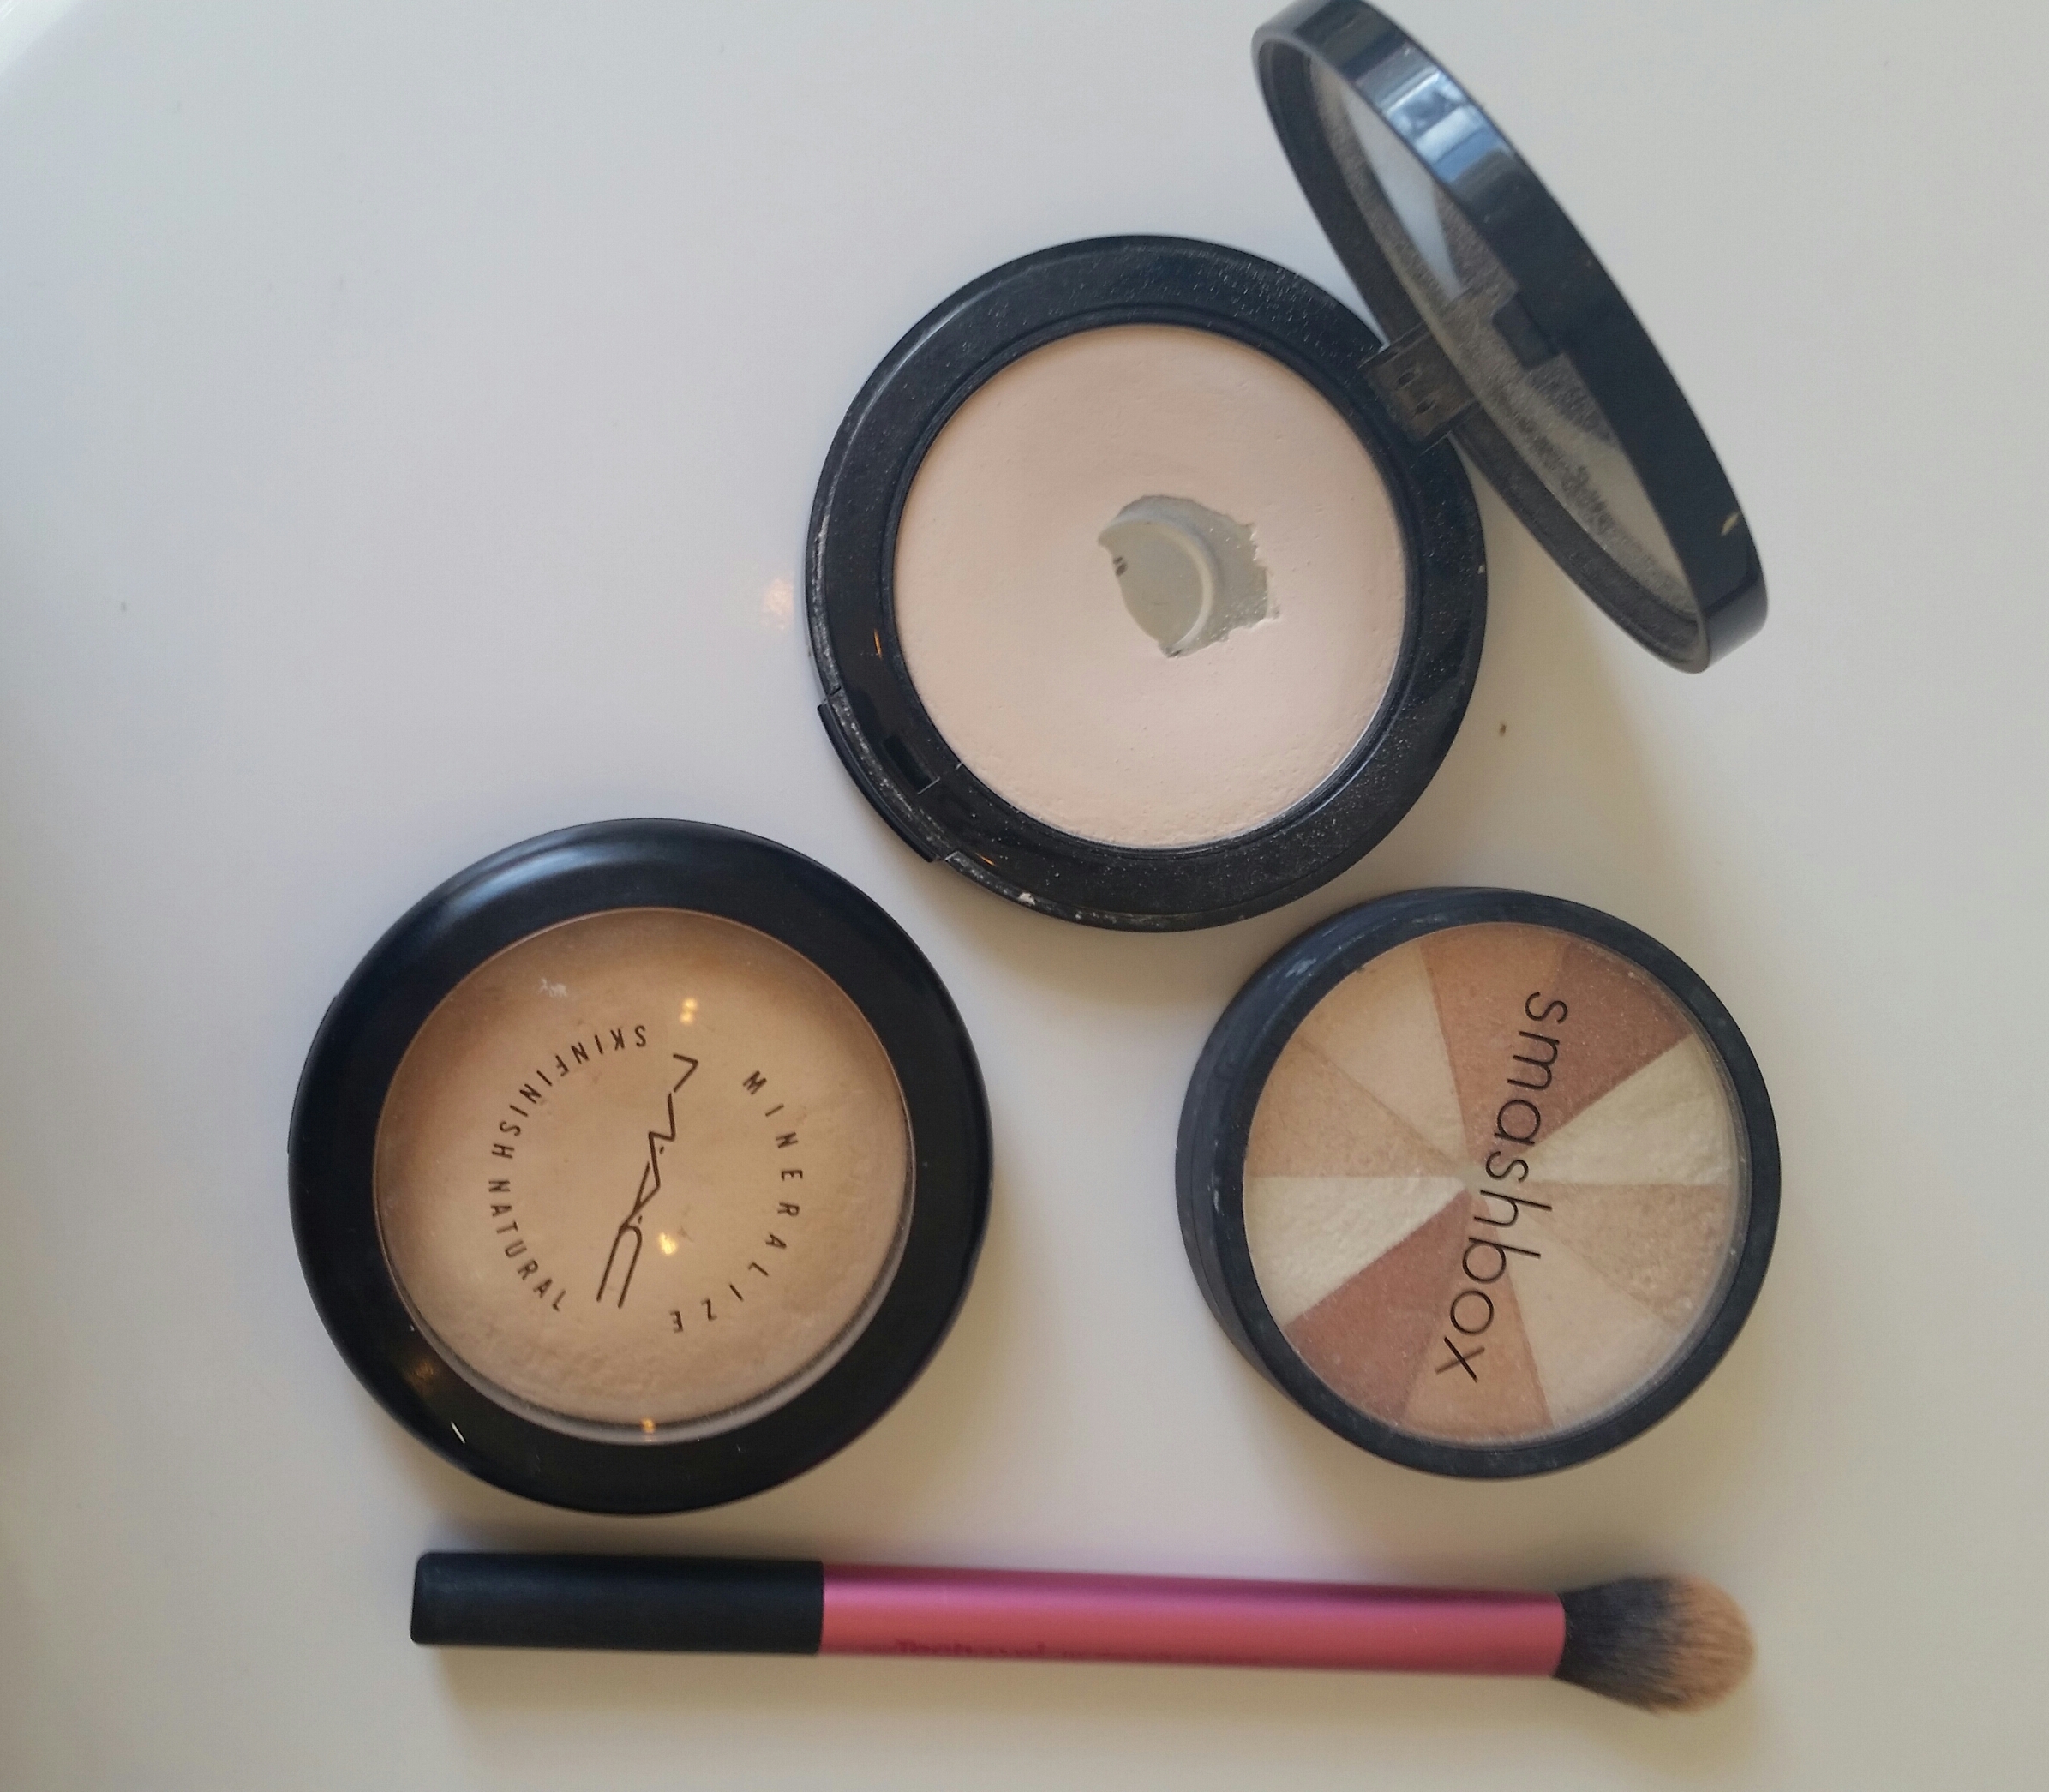
MAC, Art Deco, and Smashbox highlighters, and a real techniques concealer brush
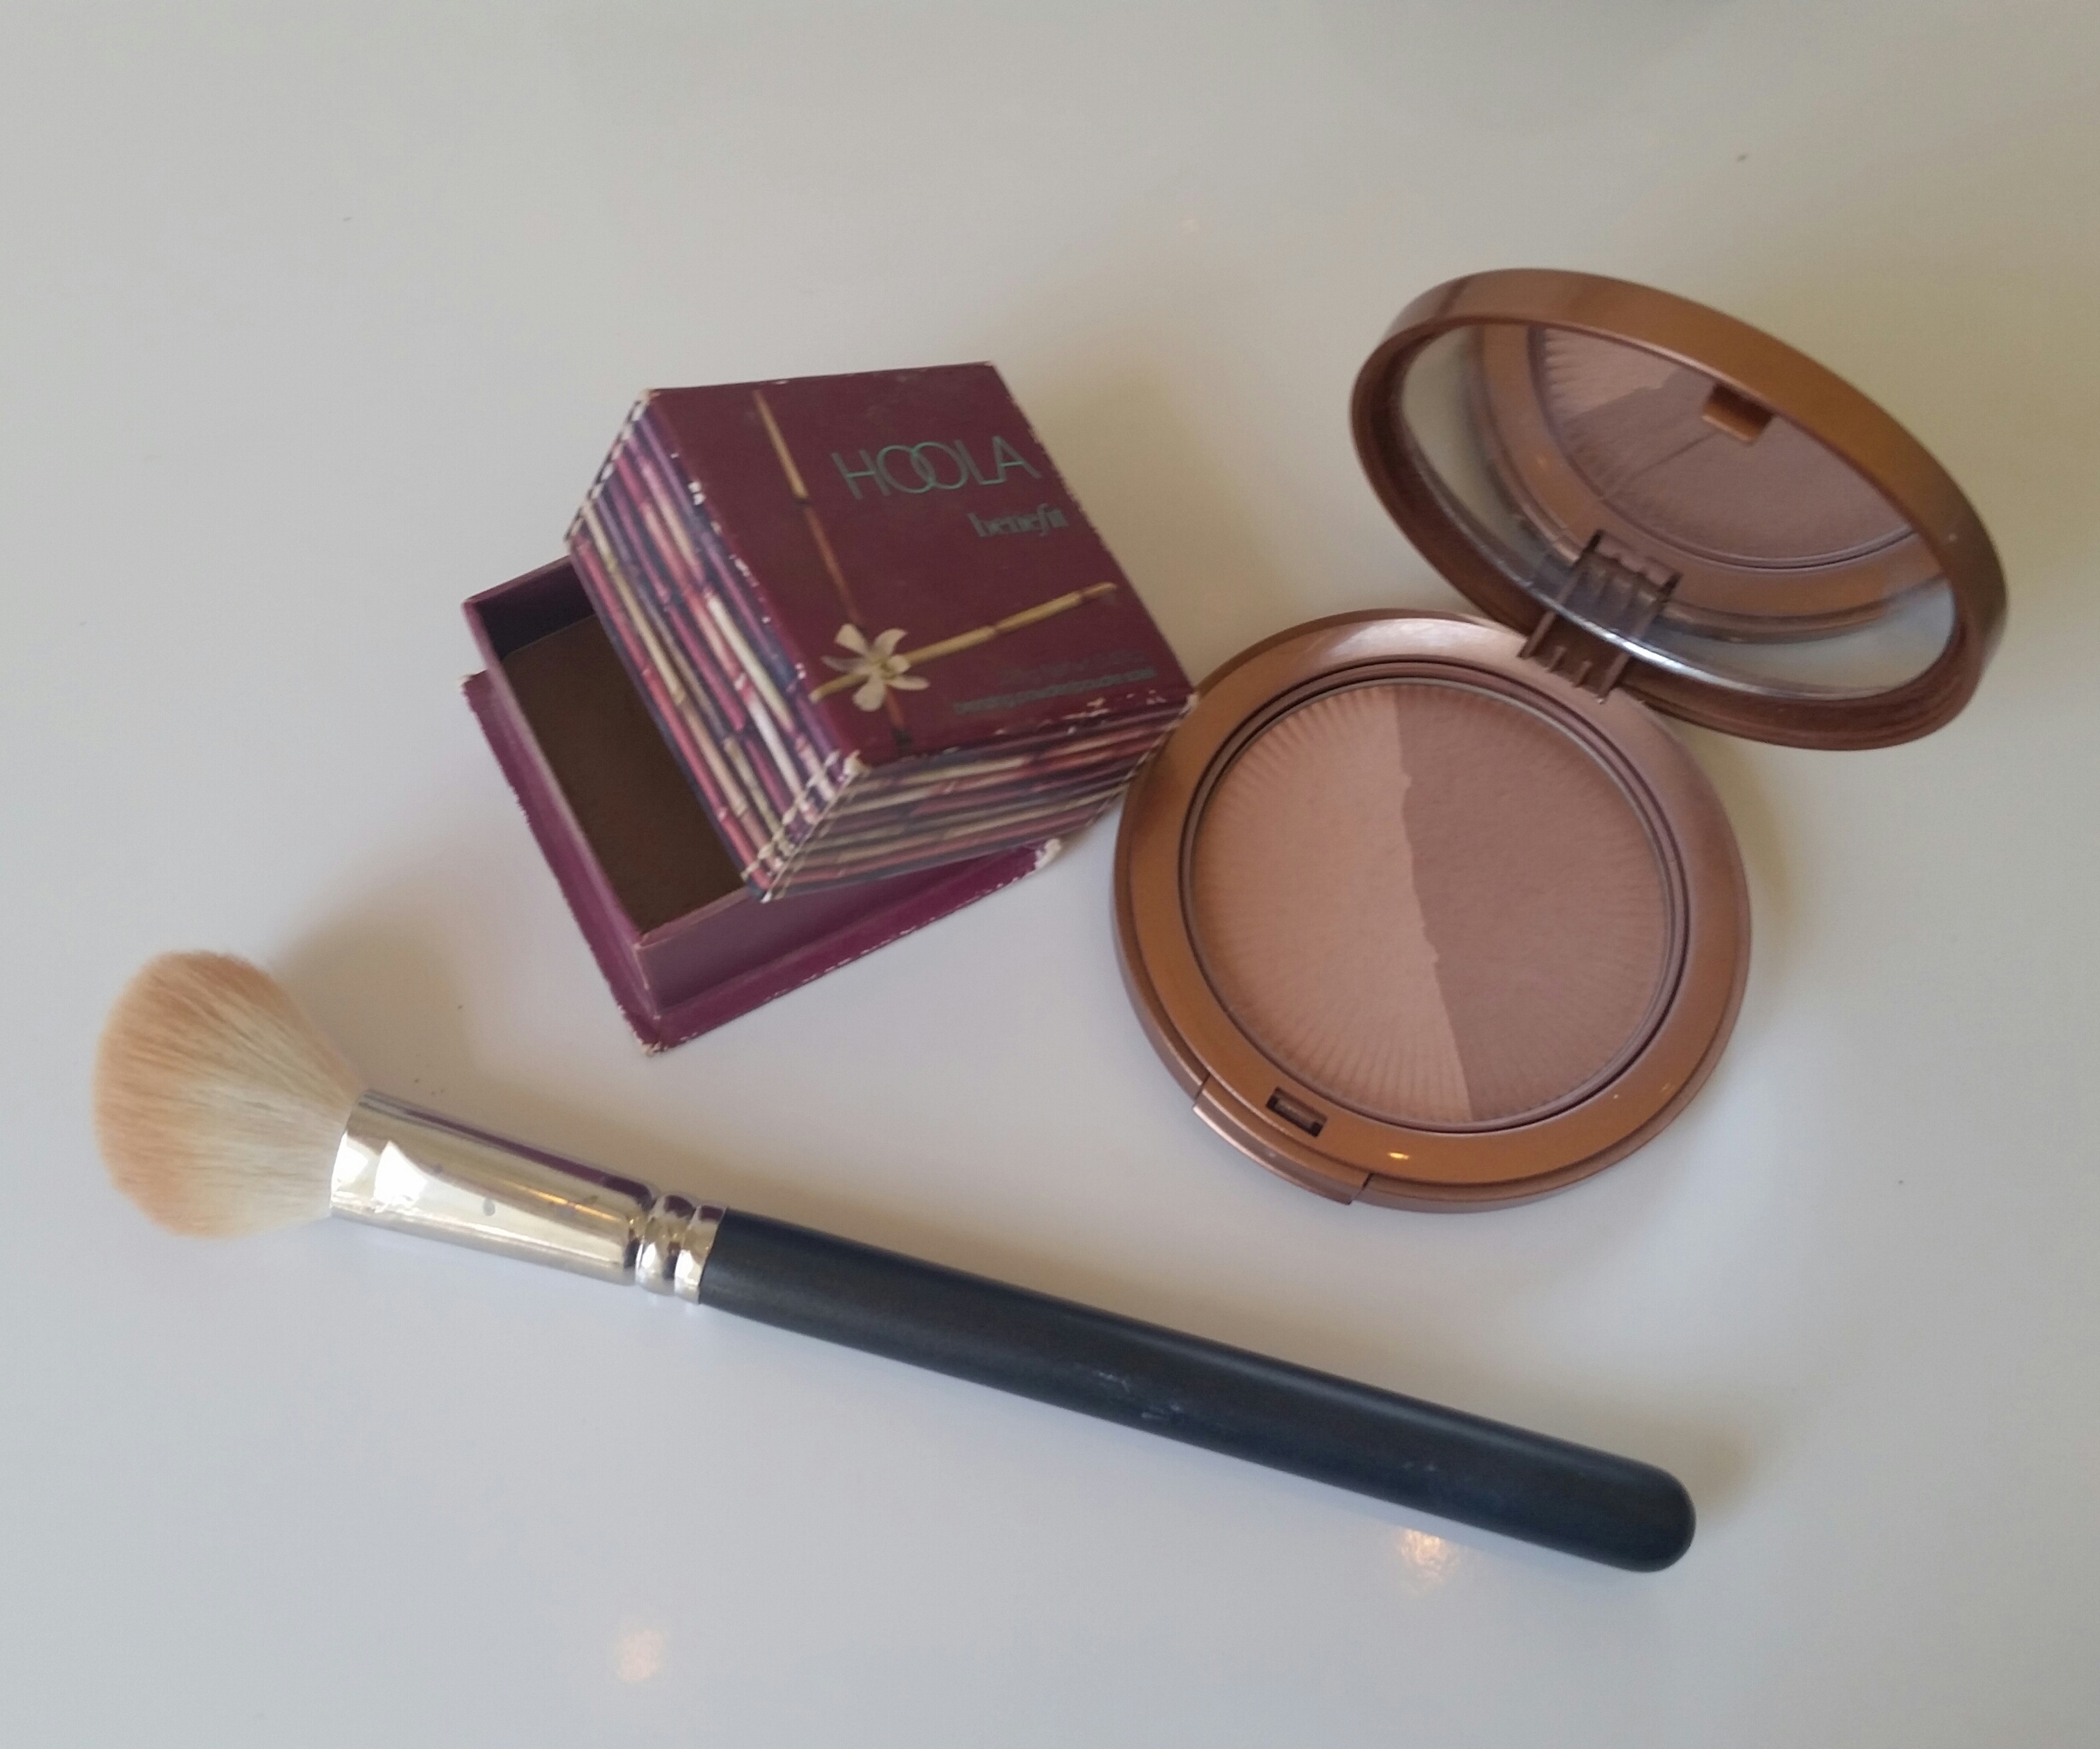
Benefit Hula Bronzer, and Art Deco bronzer, with MAC powder brush
Hello

