Look of the Week
Hello!
I am thinking of doing a ‘Look of the Week’ post once a week where I will do a tutorial for a specific look. I will do one in this post and feedback is much appreciated. Also, if you have any requests for a tutorial, don’t hesitate to ask! Hope you enjoy.
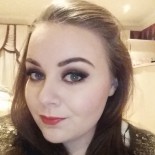
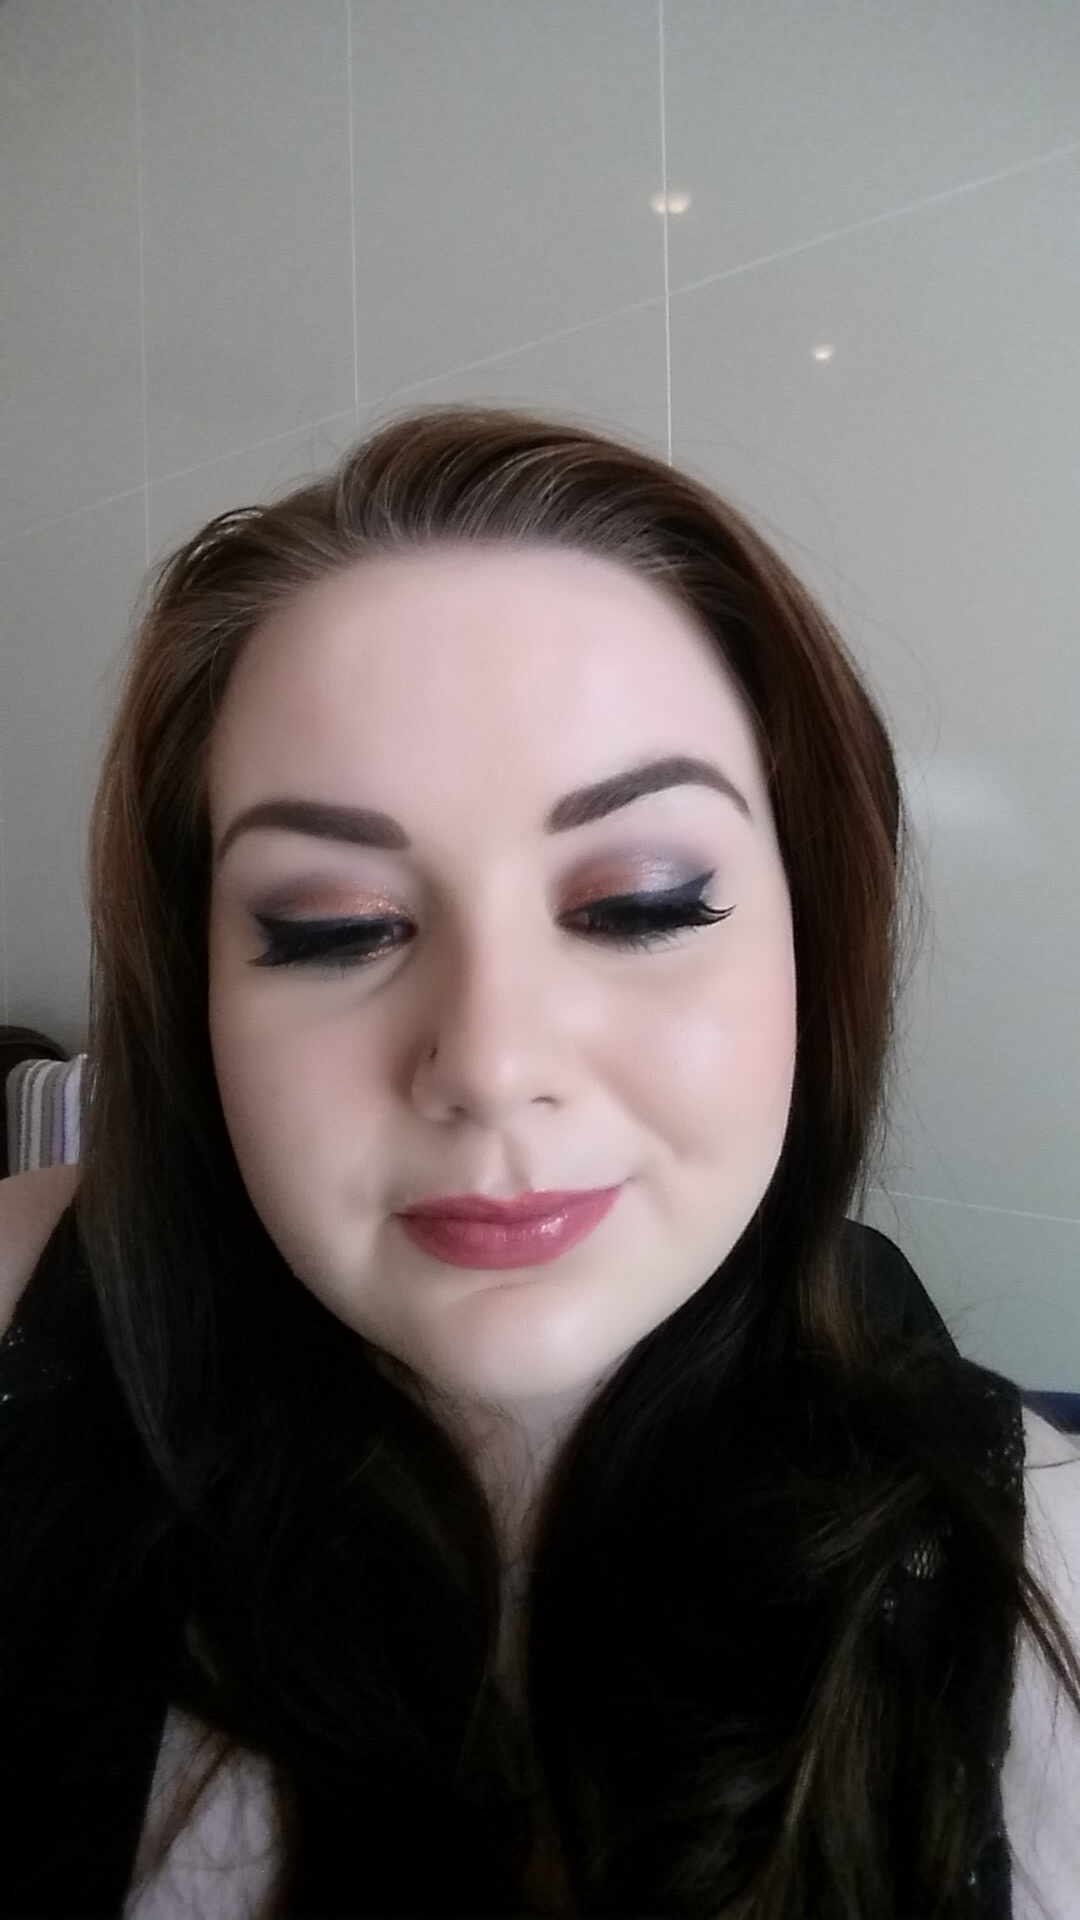
This is a fun, glittery, colorful look. Perfect for summer nights out when you want to bring a little sparkle to the festivities!
Don’t laugh at the awful selfies, Just look at the makeup!!
The best place to start any makeup look is with the perfect canvas, so make sure your skin is prepped and primed. I am currently using Bobbi Brown’s face base, it smells heavenly. It’s also really important to prep your eyes too, I use Urban Decay’s primer potion on my lids, it is amazing, it just clings to all eye products, your look won’t budge. I also apply my concealer to my eyelids. I do this straight after the eyelid primer. The area around our eyes is very delicate, eyes can get red very easy, or veins can be visible, so applying concealer here just smooths out the colour and creates a nice canvas for shadow. Concealer alone does the job of a primer too if you find your eye makeup doesn’t smudge too much, it’s a pet peeve of mine so I like industrial strength primer.
I always apply my eye makeup before my face products, this way if/when eyeshadow and other eye products drop down onto your cheeks or under your eyes, they can simply be wiped away without making a mess. I started with a base shadow, I usually end up grabbing whichever one is nearest to me, this time I used Strange from Naked 3. I applied this all over my lid, from lash line to brow bone. From the same palette, I used limit as a transition shade. Using a big blending brush I worked this shade into the crease and pushed it upwards.
Next, I applied Taupe from the Smashbox Flash palette all over my lid, keeping it low in the crease. This is a really cool gold shade and it will add loads of dimension to your lid so go ahead and pack it on. I then applied Bobbi Brown’s Black Velvet to the crease. This is such an unusual shade, it’s not very pigmented so applying with a wet brush will get the best colour from it, I however, just wanted it to shade my crease so I used a dry brush but spent a lot of time building it up. The glitter is super intense in this shadow, fall off is to be expected.
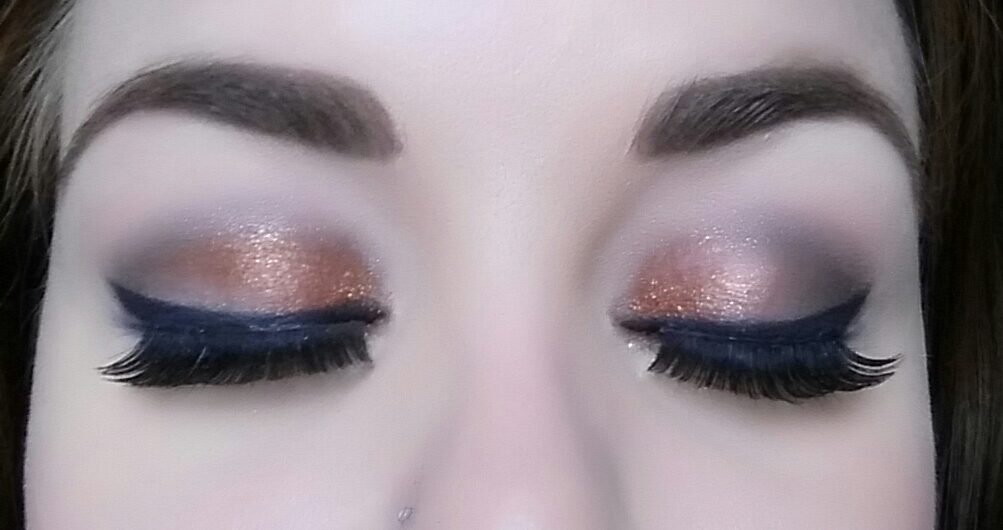
Then I went back with an old MAC shadow duo called Under Your Spell. One side of this duo is a beautiful lilac shimmer, and the other side is a really intense burnt orange shimmer.You wouldn’t imagine them being nice together but they do compliment each other perfectly. I applied the lilac shade to my lid, avoiding my crease, it works fantastically with the Taupe shade. Then to add even more definition I used a navy colour from MAC and went over my crease in the outer corner, just making it darker and deeper.
Finally I took the orange colour from Under Your Spell and I packed it onto the inner corners of my eye for a pop of colour. It makes all the difference! To top it all off I lined my upper lash line using Rimmel’s 001 Black. I always leave my lower lash liner until I have applied my concealer.
Now that the lids are done, take a cotton bud and your favourite eye cream and wipe away any fall off product that has landed under your eyes. Now it’s time to move onto the face. Having done my eye lids I go straight in and do my foundation next. For this look I used Bobbi Brown’s foundation stick in Warm Ivory 1. I’m not the biggest fan of this foundation, it’s awkward to apply but it does give a gorgeous dewy finish. Having let this settle for a few minutes I then add cream highlighter. Using MAC’s Prep and Prime Highlighter in Radiant Rose, I highlight the areas under my eyes, around my nose, my forehead, above my eyebrows, and my chin. I now move onto my under eye concealer. It’s important to be super gentle with this area. I have very dark circles under my eyes so I apply a lot of concealer. Having done this I go back and set it with MAC’s Mineralize Skin FInish Natural in Light Plus. This will ensure the concealer doesn’t settle in any fine lines, it will be held in place perfectly. At this stage I will apply the finishing powder to the rest of my face too.
Next I fill in my eyebrows. If you haven’t guessed already, I am a huge fan of MAC, and for my brows I love the MAC brow crayon. However, this is a twist up crayon, that cannot be twisted down. It doesn’t last long at all and it is so frustrating when I accidentally break the crayon, it feels like throwing money away. Rant over! I used MAC crayon in lingering for this look.
Next I applied blusher, I am wearing the Naked Flushed palette in Streak. I didn’t pick up any of the bronzer in this palette as I wanted to keep my skin pale so that my eyes and cheeks would pop.
I used MAC Pink Buttercream highlighter, a powder highlighter, across my cheeks, just to give an extra dewy finish.
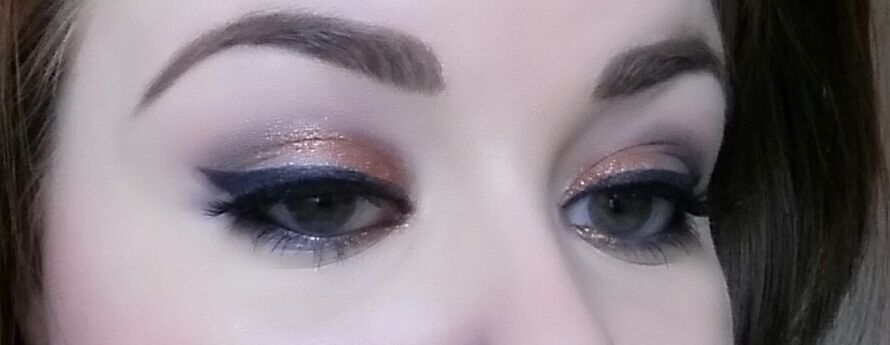
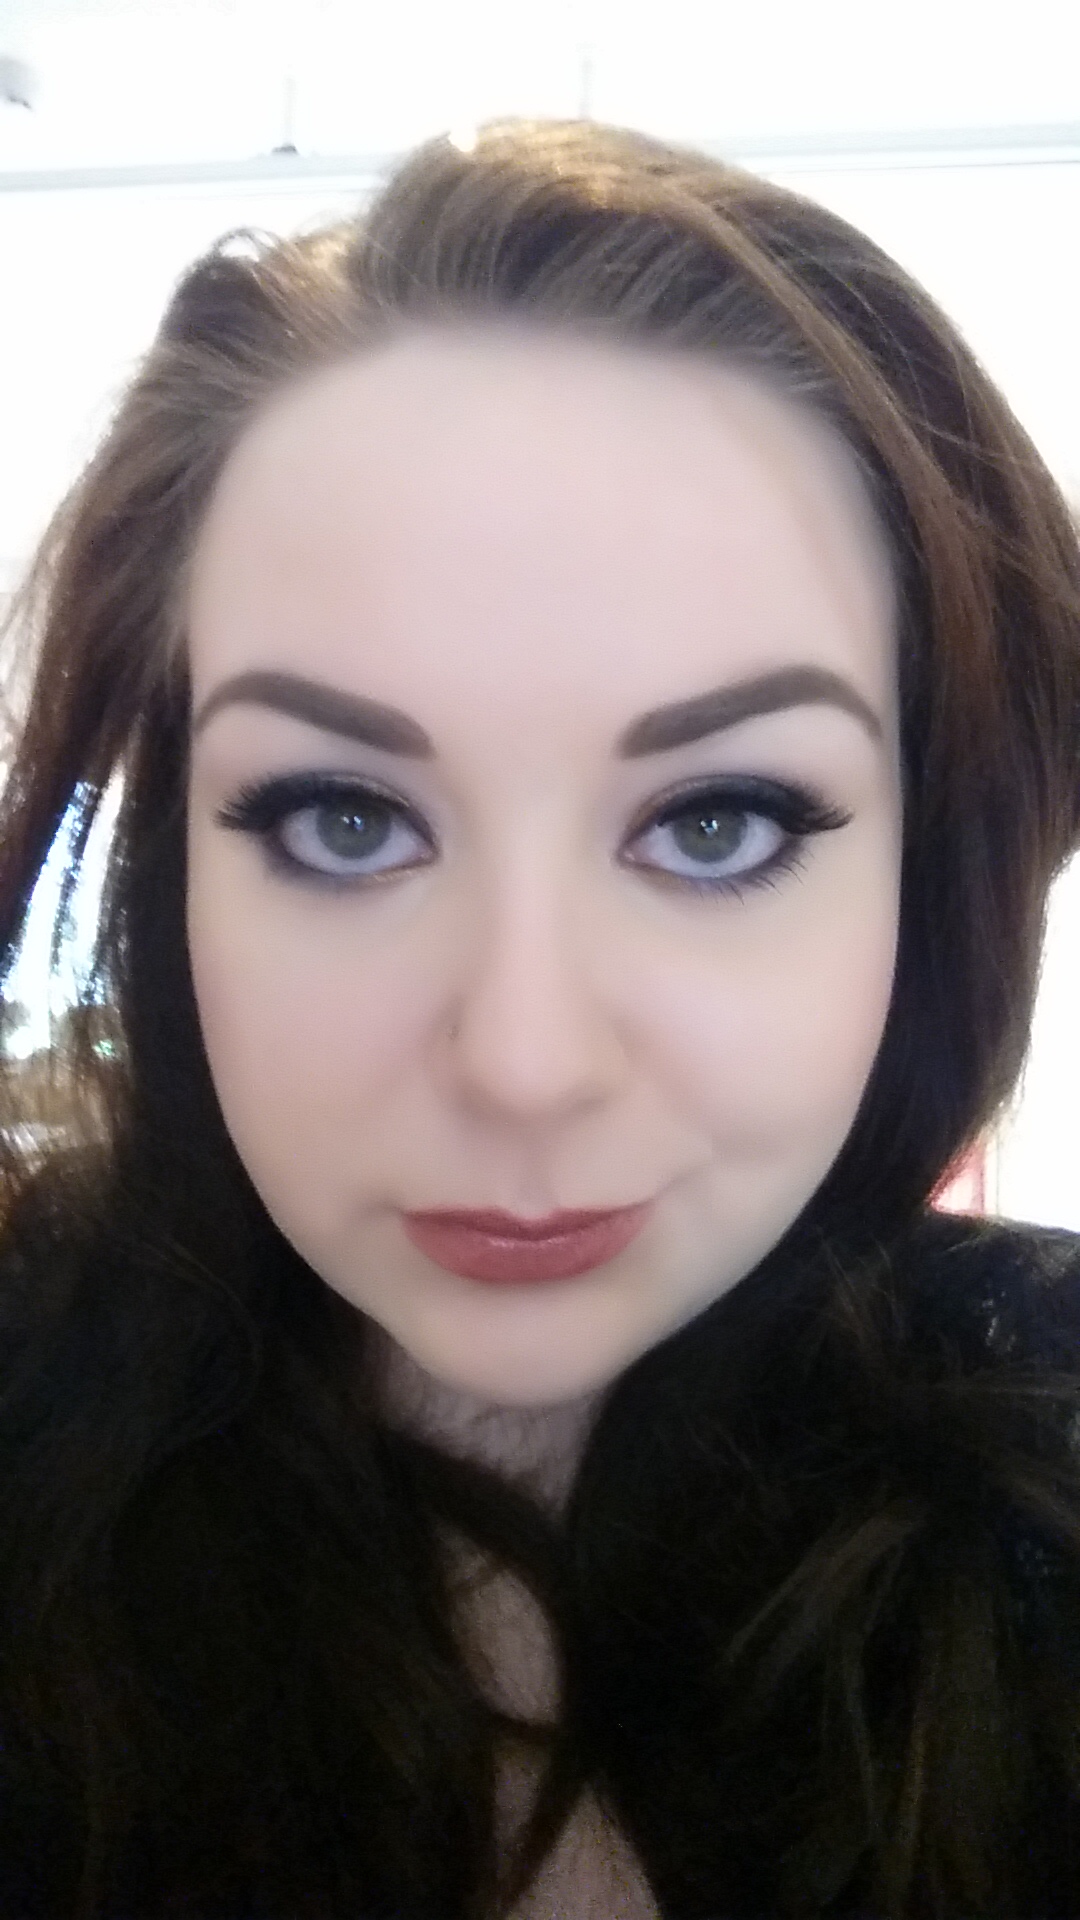
Now that my face is finished and set, I will complete my eyeshadow. When lining your lower lash line blending is the best thing you can do. You don’t want any sharp lines. I used the same shadow that I used as my transition shade first, and then added the darker colour, in this case the navy. To finish I put the orange colour on the inner corners. A Coat of mascara, and (optional) false lashes, and your eyes are completed!
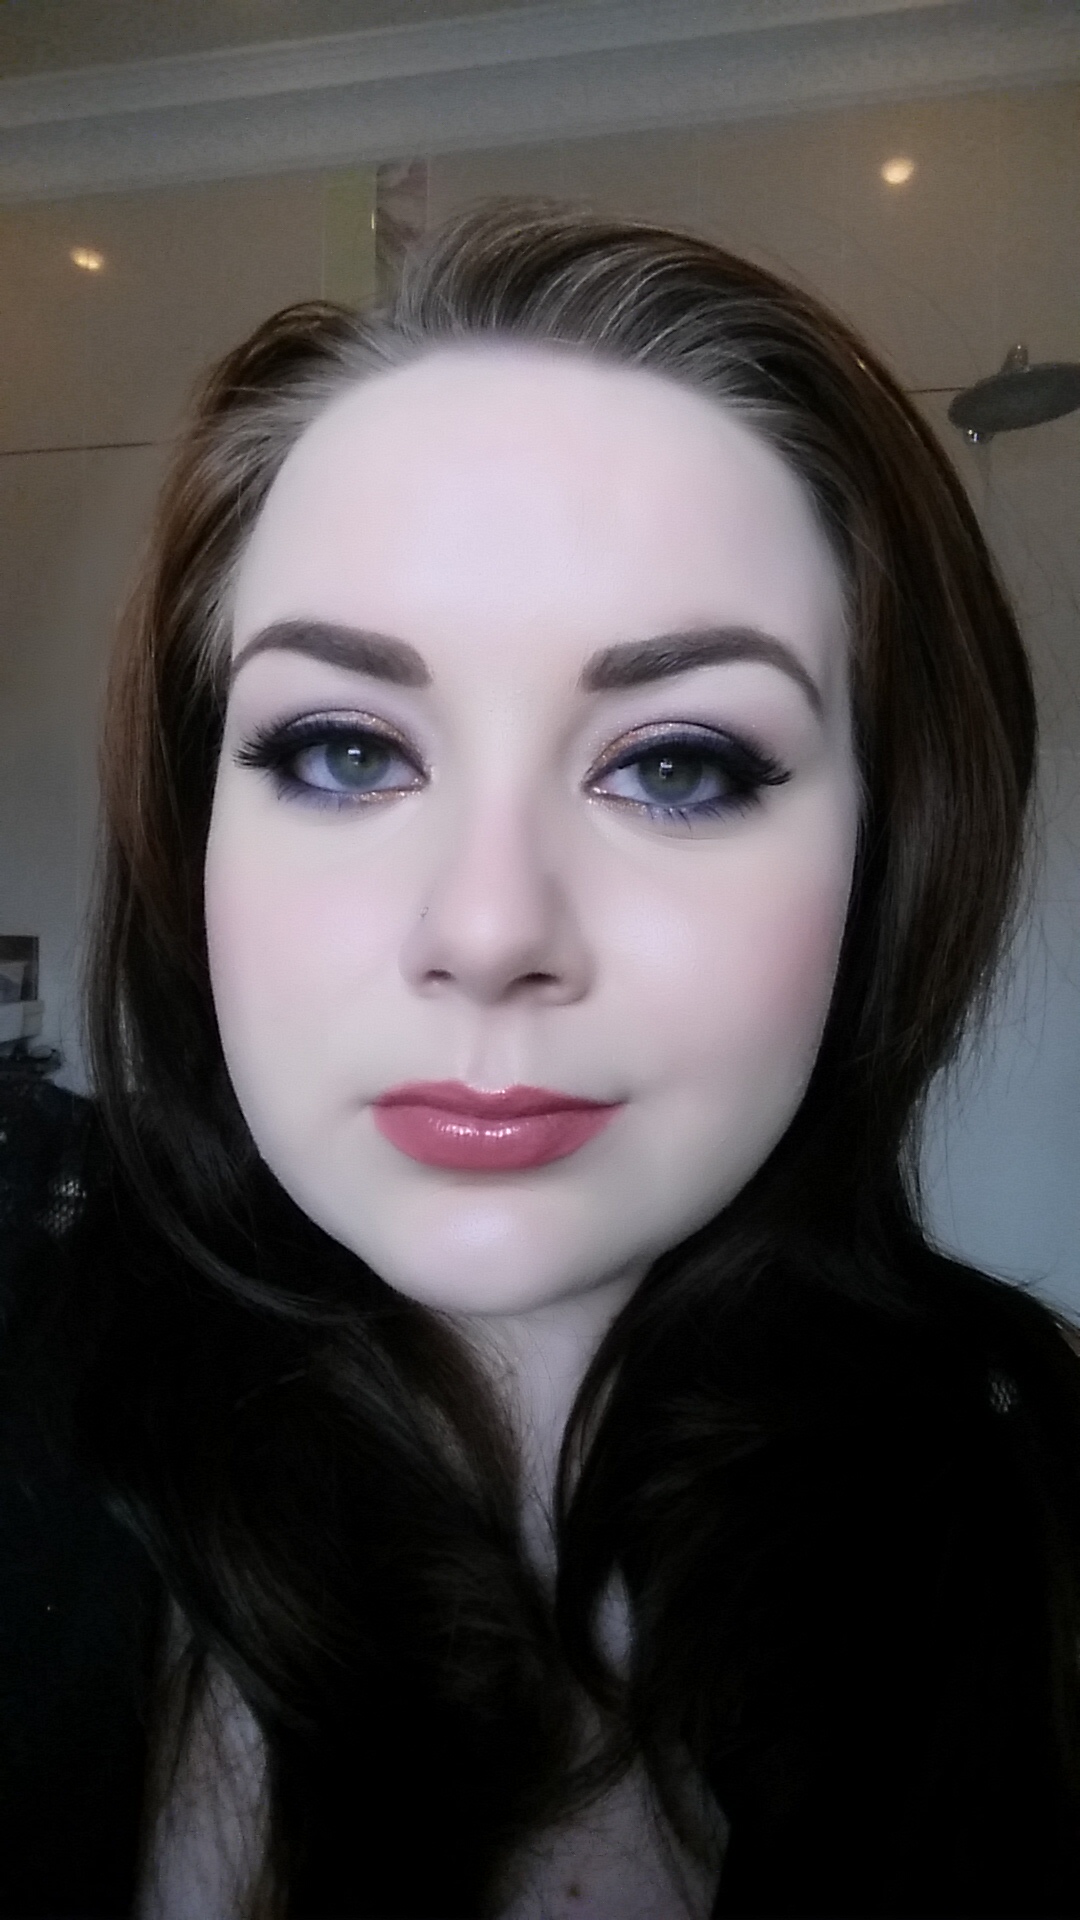
Last but not least, I went with a nude pink lip. I first applied Smashbox’s lipstick in Rosy Pink, and then put Smashbox’s lipgloss in Pop over it. It’s a nice pink lip without too much colour. Let the eyes do the talking!
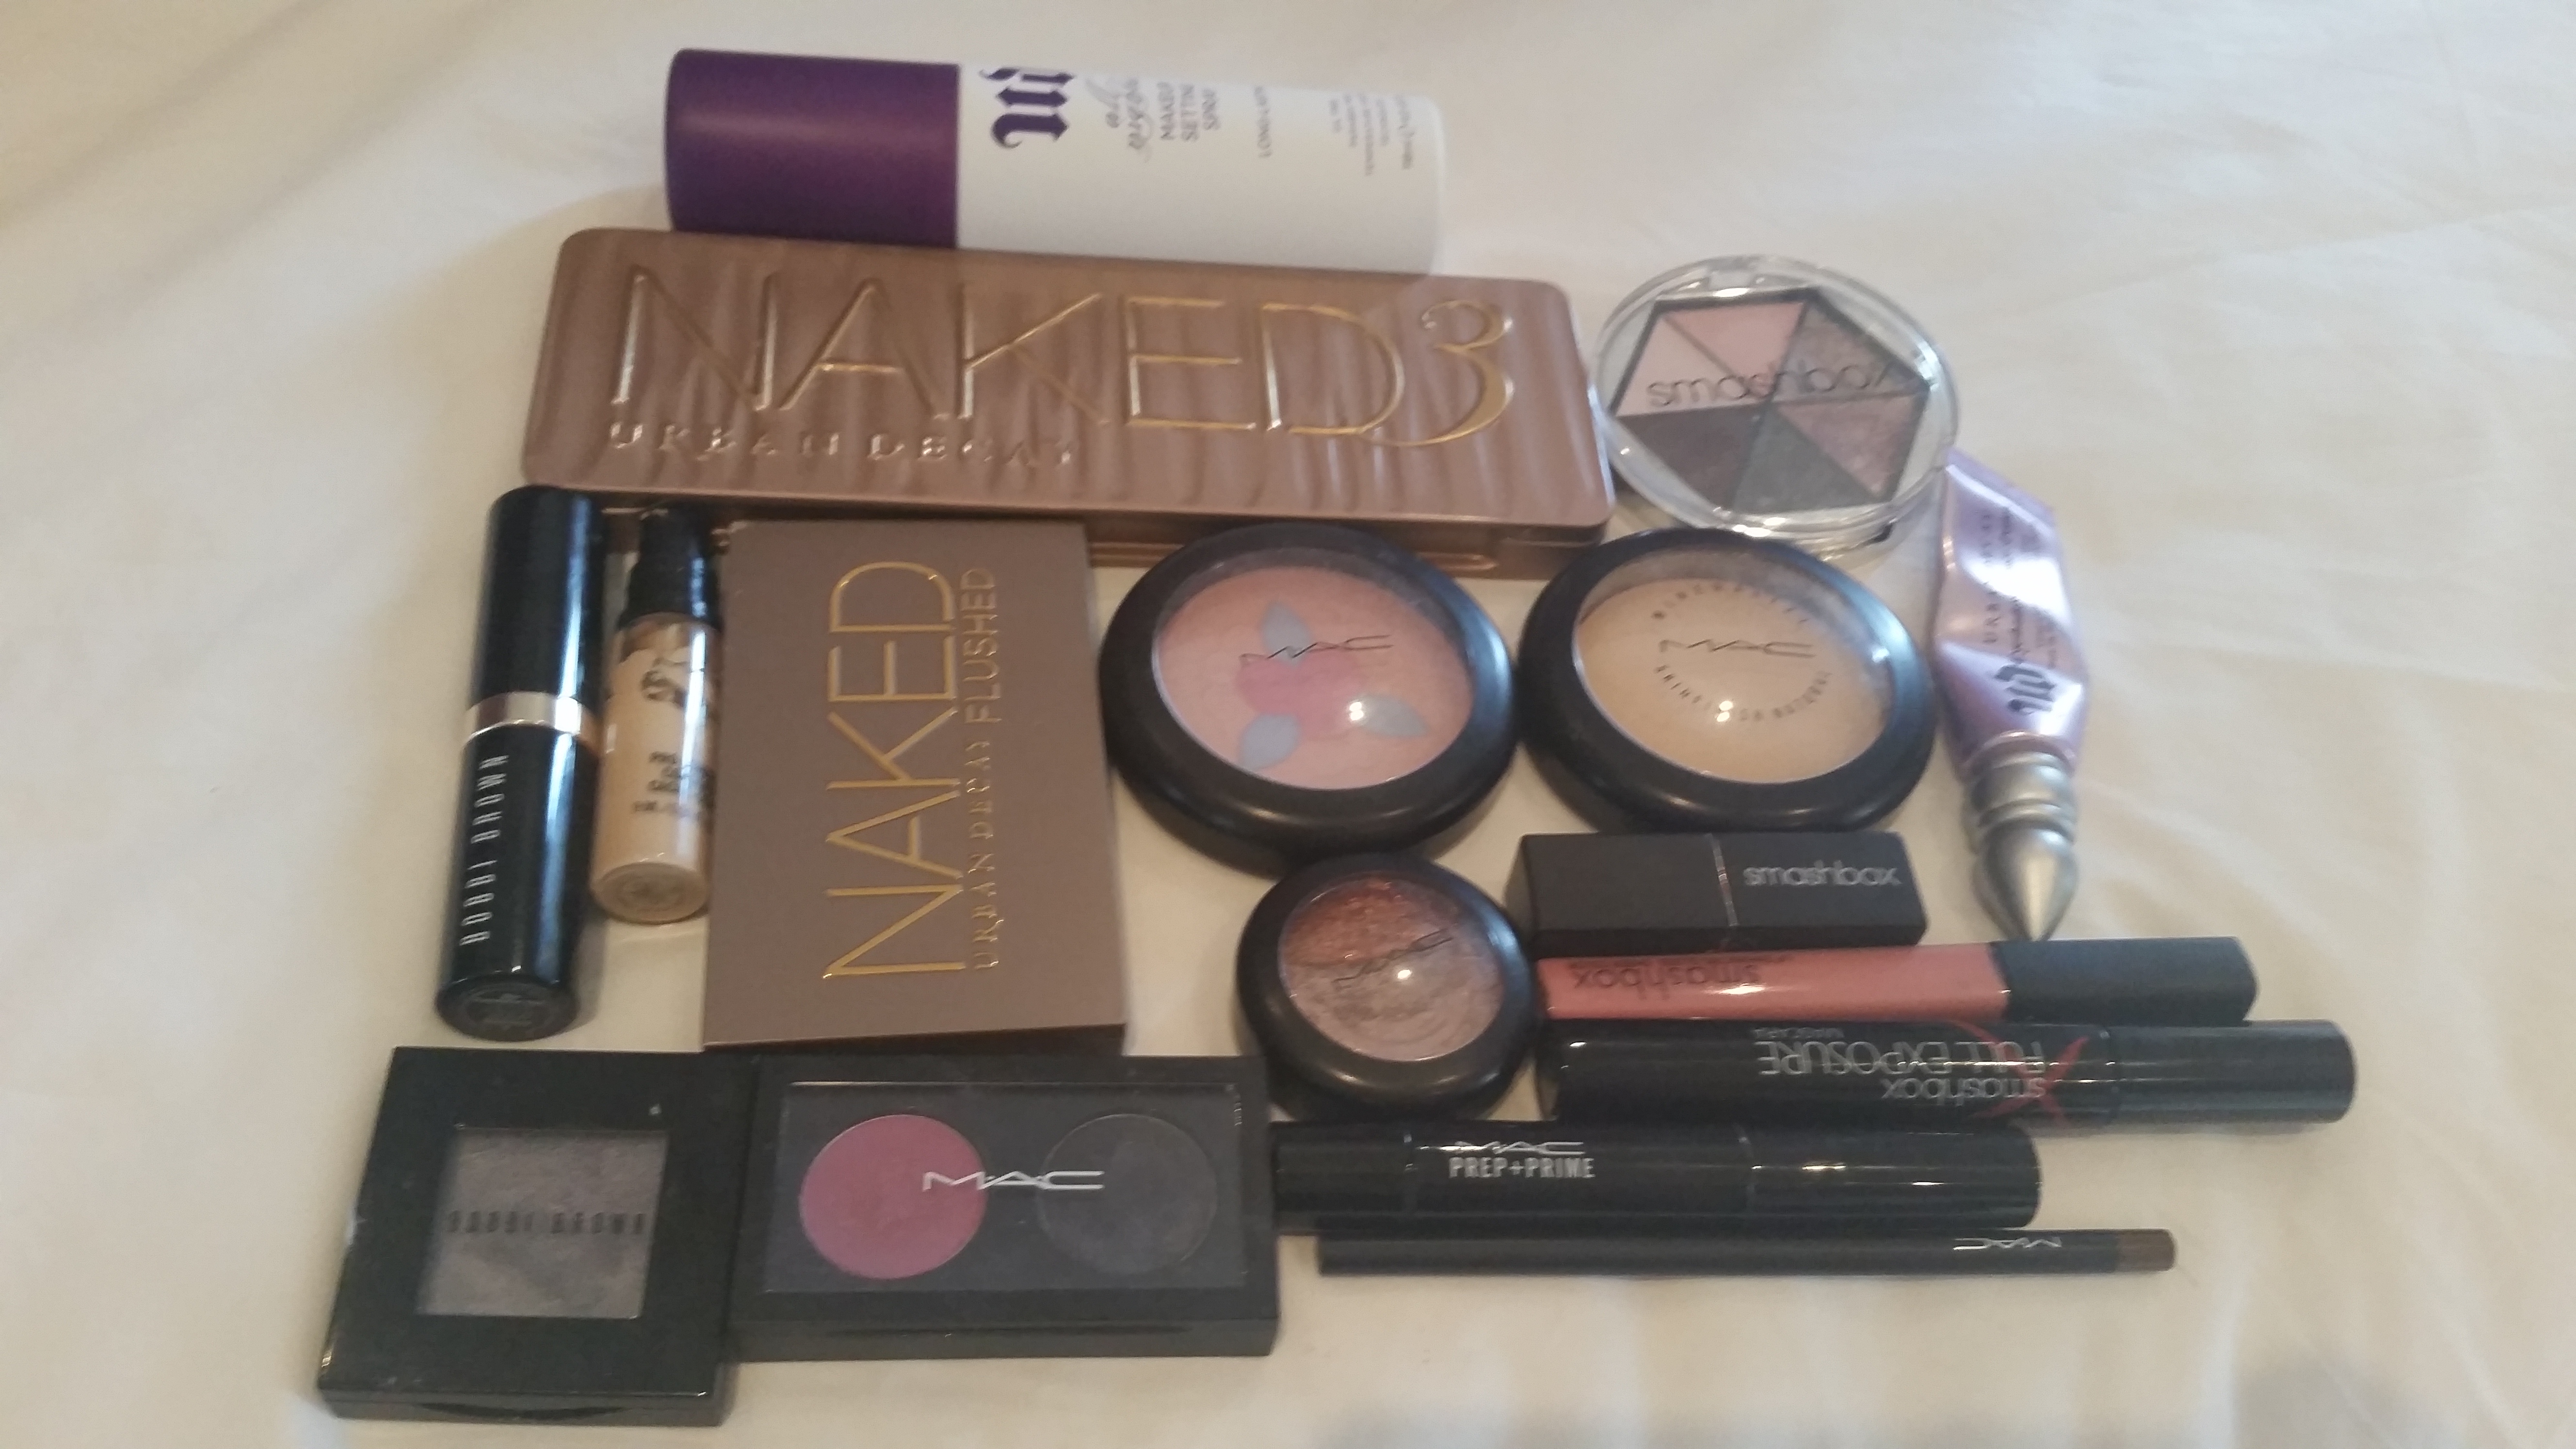
Voila! The look is completed! I have included a list of the products I used below.
It’s a pretty straight forward tutorial, if you want me to go into more detail with foundation/concealer/highlighter tutorials let me know. I am hoping to add a brow post very soon too, so stay tuned.
Product List:
Foundation: Bobbi Brown foundation stick – Warm Ivory 1
Concealer: MAC Prep and Prime concealer – NC15
Blusher: Urban Decay Naked Blushed – Streak
Highlighter: MAC Pink Buttercream and MAC Prep and Prime – Radiant Rose
Setting powder: MAC Mineralize Skinfinish – Light Plus
Brows: MAC Crayon – Lingering
Eye lid Primer: Urban Decay – Primer Potion, original
Shadows: Smashbox – Flash
MAC- Under Your Spell and Double Feature 7
Urban Decay – Naked 3
Bobbi Brown – Black Velvet
Liner: Rimmel -Black 001
Mascara: Smashbox – Full Exposure Jet Black
Lashes: Eyelure – Katy Perry, Exaggerate
Lipstick: Smashbox -Rosy Pink
Lipgloss: Smashbox – Pop
Hello

