“Never Ask A Woman With Winged Eyeliner Why She Is Late”
“Never ask a woman with winged eyeliner why she is late”.
I have no clue where that quote comes from, or who said it, but I see it everywhere in the makeup blogosphere and it is advice everyone should heed. Winged eyeliner is one of the most gorgeous makeup looks, it adds glamour, definition, and sophistication, but at the same time it is one of the most challenging looks to construct. Even if you have the hands of a surgeon, it is very tricky to draw two perfectly symmetrical lines across your eyelids. I have tried and tested a million different ways of performing the task and I think I have finally found a way that gives good results. I will outline the steps below, with photos as a guide, but I also want to go through some quick advice.
Firstly, when applying makeup, I always start with my eyes. I apply shadows, then liner, then I do my under eye concealer before doing my face and then returning at the end to fill in brows and add mascara and lower lid eye liner. I find this to be the easiest way to go about it. Starting with eyeshadow means you can easily wipe up any product that has fallen from eyeshadow brushes under your eyes before adding concealer. I do my liner at this stage also because I lean my hand on my cheek for steadying purposes and I don’t want to worry about upsetting foundation.
The most important thing to remember when doing your eyeliner is to remain calm. I am not the most patient person and so many times I have found myself getting frustrated with uneven lines and then overreacting and ending up looking like a Panda. We’ve all been there I’m sure. There should be another rule never to ask a woman what kind of day she is having if she is sporting the Panda eyeliner look!
Another very important point to remember is to keep your eyeliner brush clean, I mean very clean. Wash it after every use. This is the one brush that gets closest to your eye and spreading infection this way is just far too easy. I clean my brush after I use it so that it doesn’t sit for too long caked in eyeliner. A cleanser or baby shampoo will do the trick just fine. Also, never, ever share eye makeup brushes, ever.
There are a number of brushes you can try, I personally like a slanted brush and the thinner, the better. They are the easiest to handle and give the thinnest line, which as we will see, is important. I am in love with a teeny tiny brush that came in a Catrice gift set I got a few months ago. It is a double ended brush and it just has the most perfect slant on it. However, some people prefer thicker brushes, rounded brushes, pointed brushes, etc. There are numerous options and almost every makeup brand will sell them. They can also be bought in Boots and other chemists.
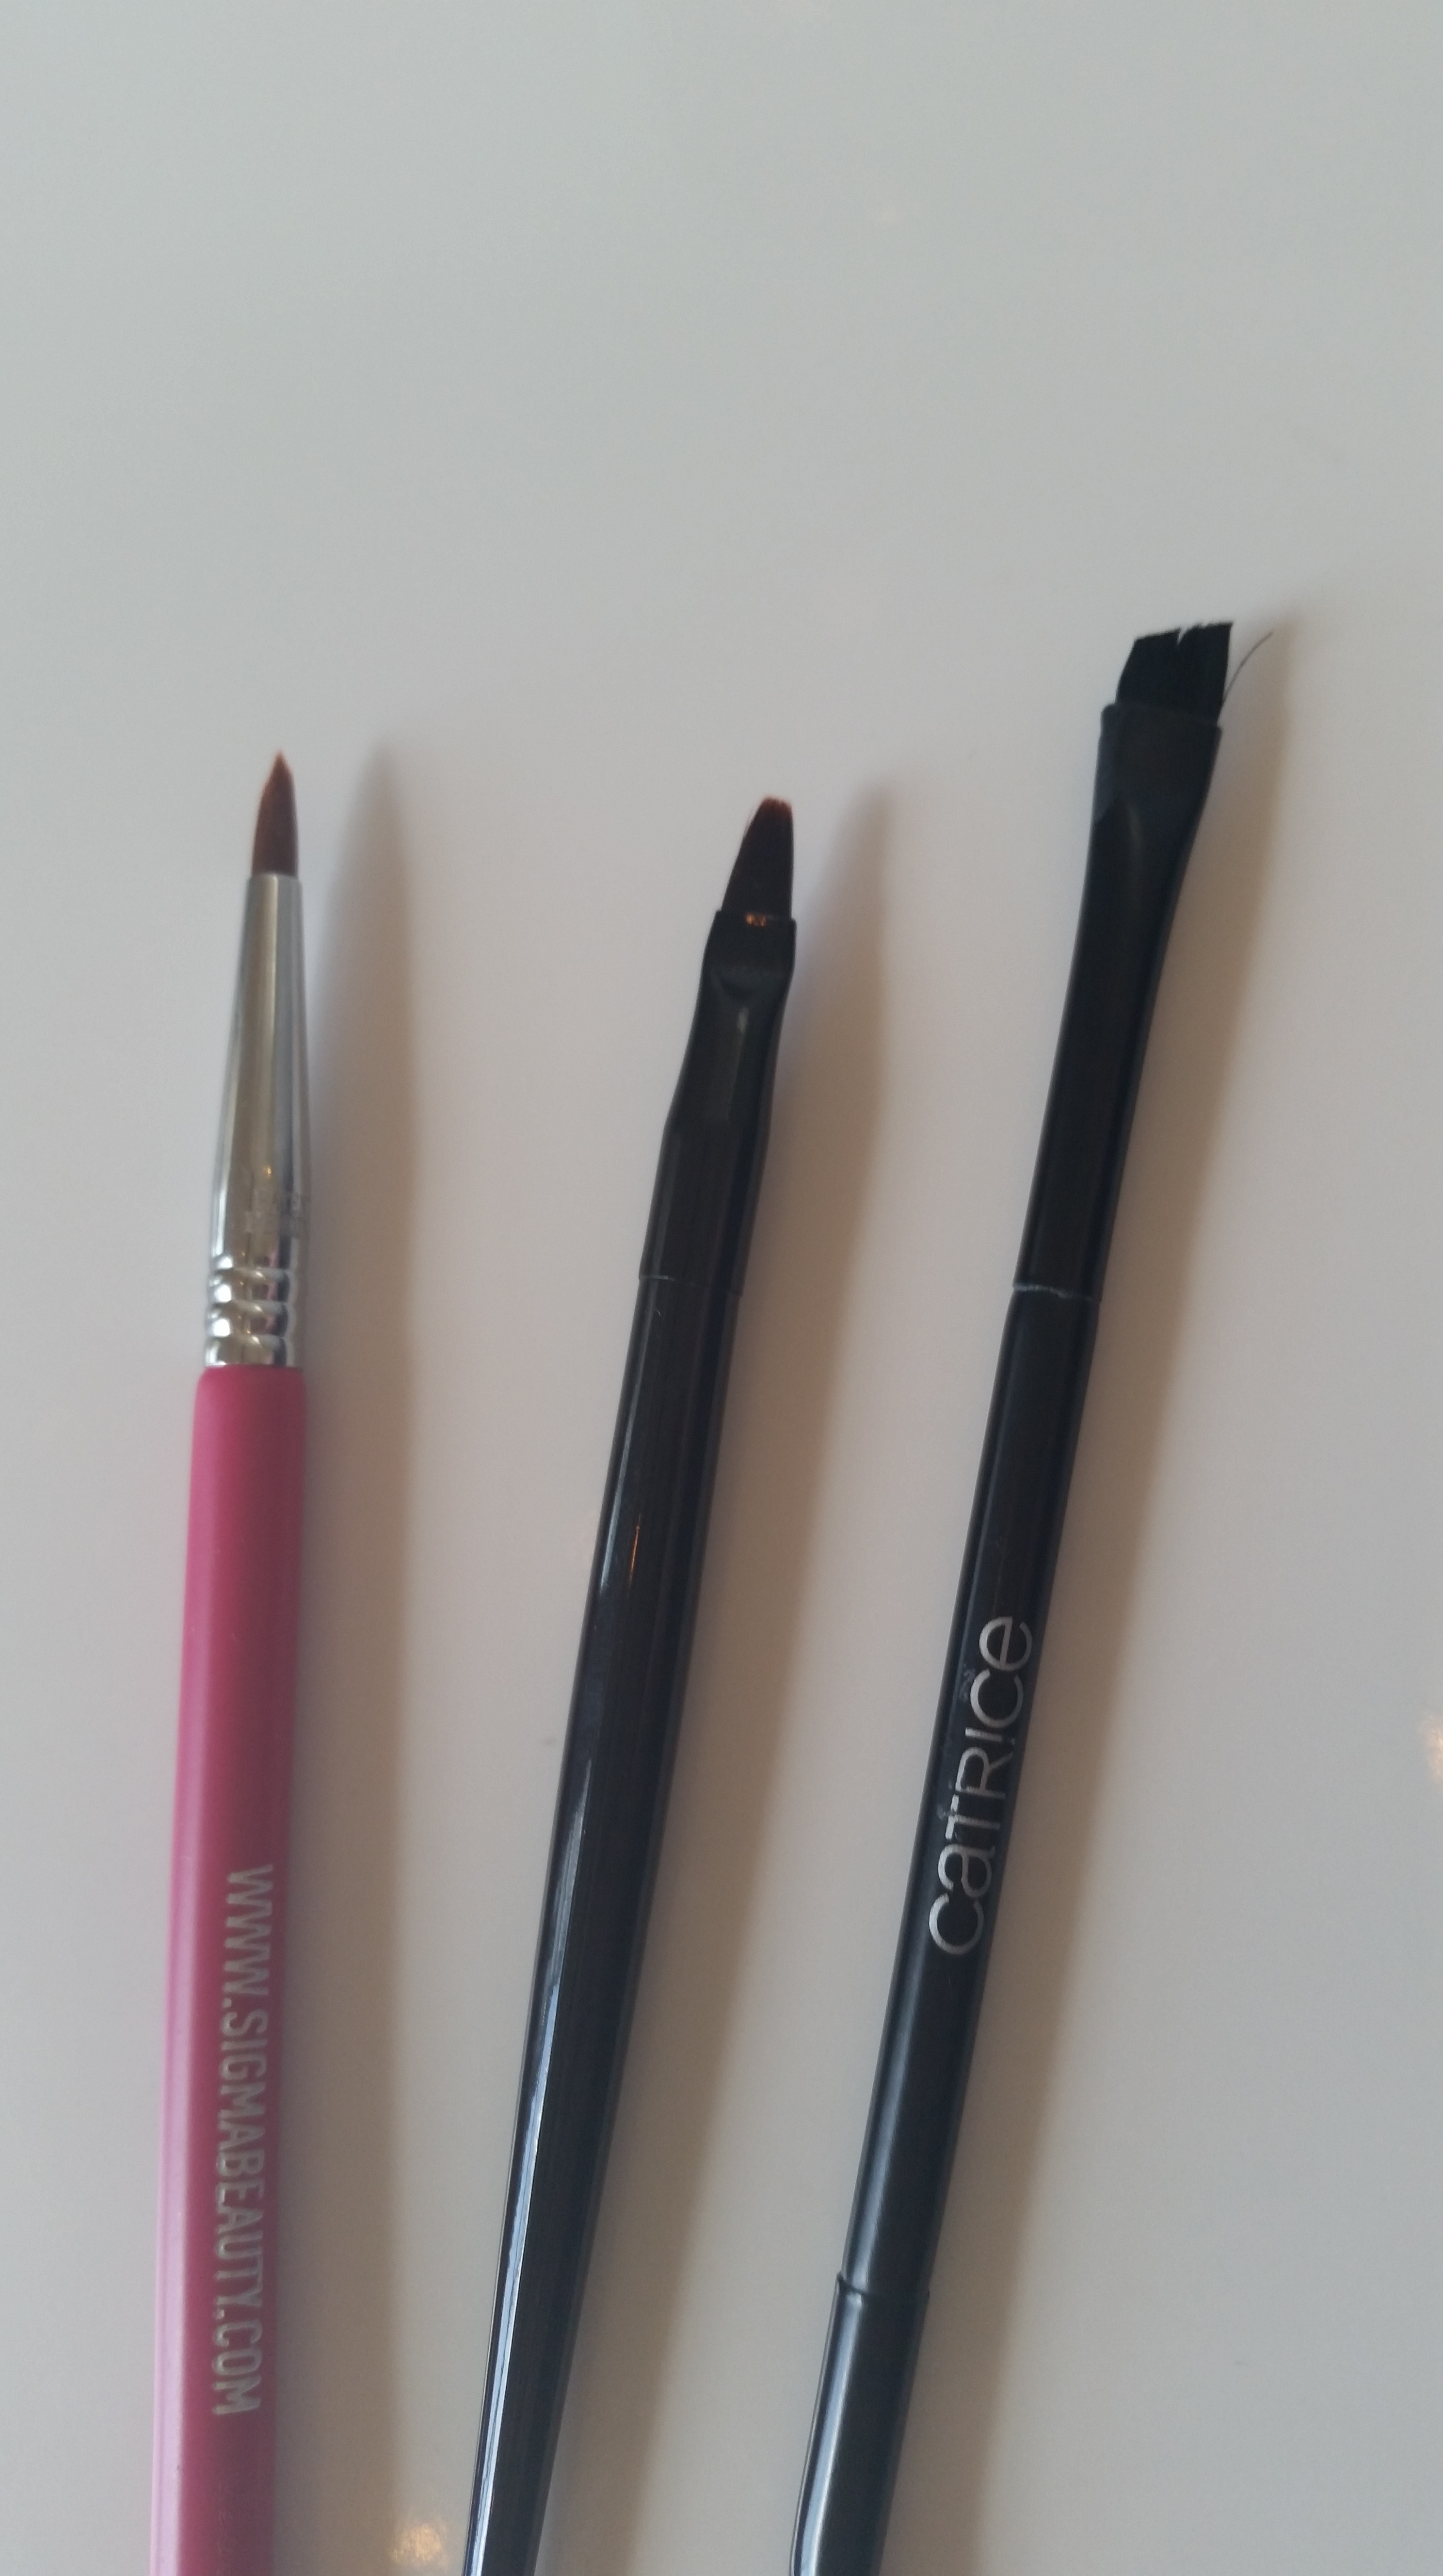
L-R: Sigma rounded/pointed eyeliner brush. Rimmel flat tipped brush, and Catrice’s slanted brush.
To achieve the most flawless winged eyeliner look I suggest using a gel liner. Eyeshadow works as a stand in when you want a specific colour (although the range of colours in gels has exploded recently) but powders won’t last as long on the lash line and I find that if the line is thick enough it will rub off on our lid when your eyes are opened. Liquid liners are also an option, but gel has far better staying power and its consistency being thicker than a liquid simply means it’s easier to handle.
So let’s get to the ‘how to’! For the tutorial I used the slanted Catrice brush and Rimmel’s long wear gel eyeliner in 001 Black.
Firstly, always start on the outer corner of your eye, right where your lash line starts, and then move in, this creates less dragging on the eyelid. I always start with the thinnest line possible, and then build it up, this means you control the thickness of the line. I wet the brush and then dip it into the gel, I then use the inside of the gel liner lid to wipe off the excess which builds on the side of the brush, this helps to reshape the brush too and ensure it is super thin. I then place the brush at the outer corner of my eye with the tip of the slanted part pointing out. I also find it helps to place my finger on the outer corner of my eye to put pressure there so the lid doesn’t move. This will make the line smooth and prevent it from looking jagged. From this angle I move the brush to beyond the middle of my eye and then I turn the brush so the point of the slant is facing the inner corner of my eye and then I start at this corner and bring the liner to meet in the middle. I do this because it’s easier than trying to bring the slanted brush around the curve of my eye. In this picture you can see I have a very narrow line and it goes from the end of my lash line to the inner corner, make sure you get straight into that corner and don’t leave any gaps.

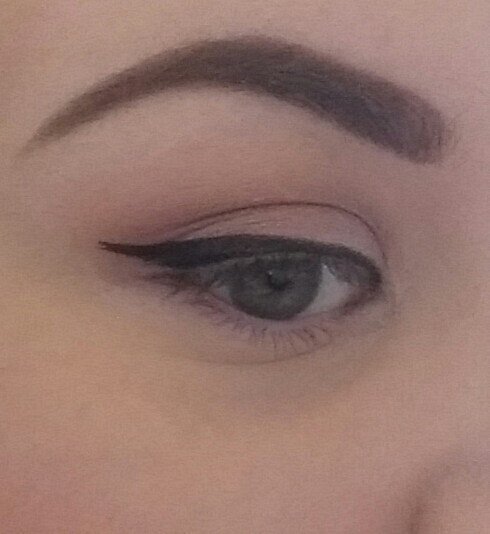
The next thing you do is draw in your wing. Pick any angle you want and connect it to where your liner starts at the outer corner, right where the lashes start. This step defines the angle and length of your wing. Keep the line very thin. I did a very simple short wing, but you can go as long, as angled, and as mad as you want!
Wing
Next, place the brush, exactly like the first step: slant pointing out, at the top of where your angle stops, line them up so it makes a nice point. Then bring this line down to the lid. Depending on how high you went with the point of your line, there may be a gap. Because My angle wasn’t too intense that didn’t happen and my lines just met. If there is a gap, simple fill in between the lines! This photo might explain it better!

Now, the outer part of your line is thick and it needs to be blended with the rest of the line. I start in the middle where the thick line meets the very thin line and I build up until the line is perfectly straight across my lid. This can be the tricky part but start small and add as you go and you should be able to control it better. It is easier to add to the line than to try to remove it!
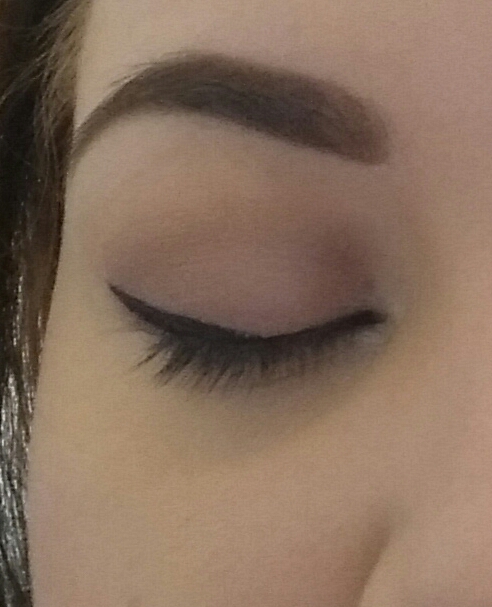
Finished product
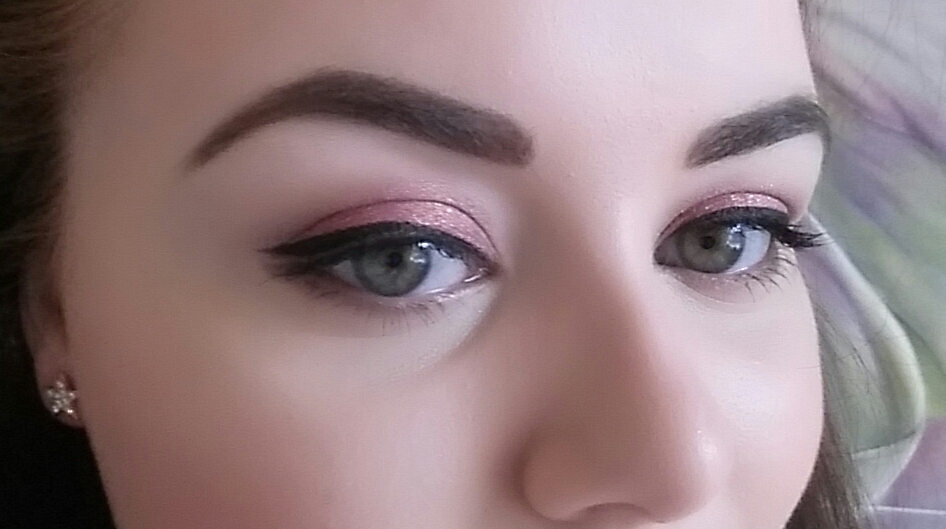
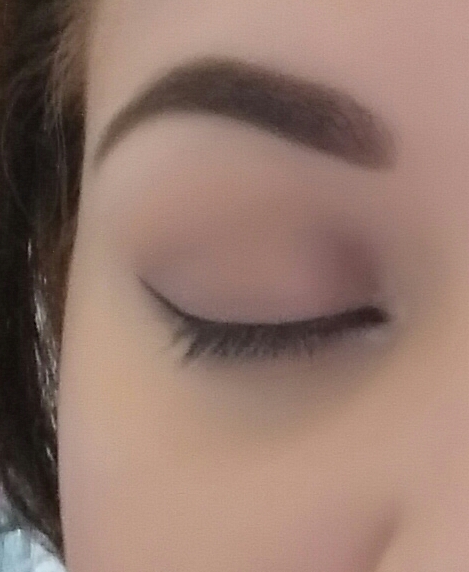
The difference eyeliner makes is astonishing
Hopefully these photos and guidelines help.Having a specific step by step process has been hugely beneficial to me because it forces me to be patient and helps me get much more defined and sleek-looking lines! Always wear mascara, and compliment with a smokey line on the lower lid if you want (Post on that to follow soon!)
Claire, x
Hello

